Uncovering four elements behind Colin Kaepernick's recent struggles
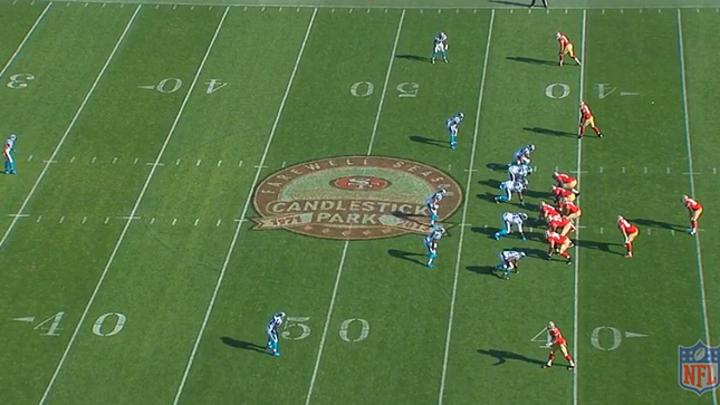
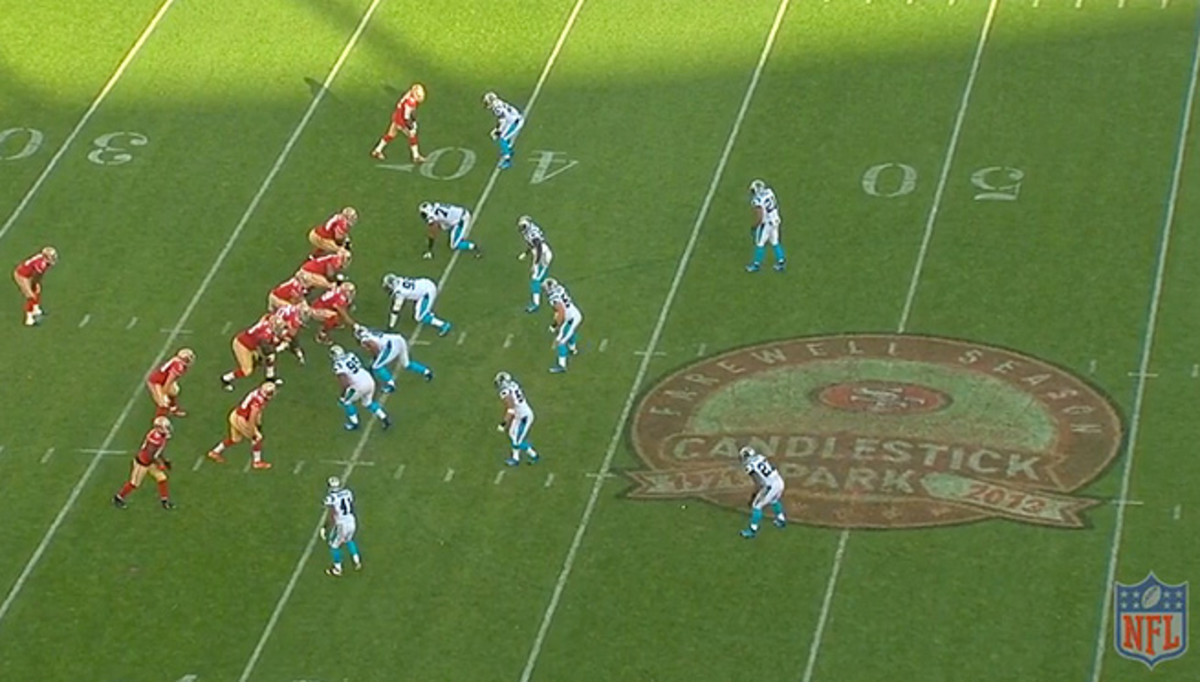
Let's take a look at one play per problem from last week's Carolina game. This is the fourth play from scrimmage of the game. San Francisco has a 1st and 10 at its own 42-yard-line. The Niners come out with three receivers, including Anquan Boldin in the slot to the right of the formation. Here's what it looks like at the snap.
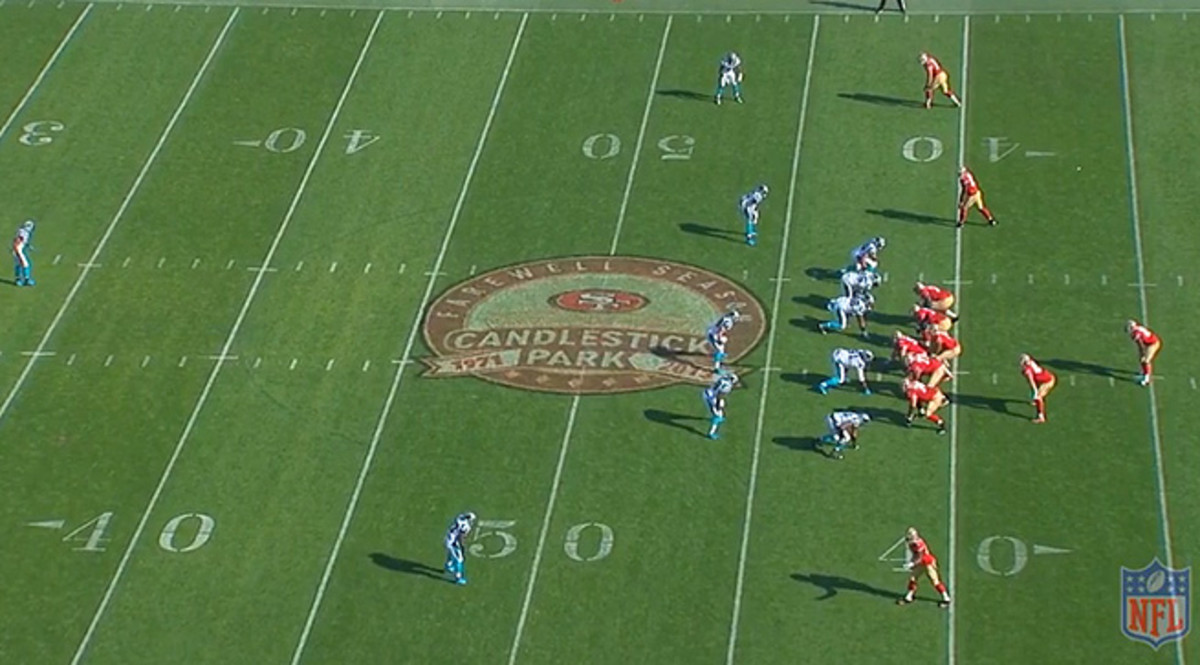
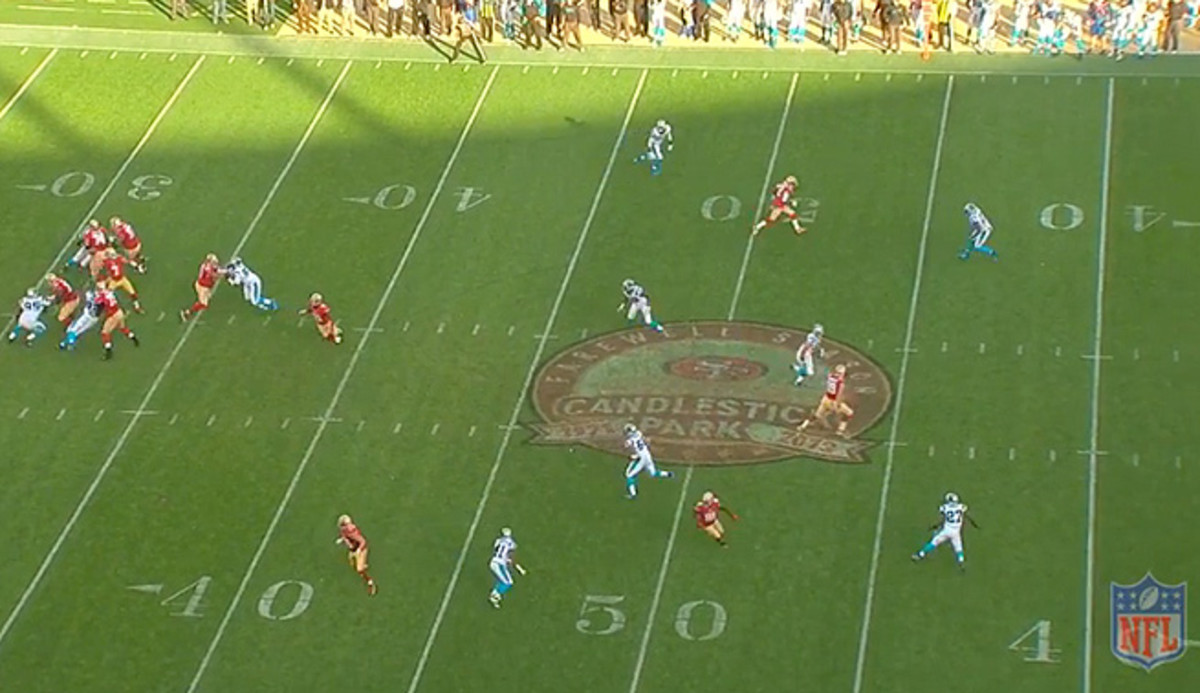
At the snap, Chase Blackburn takes Boldin before passing him off the secondary. Once Blackburn vacates, Boldin is wide open and Kaepernick has the entire middle of the field to use to connect with him. Look how open he is when Kaepernick begins to throw.
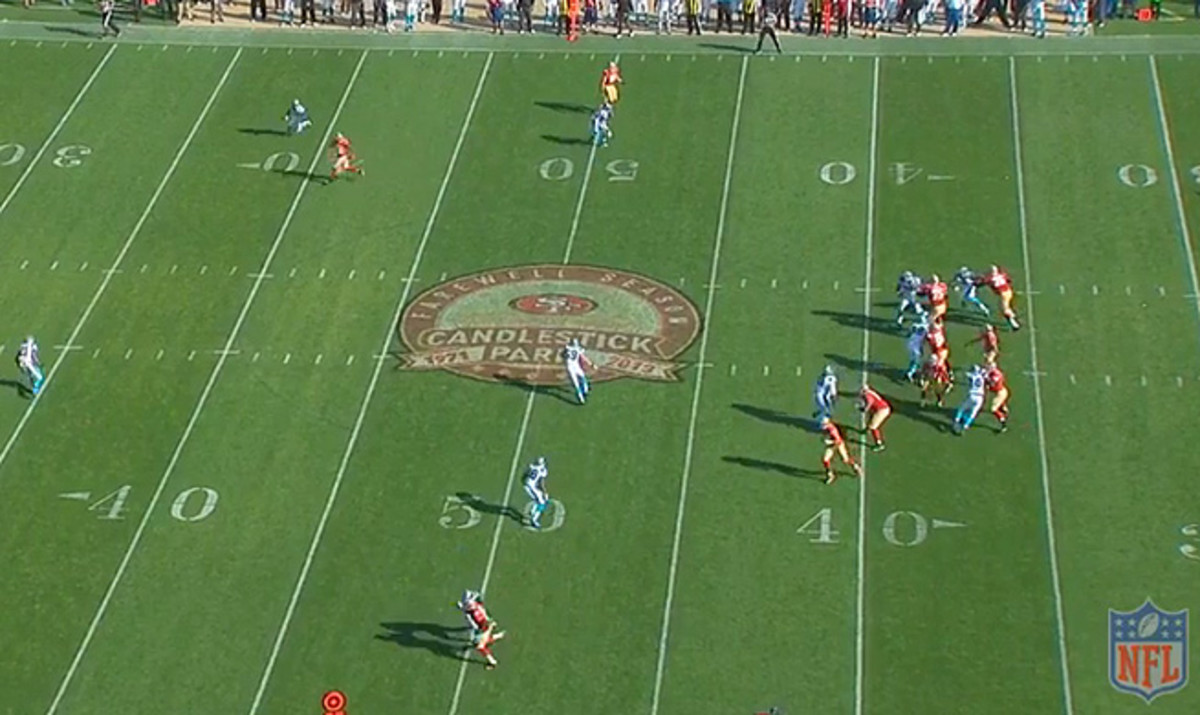
This has no business being an incomplete pass. Rather than leading Boldin, though, Kaepernick throws a strike right at him, allowing Captian Munnerlyn to undercut the route and nearly come away with the interception. At the very least, this should have been a big play. It could have been a touchdown with the right ball. Instead, it just sets up 2nd and 10.
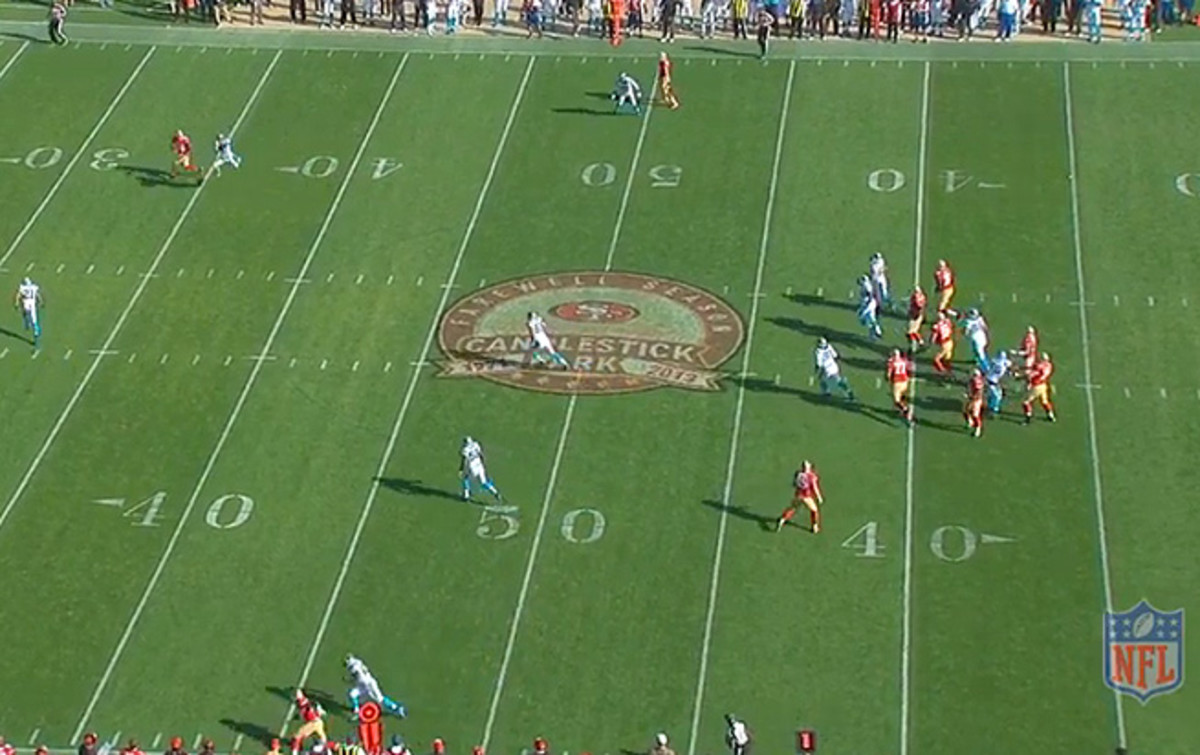
San Francisco comes out in a shotgun formation with four receivers, trips left. When calling out coverages, Kaepernick fails to pick up on safety Mike Mitchell creeping ever closer to the line.
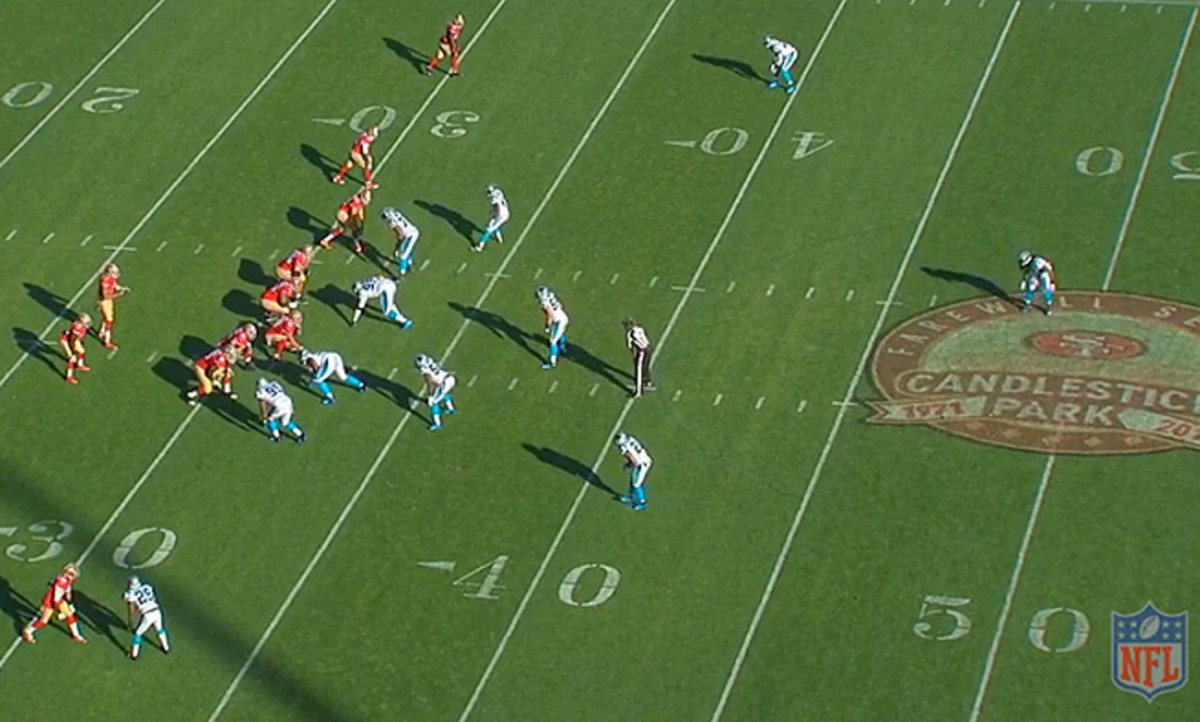
Mitchell takes off with the snap and bursts right through the hole opened for him by the Carolina defensive line. It results in an easy sack and kills any potential two-minute drill to put more points on the board before the half.
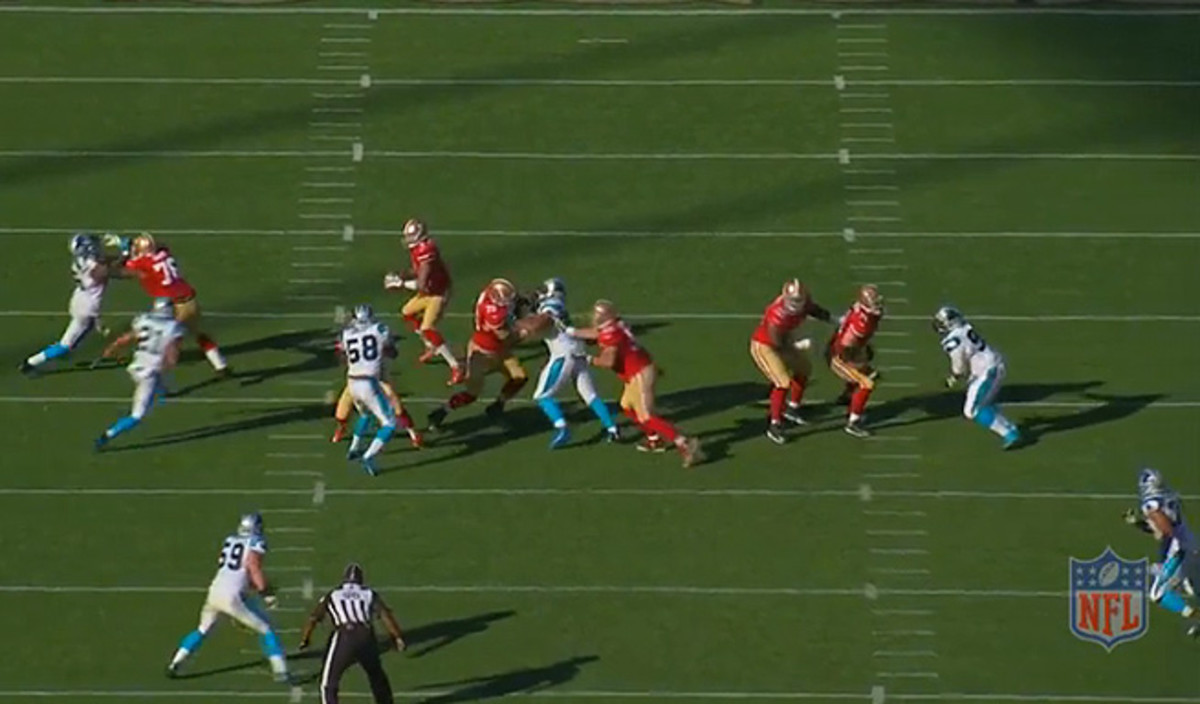
This next play takes place about halfway through the third quarter. It's 2nd and 1 at the San Francisco 38-yard-line and they go to their bread and butter, the read option. This one you can't really pin on Kaepernick. As we see from the screenshots, it's simply a great individual play by Greg Hardy. He plugs the initial hole, forcing Kaepernick to keep the ball, then jumps out and takes the quarterback down for a six-yard loss. The takeaway here is that the read-option has not been nearly as effective as it was last season, and that's curbing Kaepernick's production on the ground.
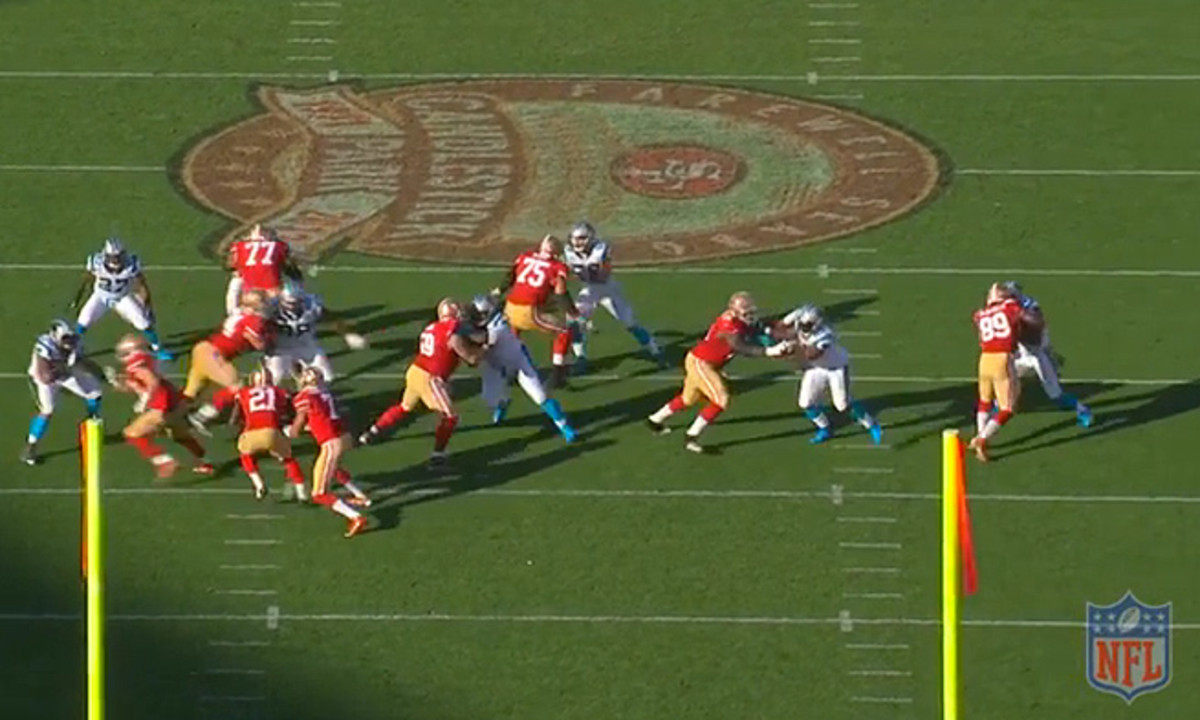
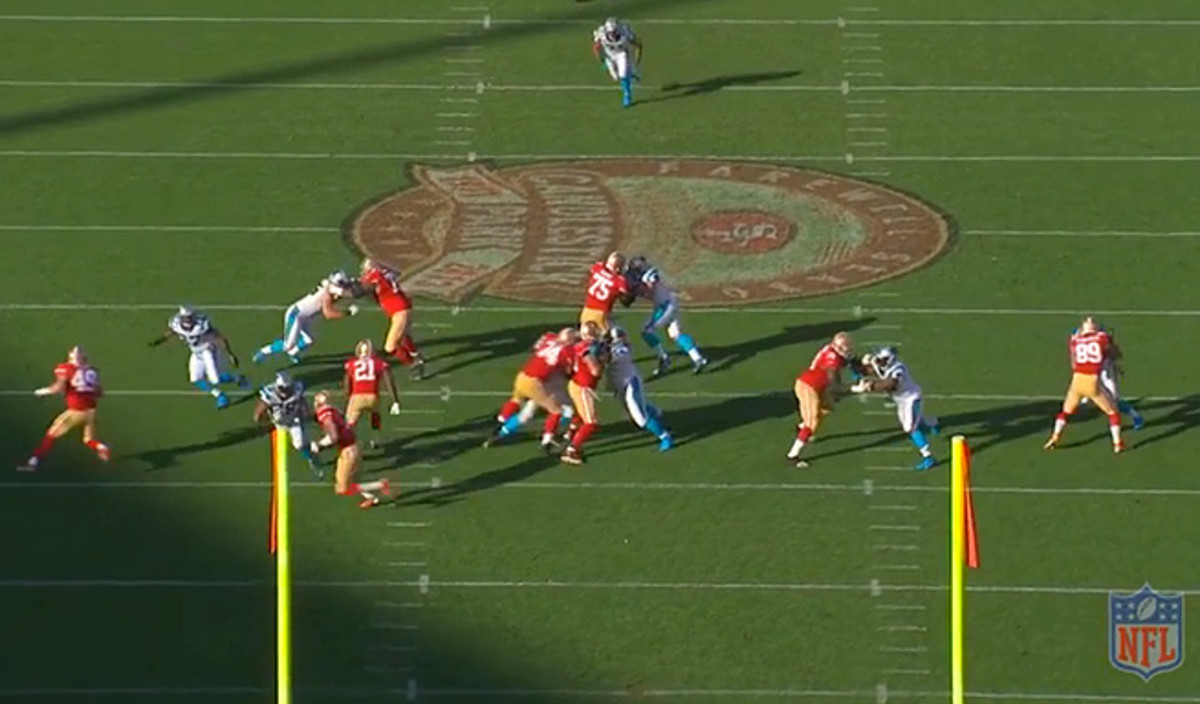
The Niners again have four receivers, including McDonald, with a bunch to the right. Here's the look at the start, with McDonald at the front of the bunch.
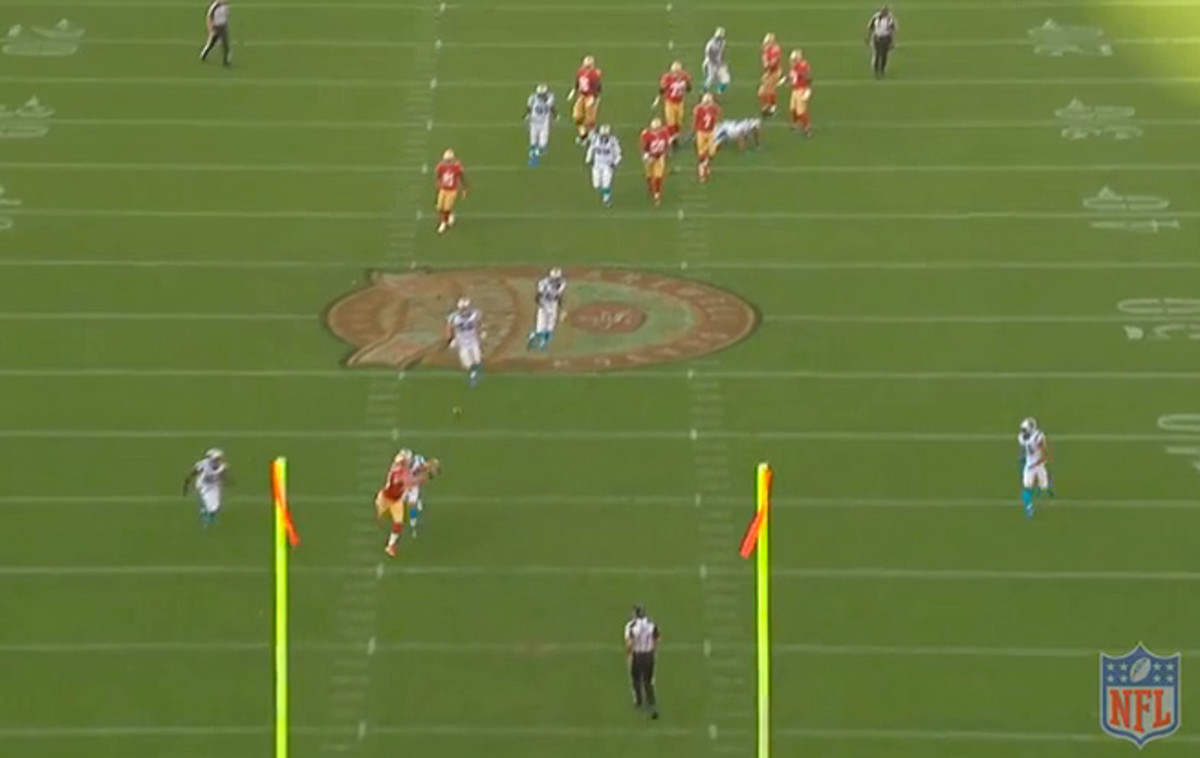
McDonald draws Luke Kuechly in coverage, and because of the playfake to Frank Gore he is able to get a few steps on him and get open for what should be a big play. Here we can see just how open he is when Kaepernick loads up to throw.
Kaepernick puts the ball in a perfect spot, and though Kuechly has closed enough to stop this from being a potential touchdown, it should set up the Niners inside the red zone. Unfortunately, the ball clangs off McDonald's hands and drops for an incomplete pass.
All images are screen shots of All-22 film.
