Mech building tips Armored Core 6 beginners need to know

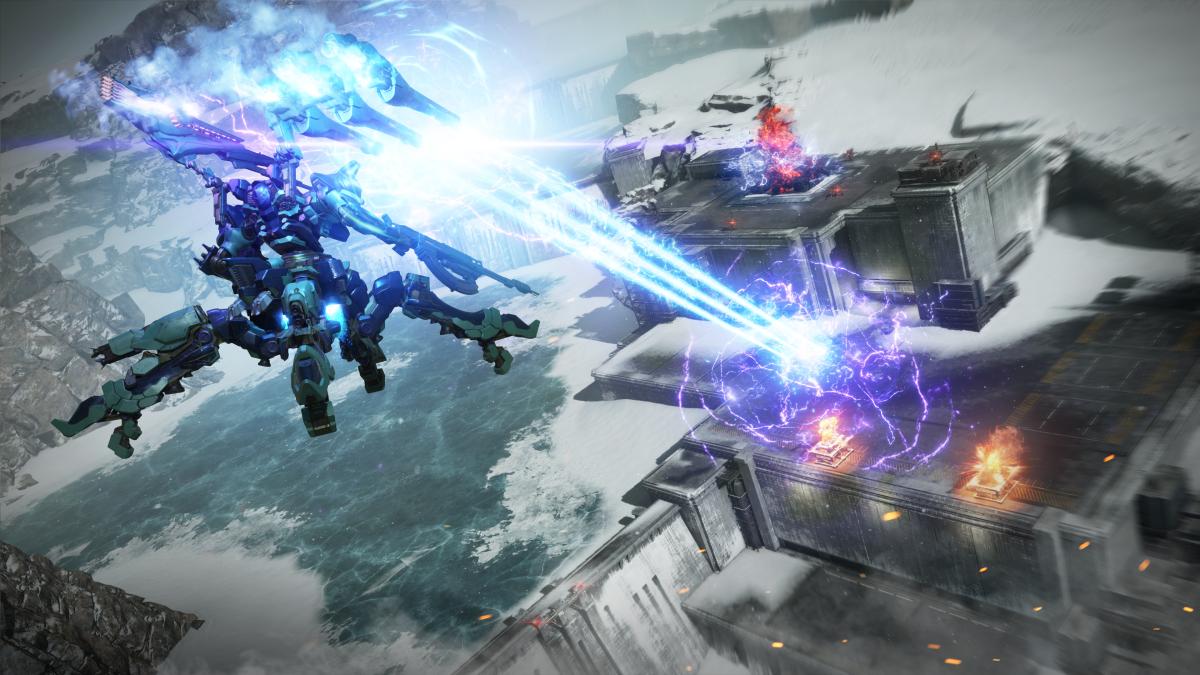
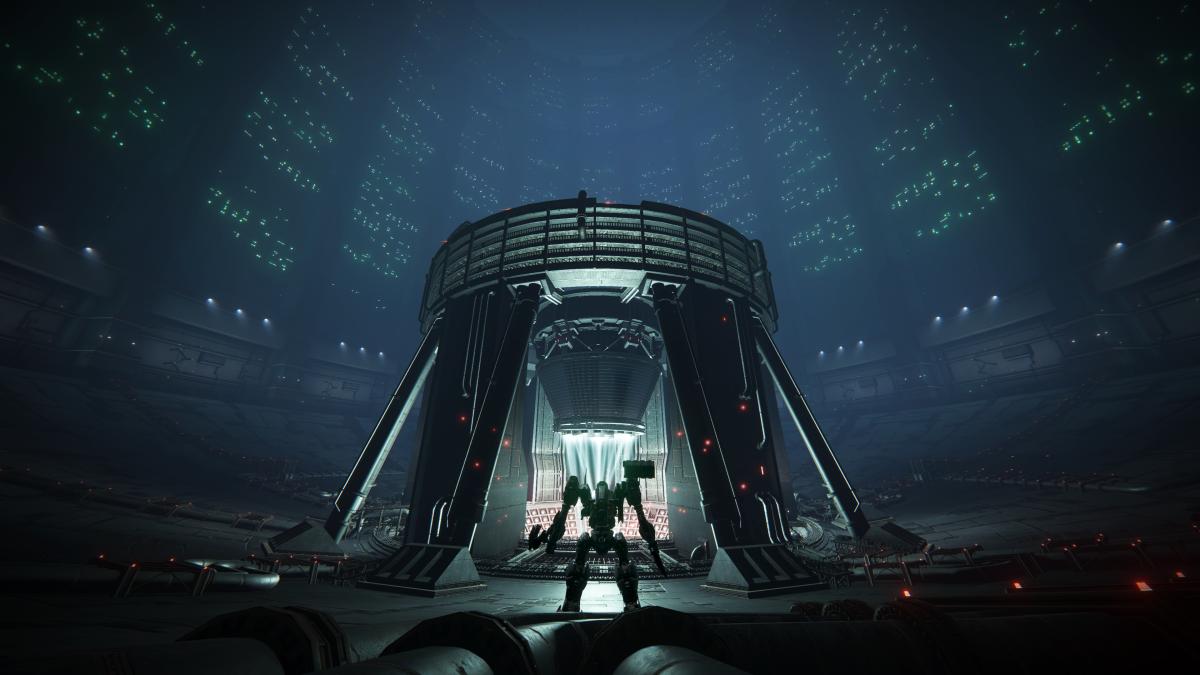
Armored Core 6: Fires of Rubicon is on our doorstep after only a few months of waiting, which makes a nice change for FromSoftware. This brand new mech game focuses on you building and customizing a powerful AC unit in order to complete a variety of missions.
Ultimately you should aim to get an S rank score on each mission in the game, but before that you’ll need to work on clearing them the first time. For that, you’ll need a powerful, capable AC with good options and strong weapons. For everything you, as a beginner, need to start building a powerful mech to clear through Armored Core 6: Fire of Rubicon, just read through our tips below.
Weight and Energy concerns

The first thing you need to know when building your mech is that you’ll be doing battle between your weight and energy constraints. Heavier mechs move slower, and need heavyset legs in order to carry large and powerful weaponry. All of that can take up a lot of energy, too. You can buy a new Generator to give you more energy reserves, but it might have a lower capacity, or recharge slower than other models. It’s all about give and take: a lighter mech build will have to use smaller weapons, but will use less energy and will tend to be speedier.
You’ve got Boost power

The Boosters are incredibly important. If you have a heavy build then you need good boosters, otherwise you’ll barely move when attempting to dodge. A lighter build, meanwhile, can use a lightweight Booster set which doesn’t use much energy in exchange for boosting often and with great speed, allowing you to evade enemy fire far more easily.
Ammo supplies and cost

Big weapons are incredibly tempting, but ammo costs might have you thinking twice. One of my favorite builds for going up against other AC units is two Gatling Guns, one on each arm, and then a suite of missiles – overhead and direct – on the shoulders. Most AC units just can’t handle the concentrated fire, and it’s great fun, but at the end of non-Arena missions you’ll have to pay for non-replenishable ammo you’ve used. A full Gatling Gun clip, for example, can cost around 50k. Spread that over two arms and a possible mid-mission resupply, and suddenly carrying the big guns isn’t so attractive. Not to mention that if you don’t pick your times to fire, you just might waste your ammo before you win.
Melee weapons

If those ammo constraints have you worried, then melee weapons are for you. Melee weapons have no ammo cost whatsoever, and many of them have charge modes which enable you to dish out even more damage. Many of them use quite a lot of energy, and of course you need to be close in order to actually use a melee strike, but melee weapons tend to have far higher damage than most weapons, and are perfect on a staggered foe.
The right tool for the right job

Some enemies will come prepared with large shields or other defenses. If you’re finding a mission too tough you’ll have to reassemble your mech and try a different strategy, and some strategies are correct. Yes, any tool can be used as a hammer with some ingenuity, but some tools are better than others. Case in point, an early boss encounter will feel very tough as they put up long-lasted Pulse Shields. This might even feel impossible, until you discover the Pulse Gun can rip through Pulse Shields in seconds. Pretty much all bosses have a hard counter – a damage type which they’re vulnerable to – you just have to find it.
Speed or strength

We’ve discussed weight and energy concerns, but now you need to make the real decision: speed or strength? Hey, we all like the idea of turning our mech into a battle tank, carrying only the heaviest, most powerful weapons – and it is an option – but in reality, the best choice is probably slotted somewhere between that and the bee-like speedsters. At least that’ll be true for most missions. You should aim to make a robust, middle-of-the-road mech to start with, and later you can put much more thought into the ideal builds to get S-rank on each mission.
Expansion slot

Your Expansion slot will go empty early on, at least until you access OS Tuning. Here you can equip different armor types which you can activate with the left stick and Triangle/Y – save for Terminal Armor, which activates automatically when you reach critical AP. The different armor types, as we’ve mentioned elsewhere, have different strengths and weaknesses that you’ll need to factor into each battle – again, don’t use a Pulse Shield against an AC with a Pulse weapon – or if you’re less confident you can stick with the Terminal Armor, which gives you a potentially crucial few seconds of invulnerability when you’re nearly defeated.
OS Tuning

Once you take down a few early Arena encounters you’ll be given OS Tuning Chips – OSTs – which you can spend in the OS Tuning menu. It’s a pretty simple skill tree, on the surface, but dig through the options and you’ll see how each can benefit a select AC build type. You should focus on unlocking all of the System Unlock options first, and if you’re unsure which others are beneficial, just focus on unlocking the base version of each, and then the Damage Control section will allow you to adjust so your AC takes minimal damage while healing maximum health.
