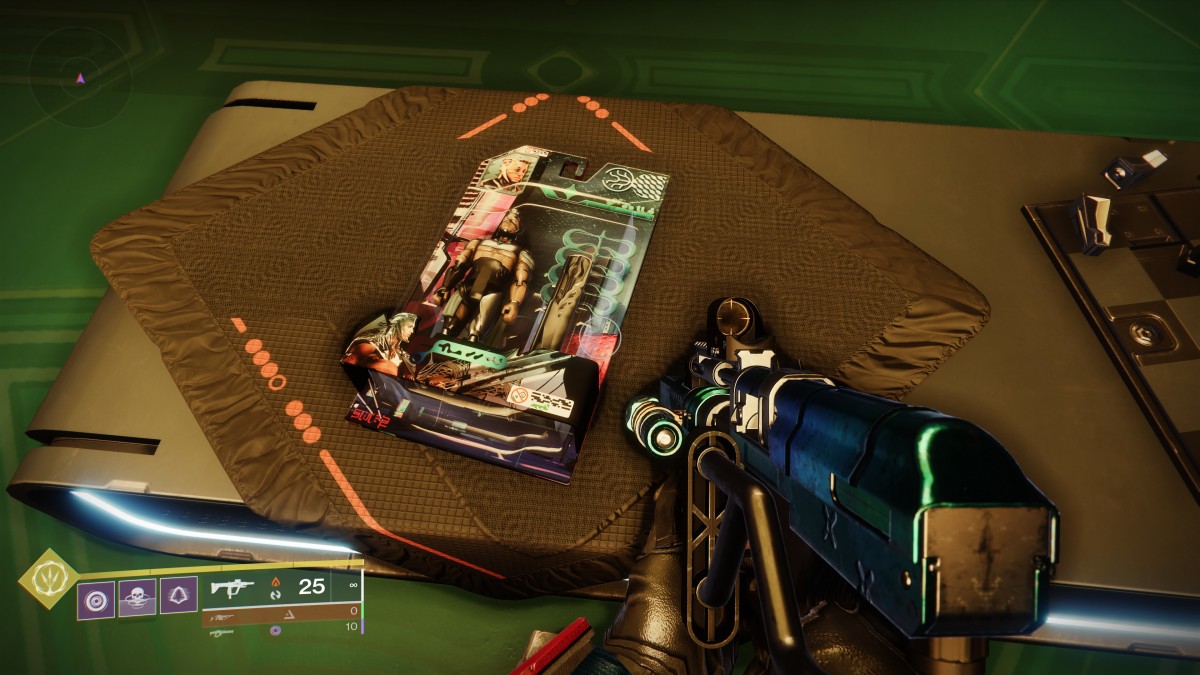
Destiny 2 Lightfall: Every action figure location

Contents
- How to locate the Lightfall action figures hub
- Lightfall action figure - Ahimsa Park
- Lightfall action figure - Irkalla Complex
- Lightfall action figure - Zephyr Concourse juice bar
- Lightfall action figure - Maya’s Retreat
- Lightfall action figure - Esi Terminal
- Lightfall action figure - Liming Harbor security desk
- Lightfall action figure - Striders’ Gate arcade machine
- Lightfall action figure - Radiosonde clock dials
- Lightfall action figure - Typhon Imperator Radial Mast room
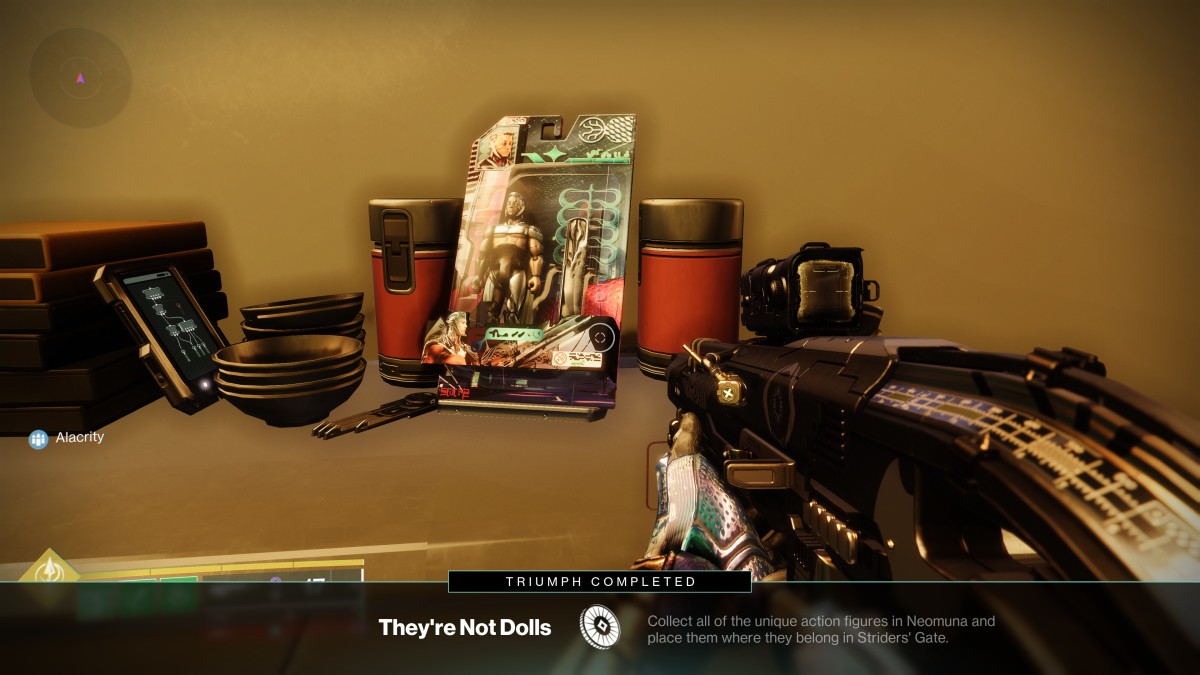
If you have finished the Destiny 2: Lightfall campaign and started to turn your attention towards earning the “Virtual Fighter” title in post-campaign content, you may be wondering where to begin looking for the action figure collectables mentioned in the “They’re Not Dolls” triumph. Similar to the penguins in Beyond Light and the Lucent moths in The Witch Queen, action figures are hidden in tough-to-find spots all around Neomuna and, after finding and collecting them, the player can put them on display in a safe location.
There are nine action figures to collect in total, but as with the previous expansions it is not possible to collect them all from day one. For now, you can unlock the hub where they will all eventually go on display, and then find the first two to begin your collection. In this guide, we go through all the relevant Lightfall action figure locations in painstaking detail.
For The Witch Queen, Bungie also released a little Lucent Moth statue as part of its Bungie Rewards program, so we would not be surprised if the developer added an actual Lightfall action figure in future. As with the moth, though, you will certainly have to complete the “They’re Not Dolls” triumph in order to qualify to purchase it.
How to locate the Lightfall action figures hub
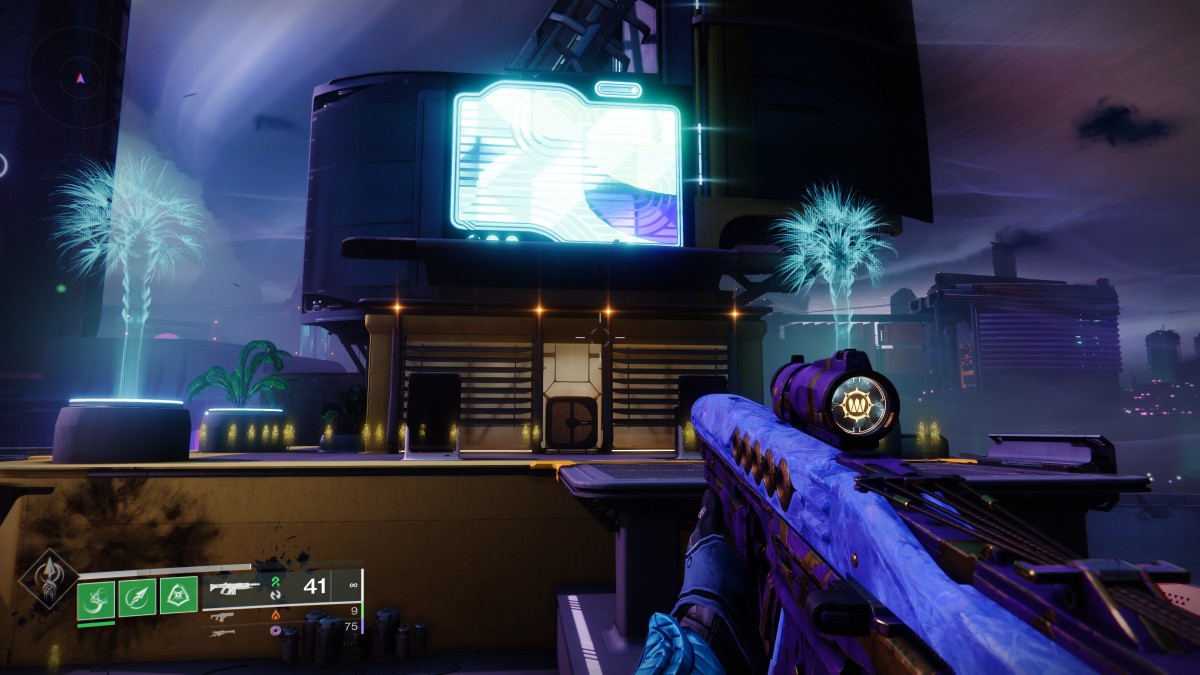
As with penguins and moths in expansions gone by, action figures in Lightfall can be put on display. But where?
To find the hub location, spawn into Strider’s Gate where Nimbus is chilling and jump straight down off the rooftop. After landing, turn right, and you should see a big building with a massive neon sign on it and virtual palm trees either side of the entrance.
Head inside, and you have found the action figures hub.
If you take a look around the interior, you should see some of the places where action figures will live once you collect and place them. If you prefer to find the action figures yourself, each marker has some basic instructions on where to go looking for them. We should warn you though: these aren’t exactly hiding in plain sight.
Lightfall action figure - Ahimsa Park
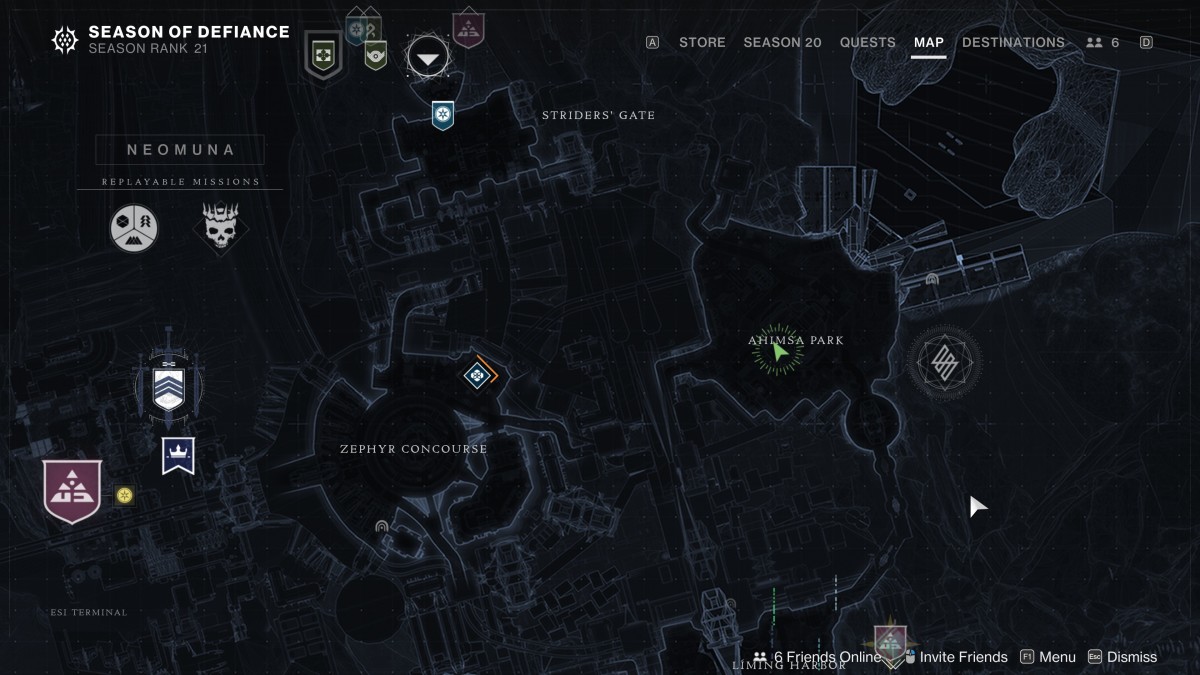
The first Lightfall action figure collectable can be found in Ahimsa Park, which can be reached from both spawn points in both the Strider’s Gate (go southeast) and Liming Harbor (go north) regions. Whichever way you enter, you need to go to the big building in the center of the park and head inside.
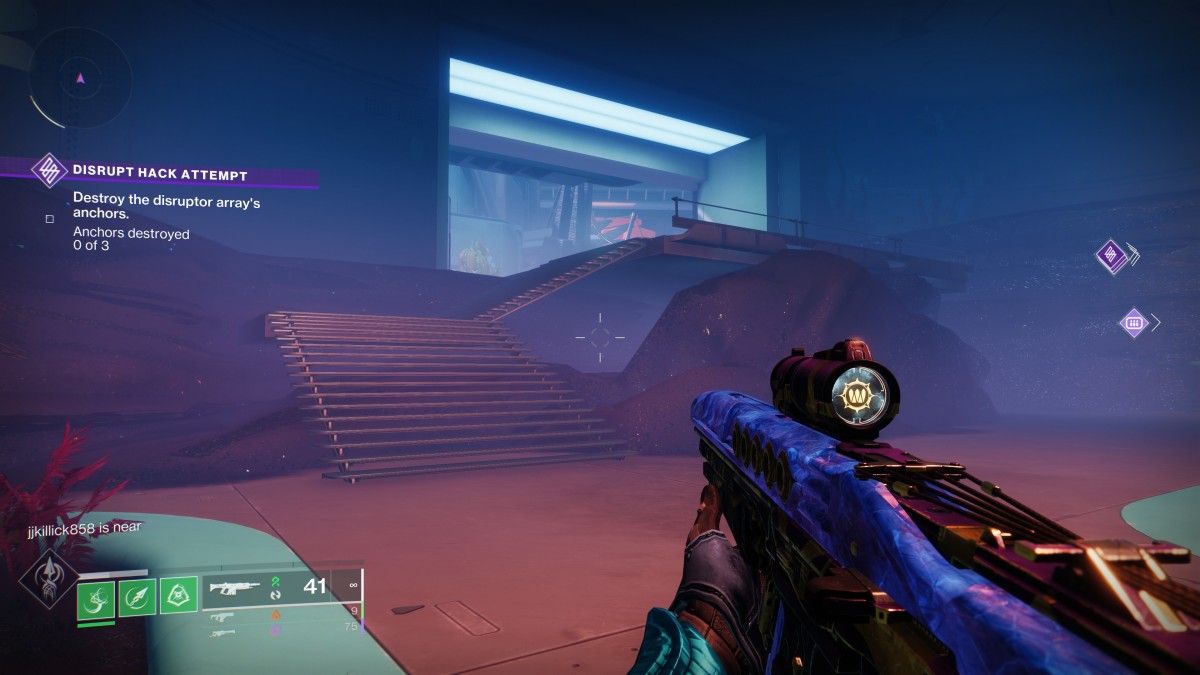
The gloomy interior has a stairway leading up to an exit on one side—it may even be the way you came in. You should see sandy rock shapes built up underneath it, and a small gap between rock and staircase that looks perfect for a Guardian to sneak through…
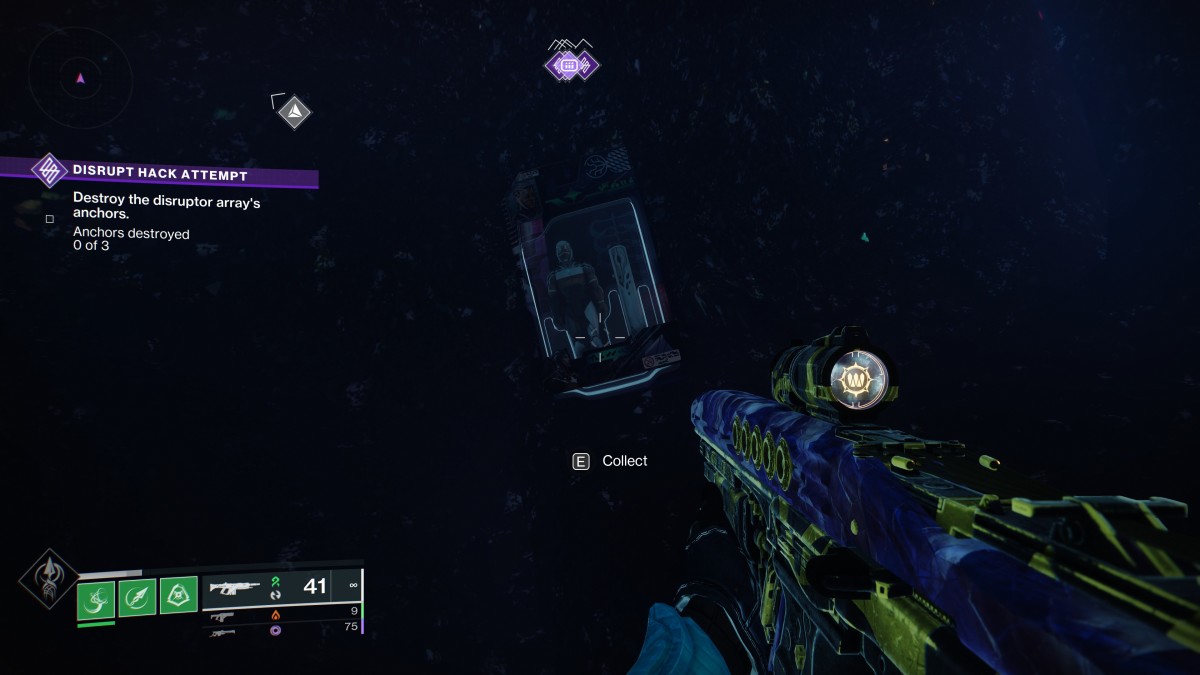
Nose your way into there and you should see the telltale silhouette of an action figure—kept pristine in its box, of course—resting on the ground. Head over and collect it. You can then return to the hub area to put it on display, which will trigger the first step of the triumph.
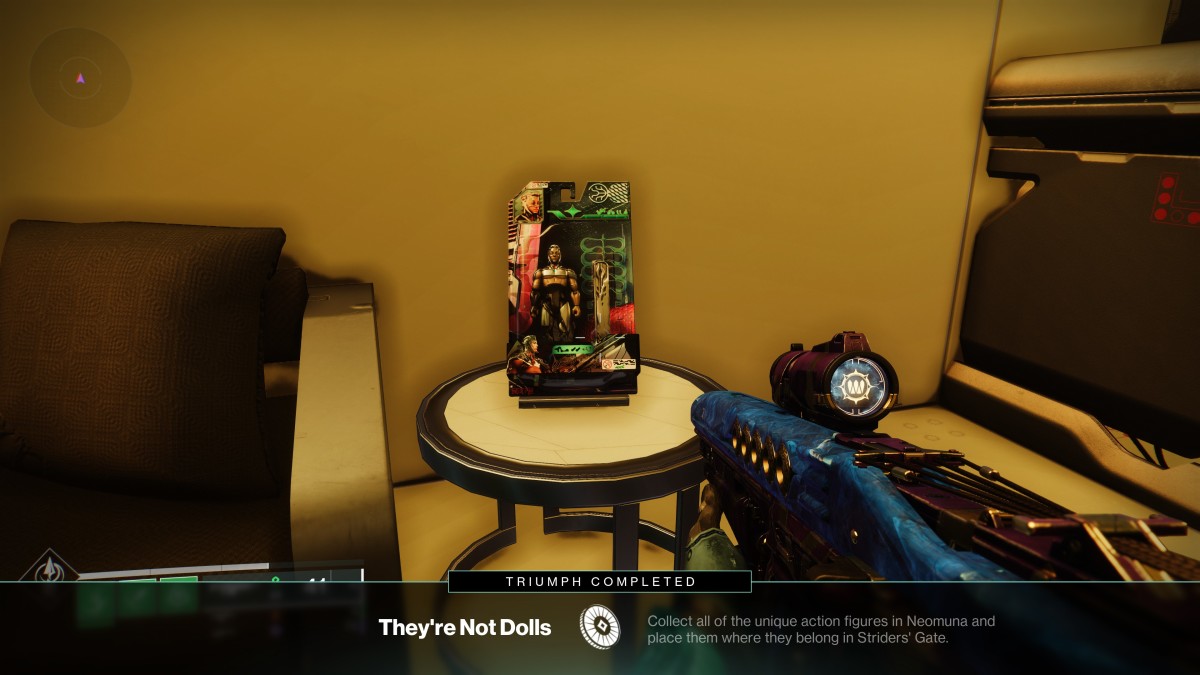
Congratulations, you’ve begun your journey to completing “They’re Not Dolls”!
Lightfall action figure - Irkalla Complex
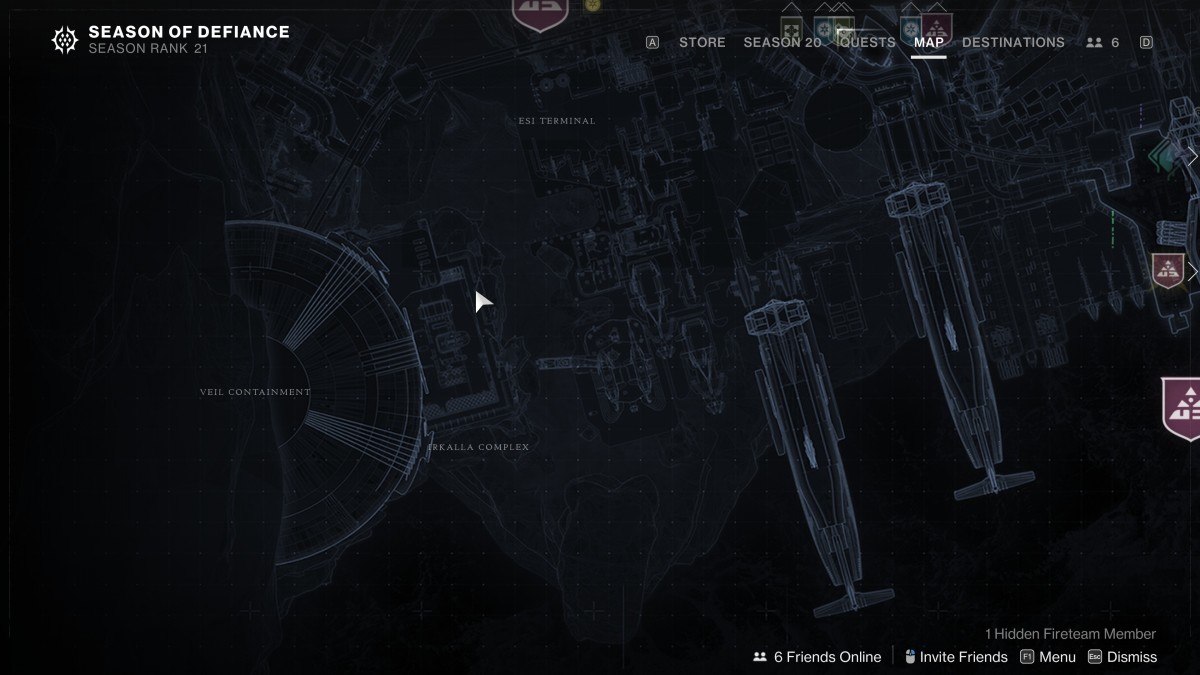
The second Lightfall action figure collectable is a little trickier to get your hands on. And it is worth noting that you cannot obtain this one until after you have completed the Lightfall campaign, because it is located in a key campaign location that is not reachable beforehand.
The second action figure can be found in the Irkalla Complex/Veil Containment area, which is the big courtyard area ringed with defensive walls where you and Caiatl defended against Shadow Legion forces in the final mission of the campaign. But how do you get back there when you’re not on a mission?
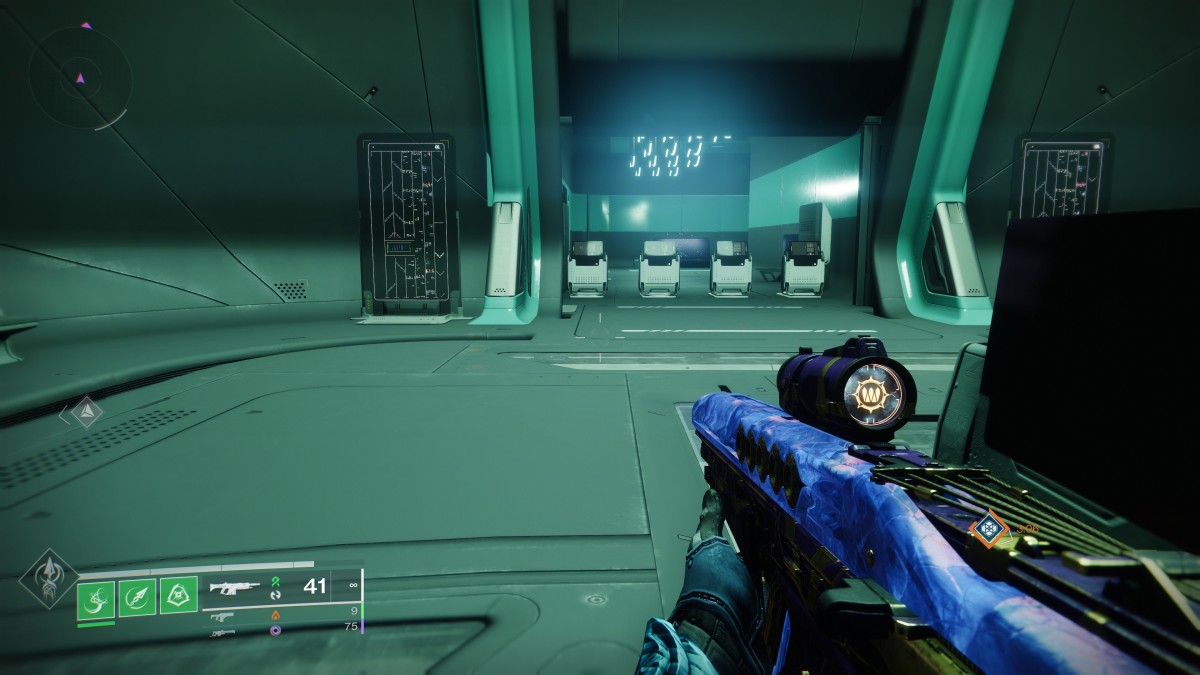
The route begins in Zephyr Complex, so head there from Strider’s Gate. Over on the right side after entering, you should find the path that leads to Esi Terminal—it looks like a subway/metro entrance with little turnstile computers. Head through there and when the path splits, go left to Esi Terminal.
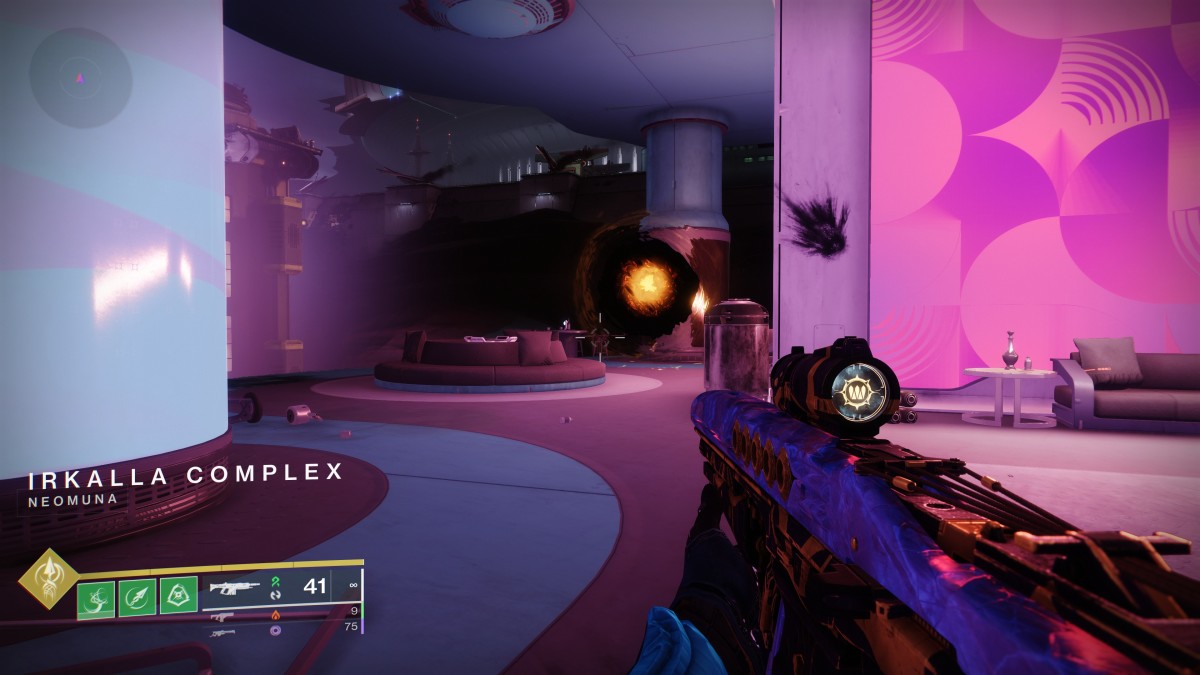
Once in the Esi Terminal section, turn left and follow the path to a junction, where you can either go straight ahead through a small door or turn right. Go straight ahead through the small doorway and follow the path until you emerge into Irkalla Complex, which is all apartments and balconies. Keep going and soon you should see an orange portal hovering in the air. Jump through it.
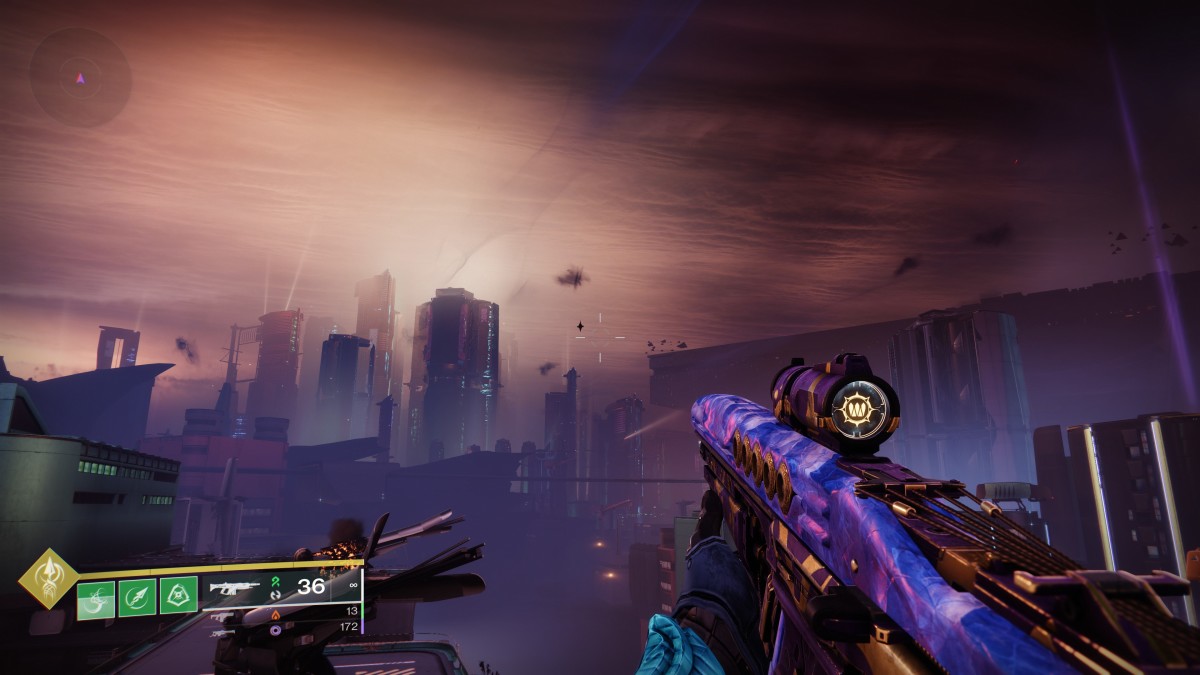
Ta-da, you are now standing outside the Veil Containment complex where you and Caiatl did the Gears of War “Hammer of Dawn” thing on all those Goliath tanks. But wait, there’s more.
Spin round and head through the gap in the Veil Containment wall defences, then immediately turn left and jump up over some boxes up onto the battlements. Up here, facing back into the city, you will see the wrecks of three giant cannons that are still smouldering following the events of the campaign. (Aren’t we all?)
You need to climb up onto each cannon, walk to the very end of its barrel, and look up in the sky. Off in the distance, you will see a Resonant Splinter—remember them? Those diamond-shaped little gizmos that you shoot in the Wellspring activity, among others?
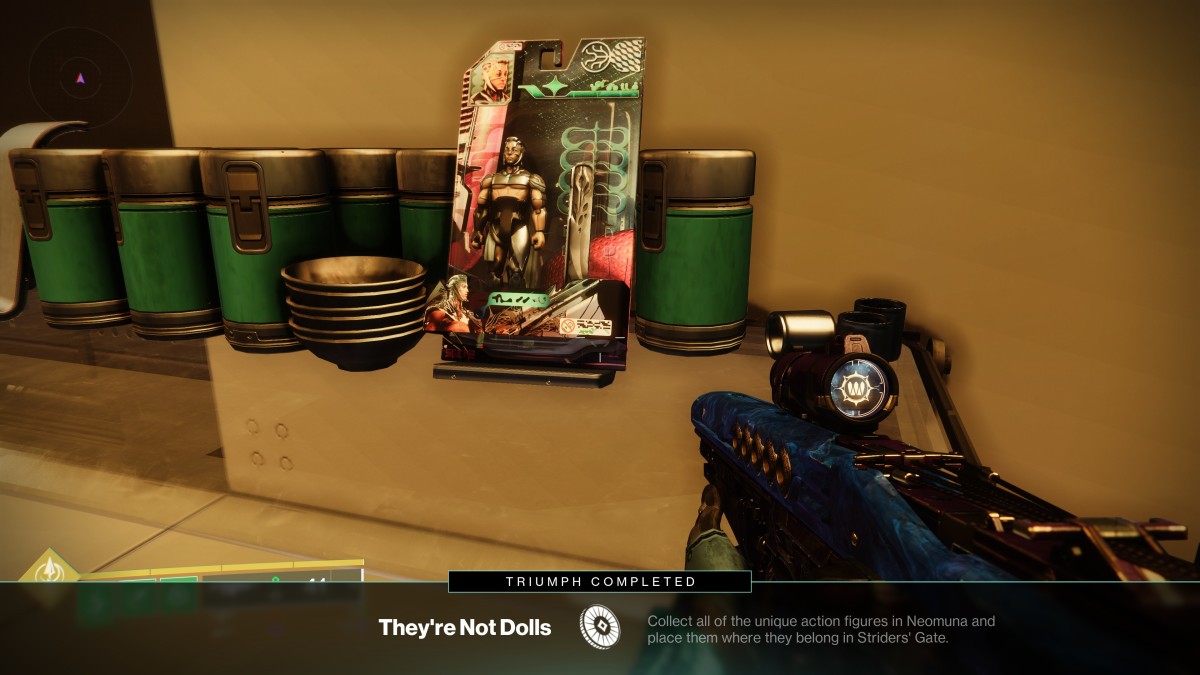
There is one Resonant Splinter to shoot per cannon, and after taking out the third one, the second action figure will spawn at your feet, allowing you to collect it and return to the hub.
(Of all the unresolved narrative mysteries in Destiny 2: Lightfall, the one that haunts us the most is why on Earth you have to shoot these Resonant Splinters in this precise way in order to get a random collectable. Bungie why!!!)
Lightfall action figure - Zephyr Concourse juice bar
The third action figure continues the tradition of hiding Lightfall collectibles behind cute little puzzles. In this case, players have to defend the Zephyr Concourse juice bar from Shadow Legion forces, most of whom have names like “Belligerent Patron”. Marvellous.
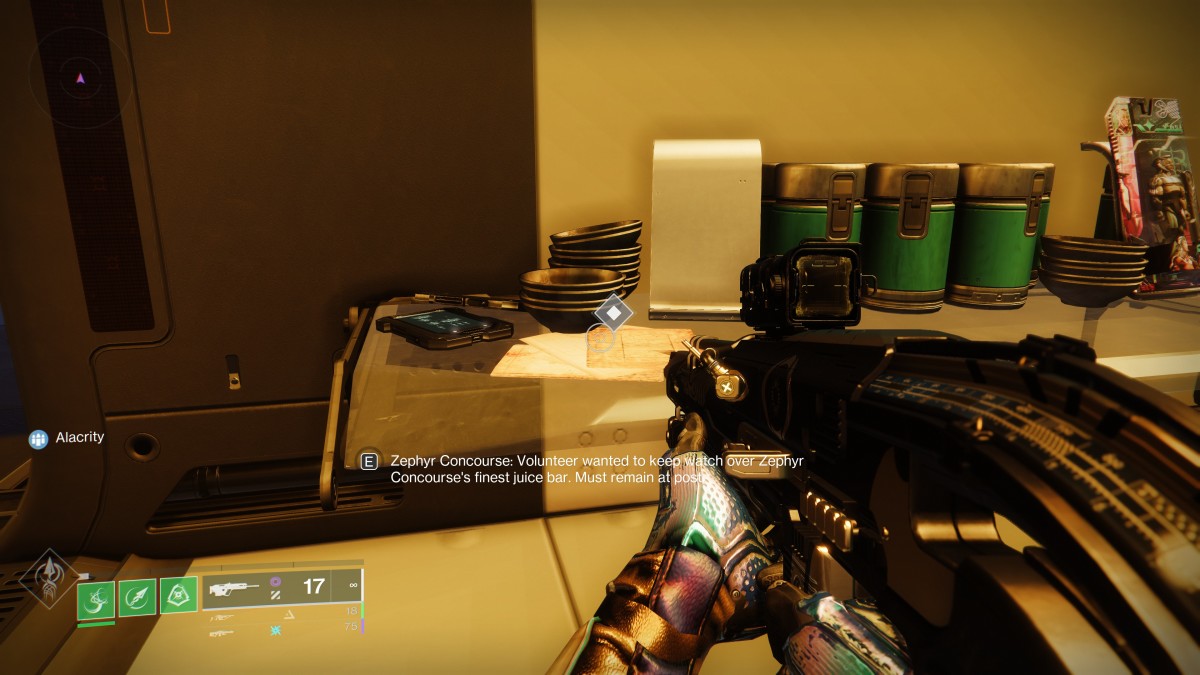
To get to the juice bar, head to Zephyr Concourse from Striders’ Gate and go left around the outside of the big circular structure in the center of the map. You should see stairs leading up to a mezzanine with lots of chairs and tables strewn with drinks. The juice bar is in the middle and has a little PDA on it with an “Activate” prompt.
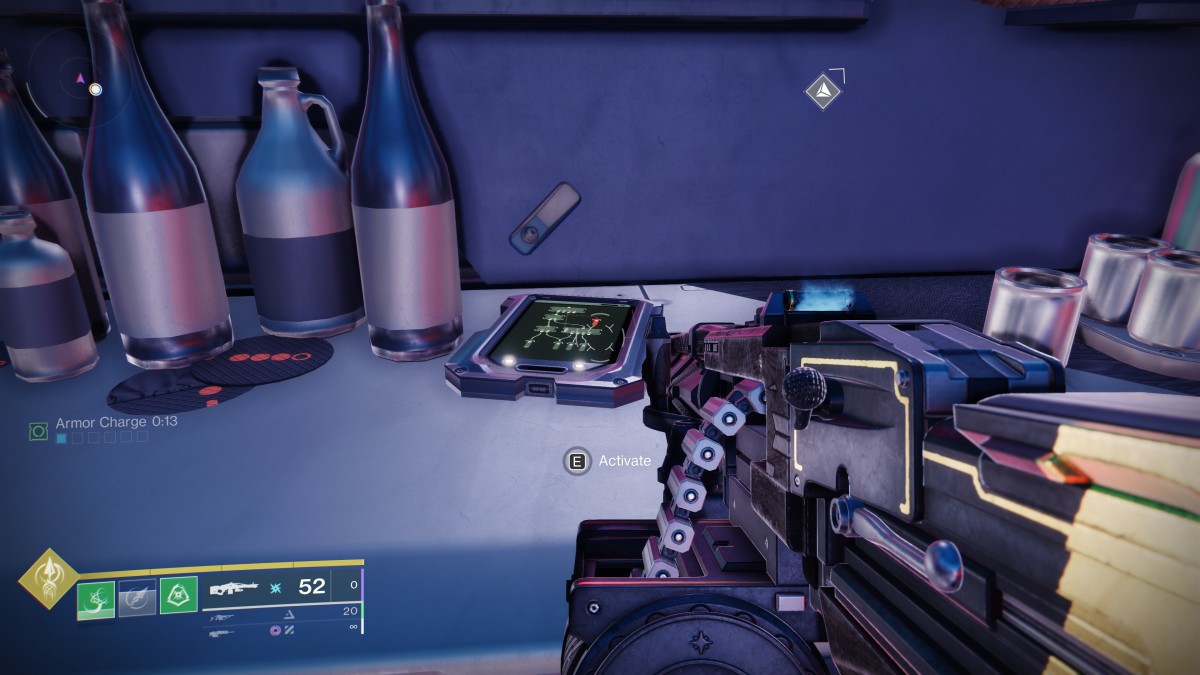
Once you activate it, you have to stay behind the bar and defend it from Shadow Legion, who will spawn in one by one on all sides. Some of them are quite meaty, so make sure you have a fusion rifle or something else that packs a punch from distance to clean them out quickly. If you let one get to the bar, then you have to start over.
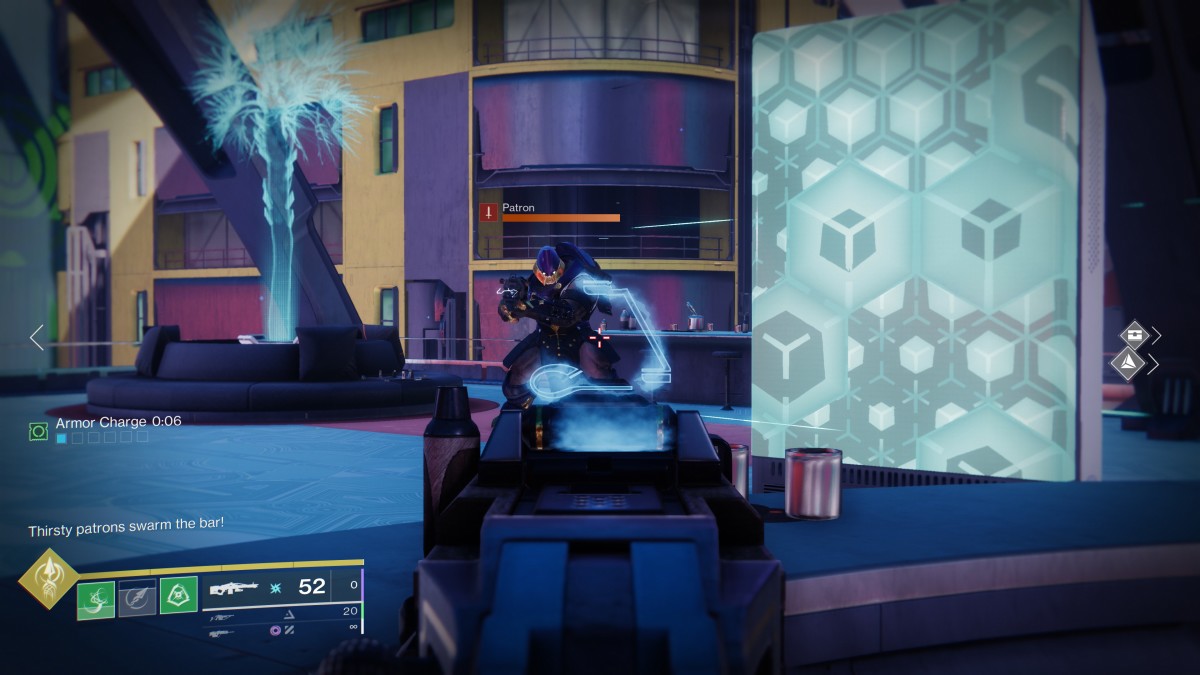
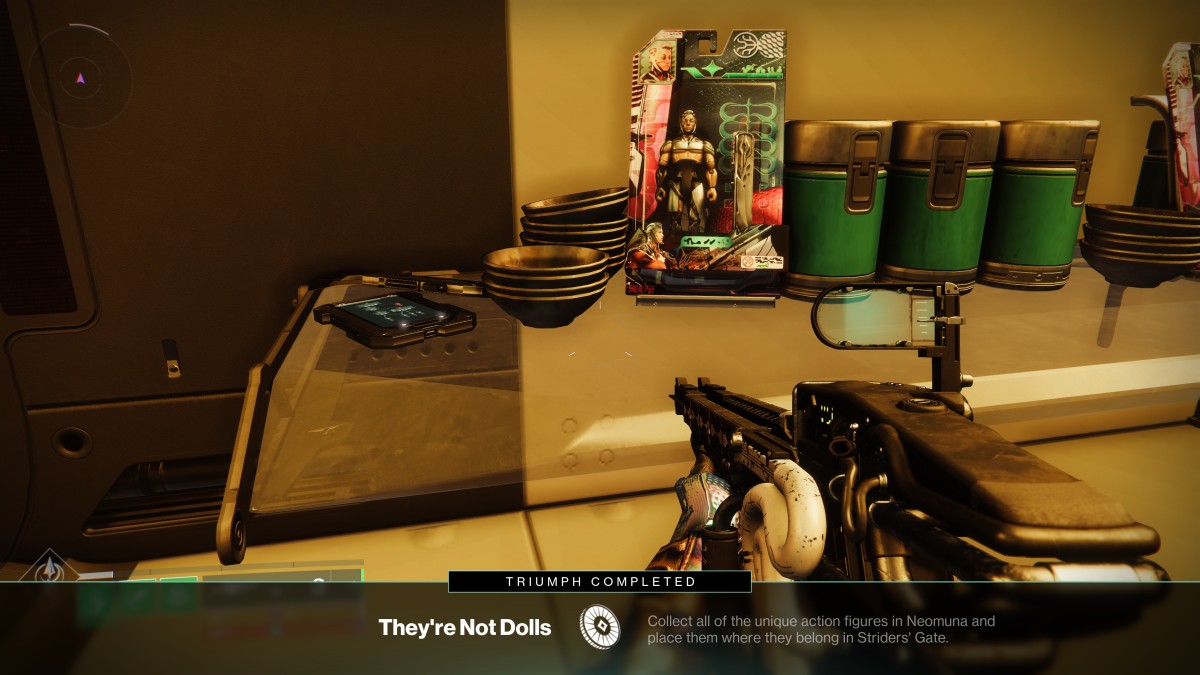
If you can fend them all off, however, you’ll see a message saying a secret has been revealed, and the action figure will spawn on the bar counter for you to collect.
Lightfall action figure - Maya’s Retreat
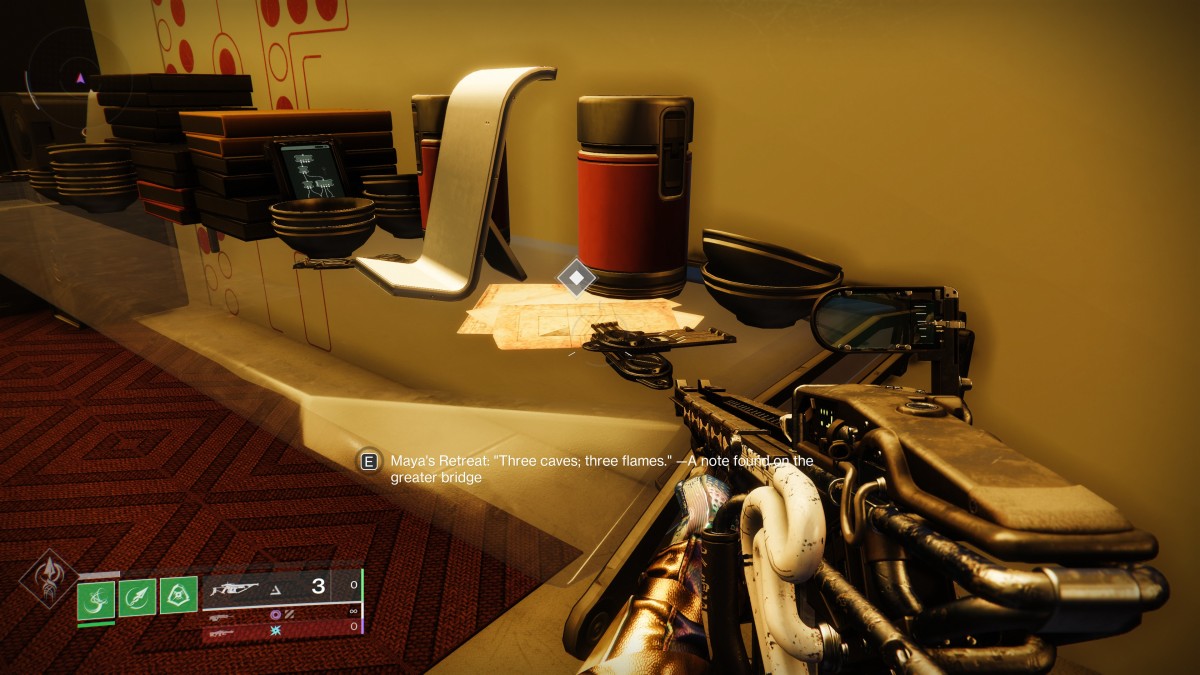
Maya’s Retreat is where you did all the Strand grapple hook training during the campaign. You can get to it through the exit on the east side of Liming Harbor, through a gap in the rocks. (If you get to where you fight the Tormentor in the new strike, you’ve gone too far.)
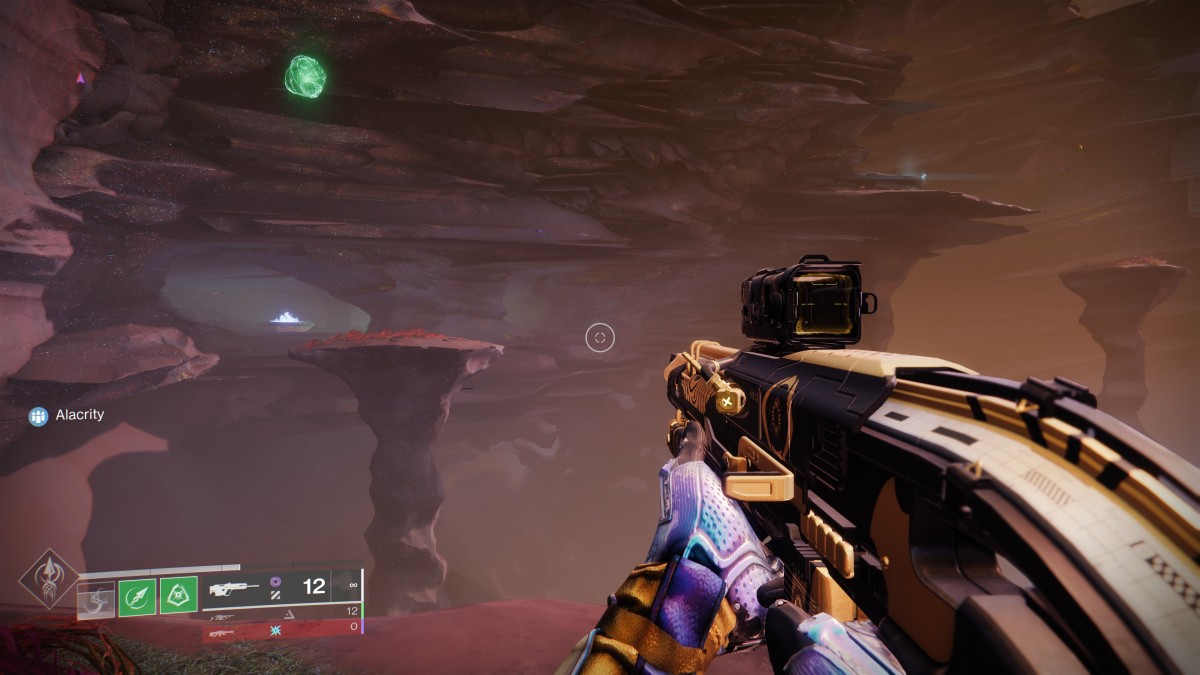
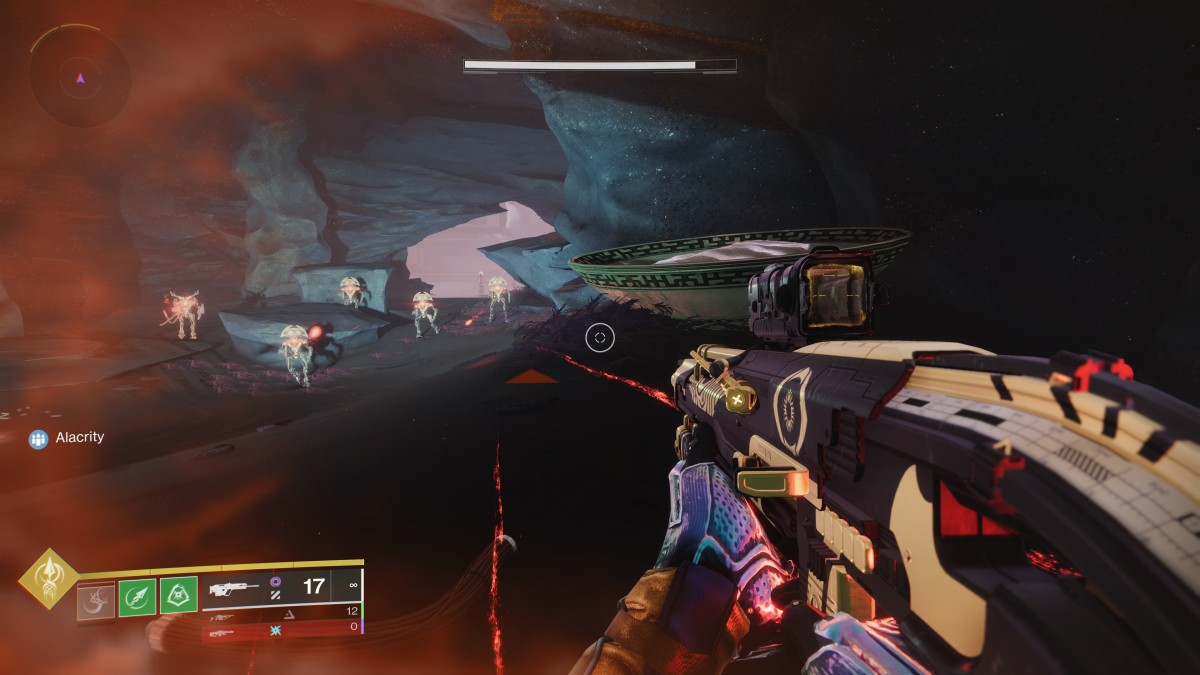
Once you reach Maya’s Retreat, you will follow roughly the same route as the grapple course, and you’re looking for three big basins that need to be lit on fire. They are hiding in plain sight around the caves. Light ’em up, and you will be able to collect the next figure.
Lightfall action figure - Esi Terminal
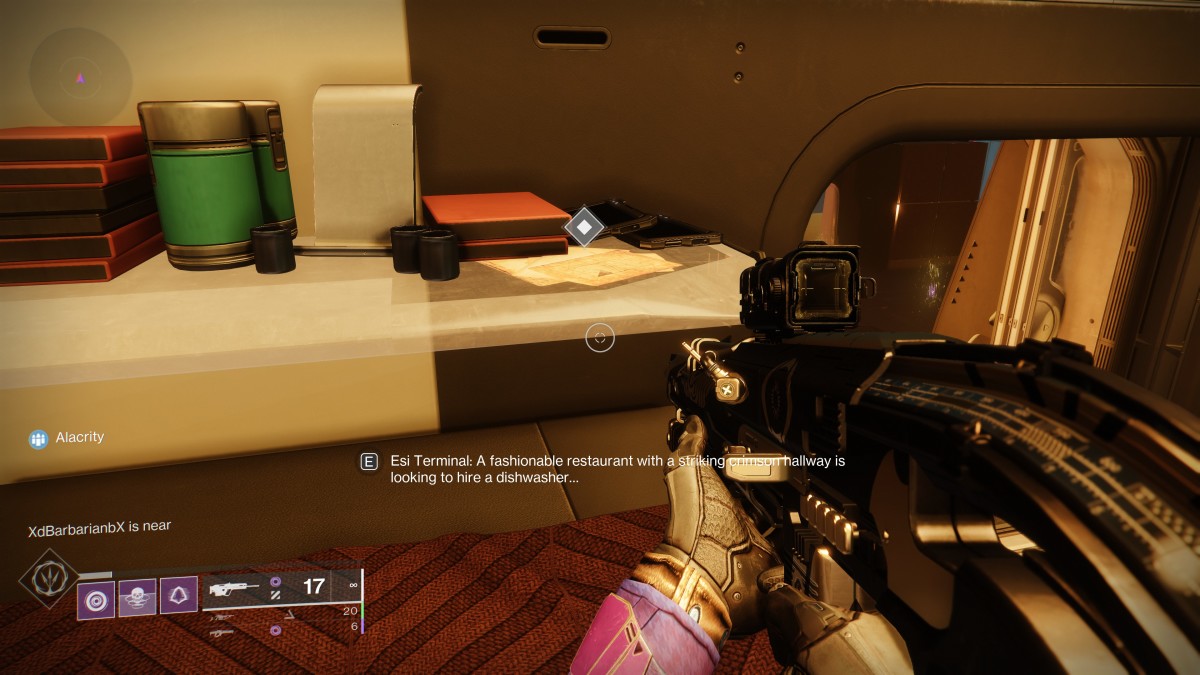
Esi Terminal is the location of the next action figure challenge, and is accessed via the route that takes you towards Irkalla Complex. From Striders’ Gate, head into Zephyr Concourse and hang a right so you’re skirting around the right side of the circular structure in the center of the area. Go up the stairs into the subway entrance, then take a left into Esi Terminal.
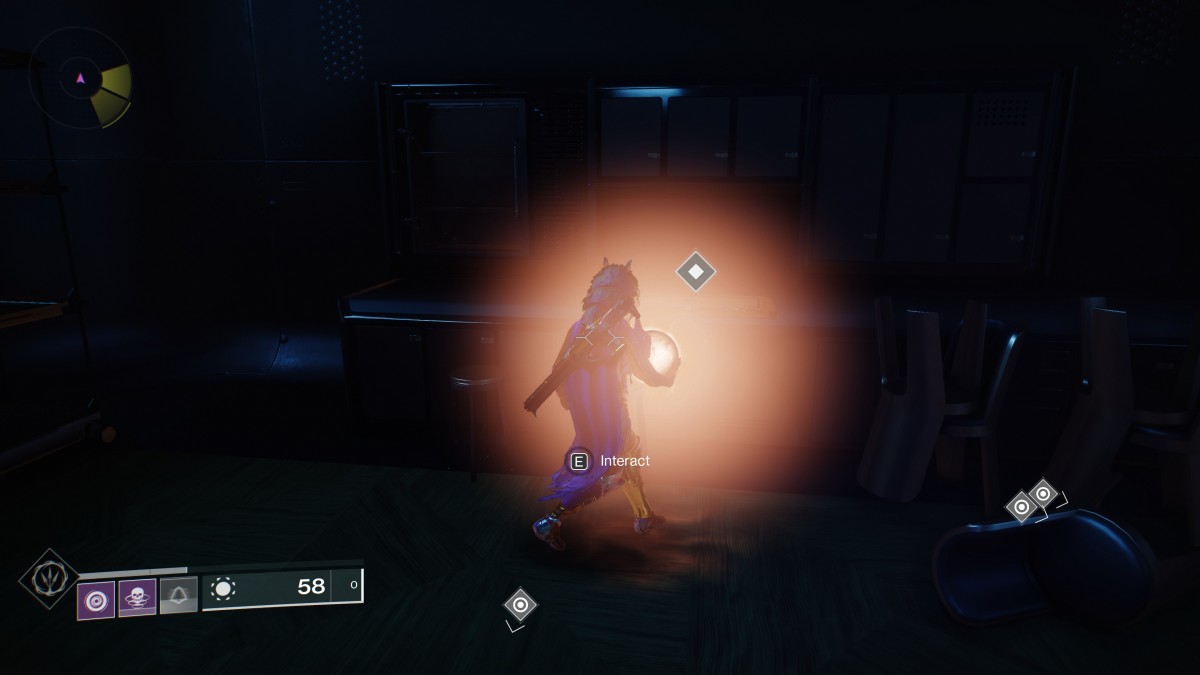
When you emerge into Esi Terminal, go left, then right and down some stairs, and you’ll see the entrance to the restaurant on the left. It’s where you picked up Strand in the campaign to use your Super on one of the mini radial master suppressor wotsits.
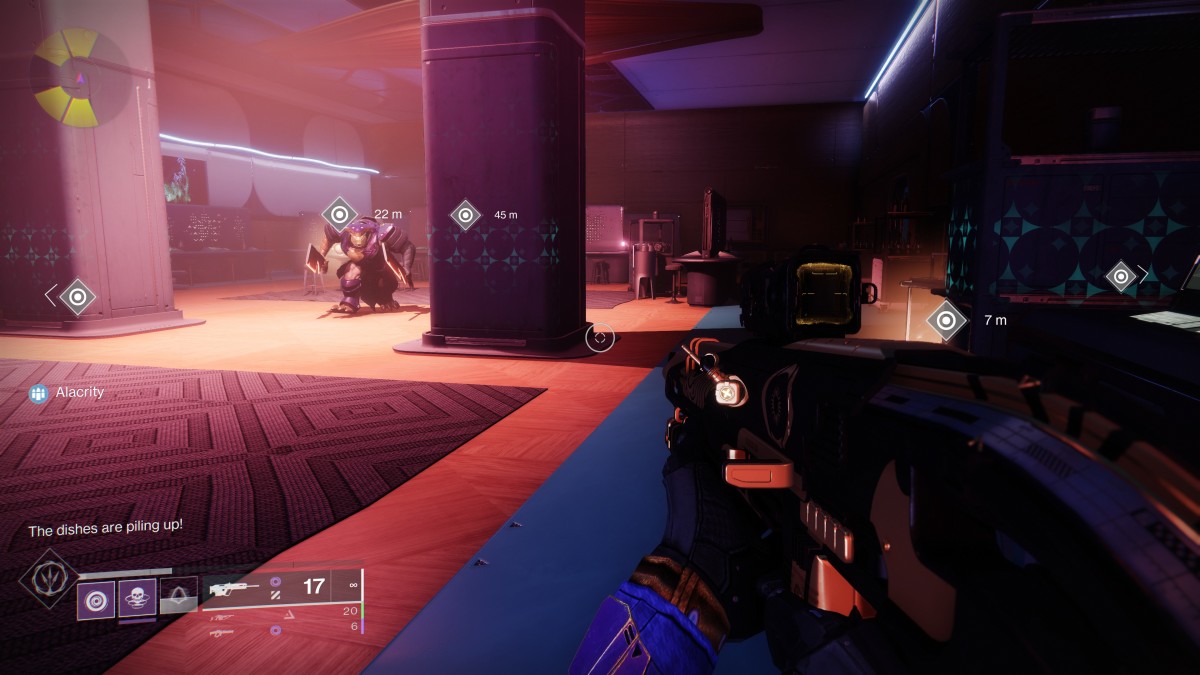
Inside, you can find an activation prompt next to a kitchen sink in one of the side rooms. You’ll be told that the dishes are piling up, and see a bunch of objective icons on the HUD. You need to pick those “dishes” up and bring them to the sink, but without being beaten to a pulp by the cleaver-wielding Shadow Legion Cabal with immunity shields. (Invisibility Hunters will be laughing all the way to the sink.)
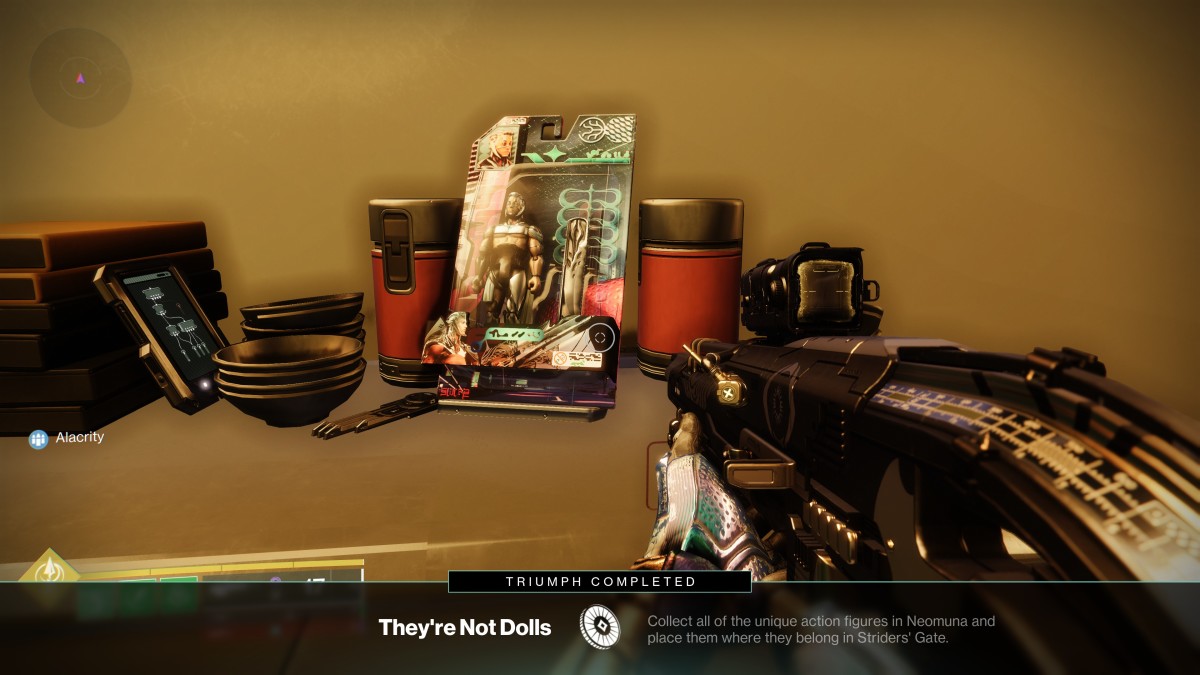
Successfully deposit enough dishes, and your next action figure is revealed.
Lightfall action figure - Liming Harbor security desk
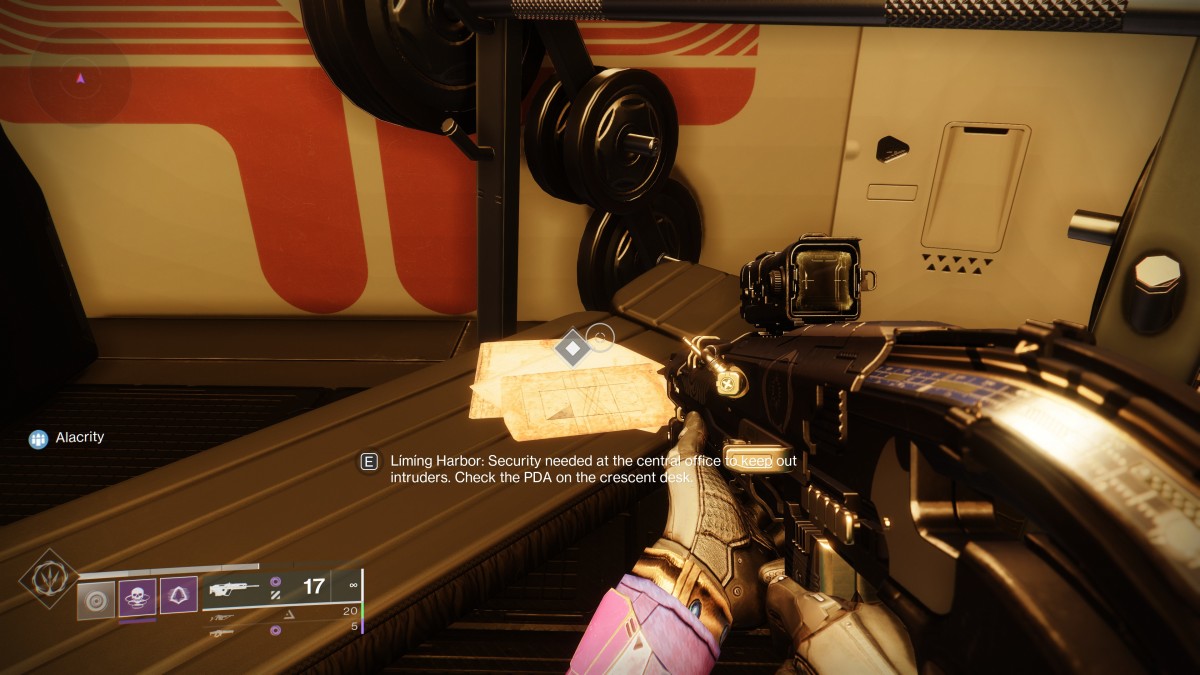
The Liming Harbor security desk is a bit harder than the others on this list, and it may help if you can secure the assistance of a friend—or if you do it during a Terminal Overload period, so that there are other Guardians nearby who can help you out.
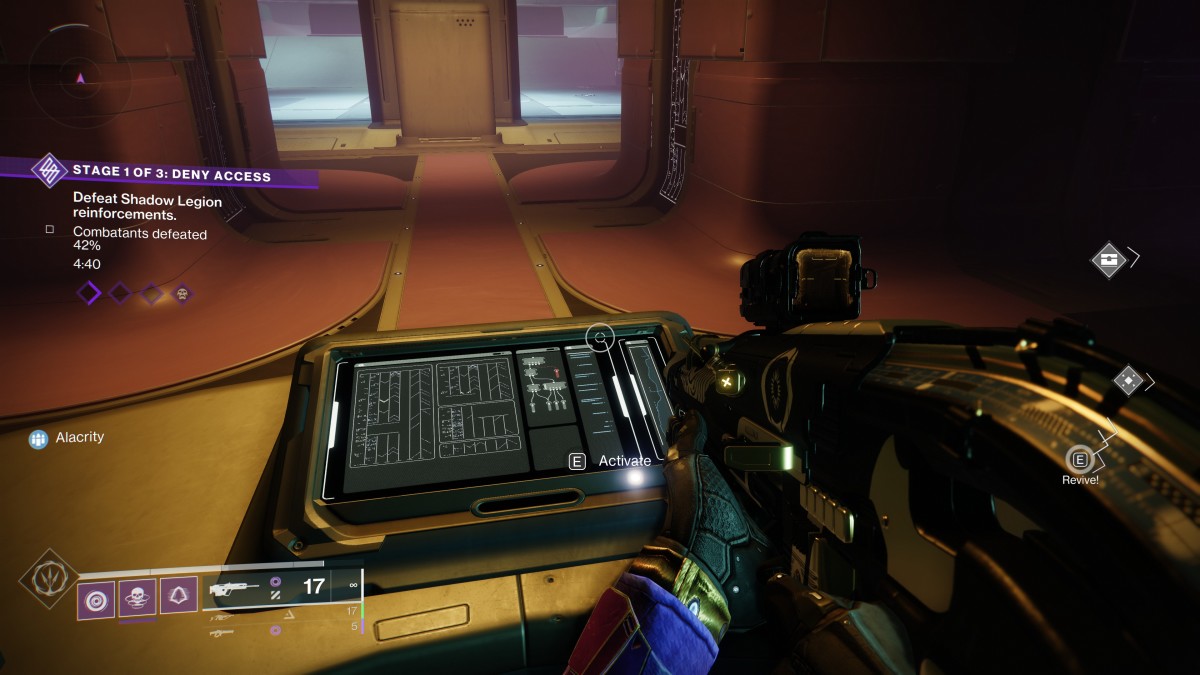
Liming Harbor is accessed through the south exit of either Zephyr’s Concourse or Ahimsa Park. You want to head to the building that leads to Radiosonde—you can’t miss it, it’s the big building near the “seafront” with an entrance in the center at the bottom.
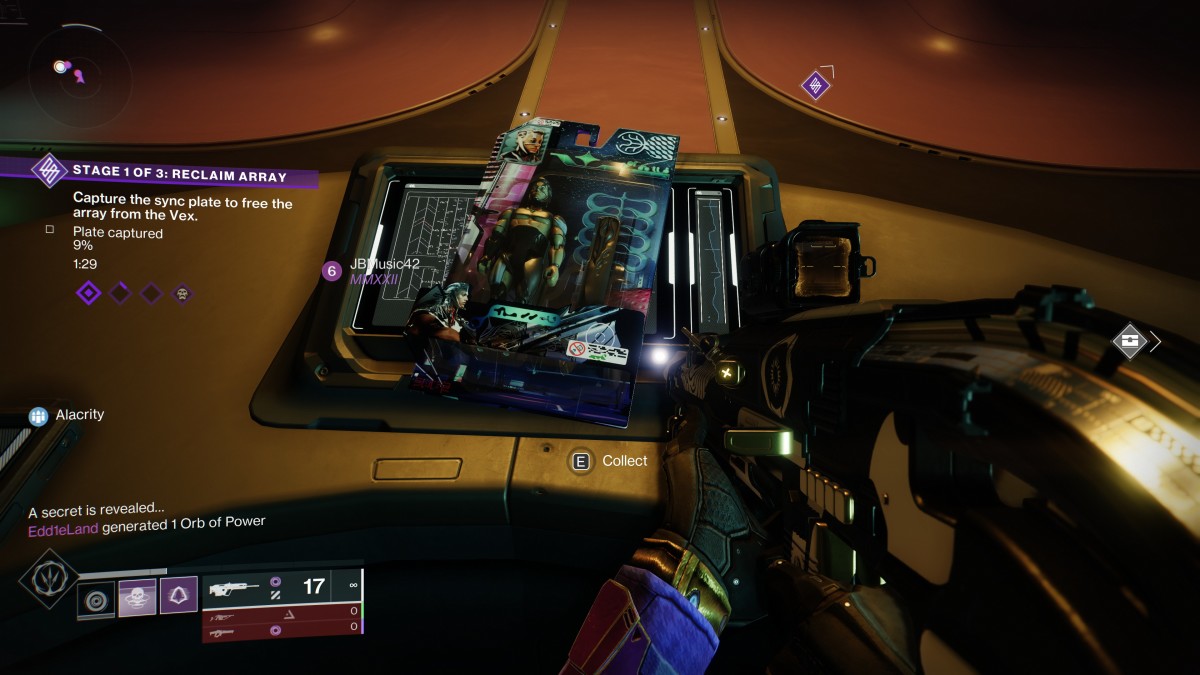
Inside, you’ll find a little security desk between a pair of doorways that head deeper into the complex. There should be a PDA at the desk that you can activate. Jump behind the desk and hit the button, and then you will need to keep your wits about you as the position is assailed by Vex enemies that spawn one by one. It’s a bit like the juice bar challenge, in that you can’t let any of them through, and if you leave the security desk you have to start over.
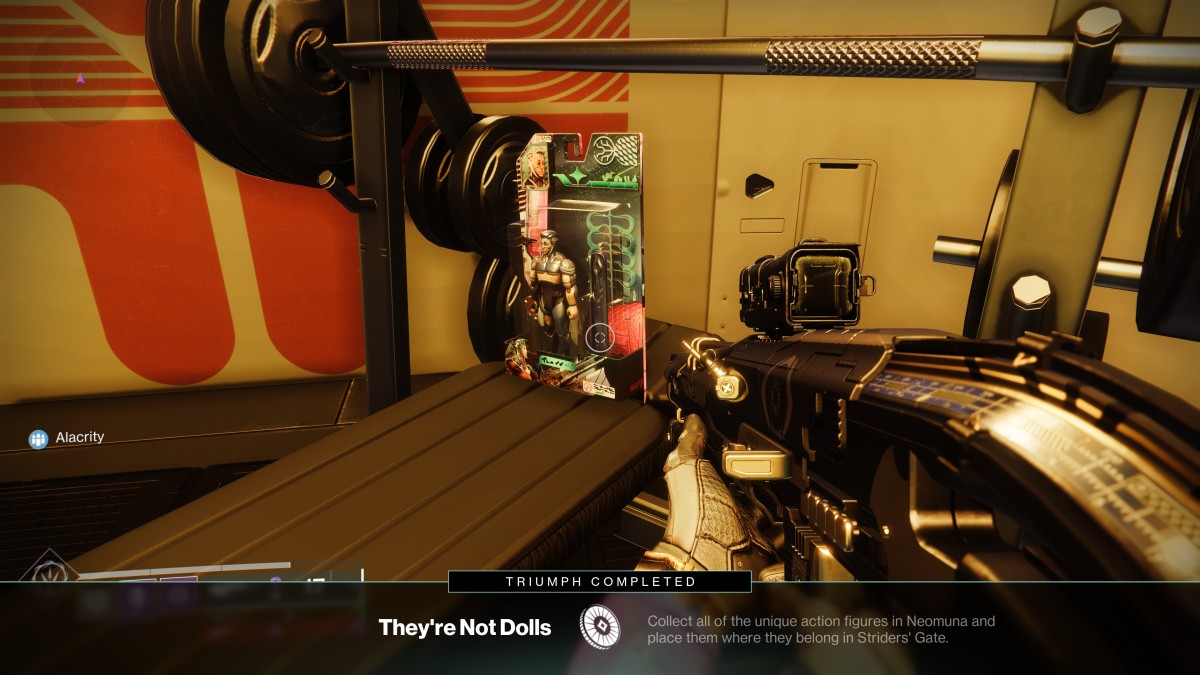
Successfully repel enough Vex, and you will be able to collect the next action figure.
Lightfall action figure - Striders’ Gate arcade machine
Your mileage may vary, but we found this one the most irritating action figure challenge to complete, requiring multiple attempts. Fortunately, it’s one of the easiest to locate: it’s activated via one of the arcade machines in the room where you place all the action figures, just to the left of the weight machines in the raised area.
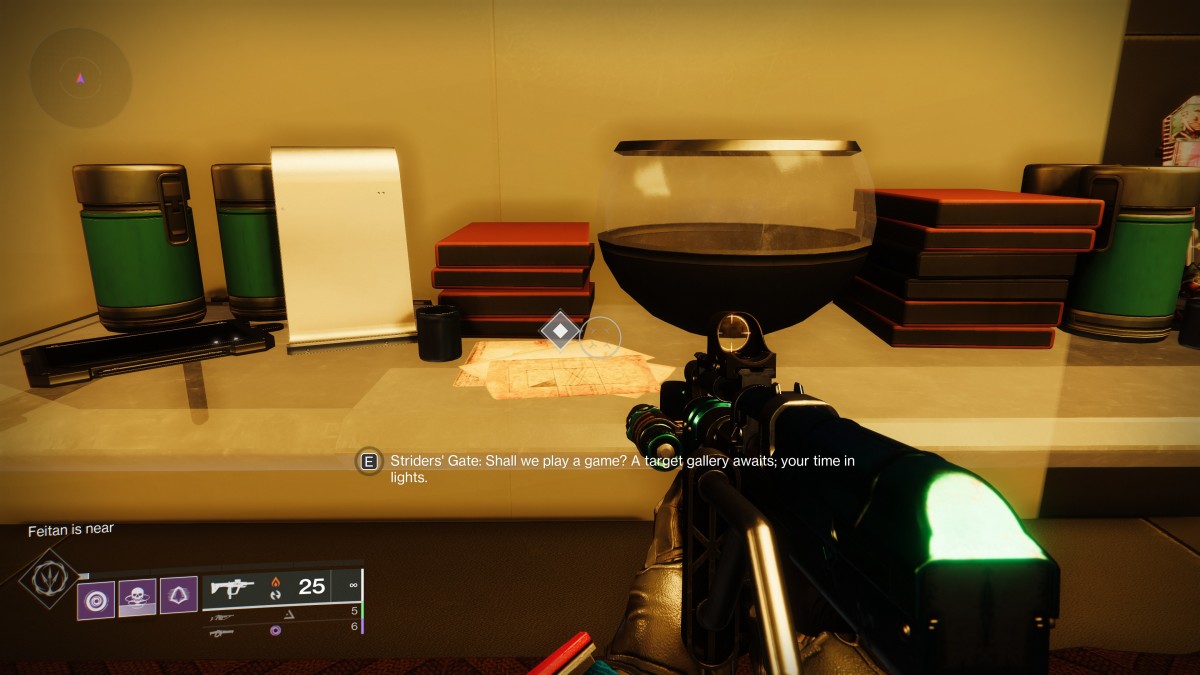
Once you hit the button, you will be transported to a balcony overlooking the lower part of Striders’ Gate, from where you are going to shoot a lot of little explosive canisters and Vex crystals as fast as you can.
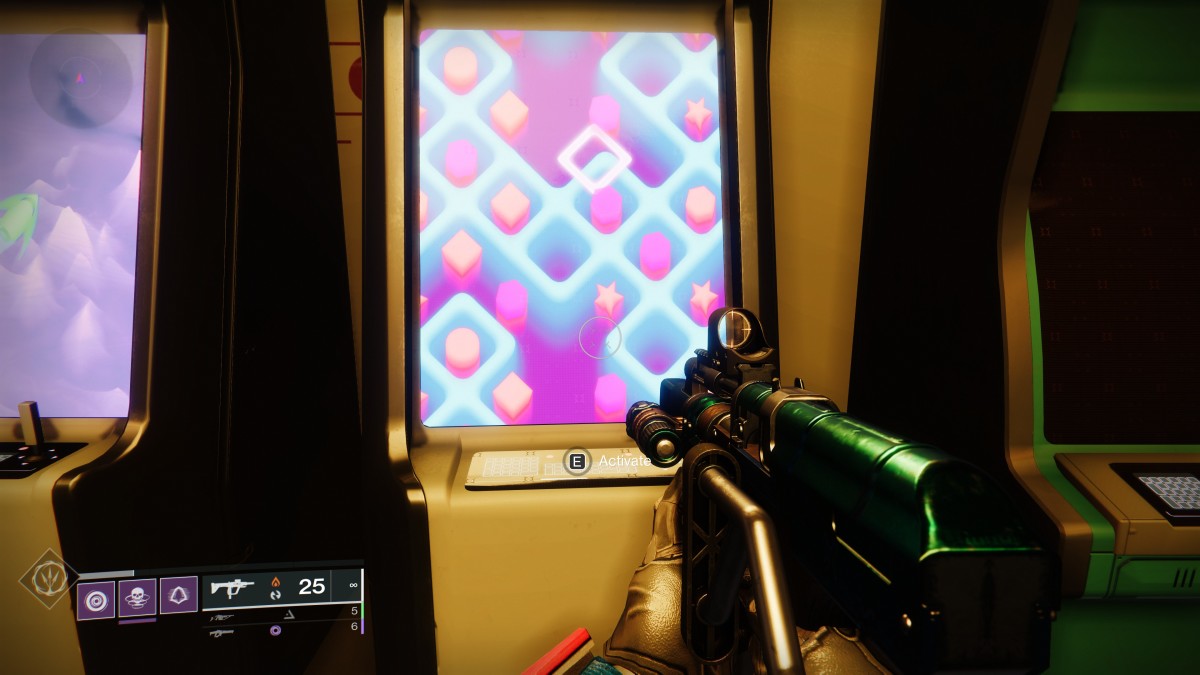
Up in the top left of your view, there are a bunch of diamond-shaped markers. This is a visual indicator of how much time you have left. Larger Vex crystals periodically appear in a few spots around the area, and shooting one of these tops up your timer.
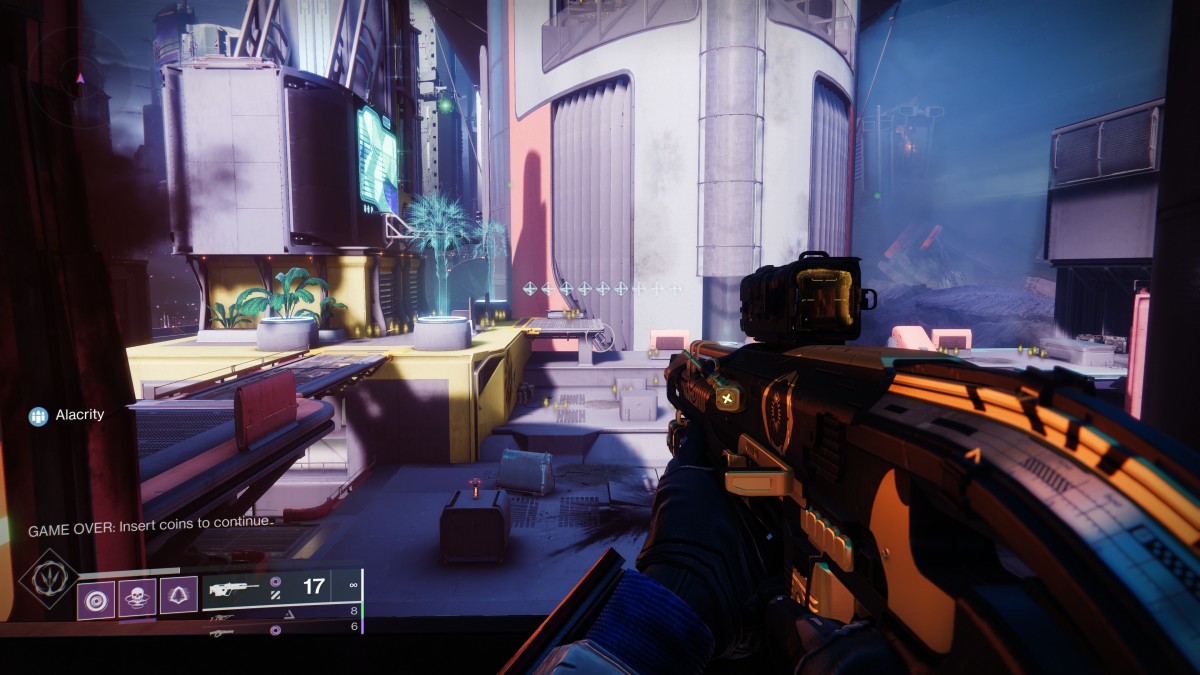
The main goal, though, is to hit the little explosive canisters. The first few spawn on the floor in front of you, and then some more appear at the back of the arena. More will appear each time you finish a sequence. There are a few dozen canisters to get through in total, so make sure you’re hitting those Vex crystals as well, or else you will run out of time.
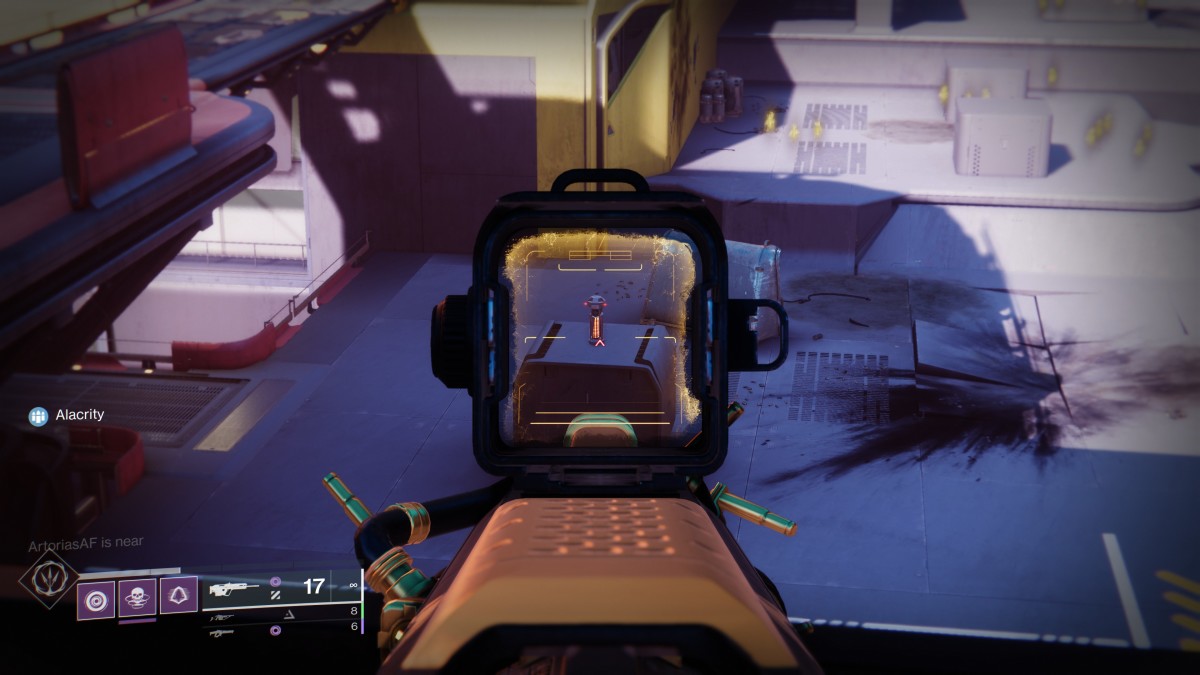
For the final grouping, look up at the walls of buildings on the left and right periphery of the Striders’ Gate area. Try to double-tap one of the canisters on the walls (or using a more powerful weapon like a sniper rifle) to blow them all up in one go, because a weak shot will dislodge one and send it tumbling, making it harder to clear them all in time.
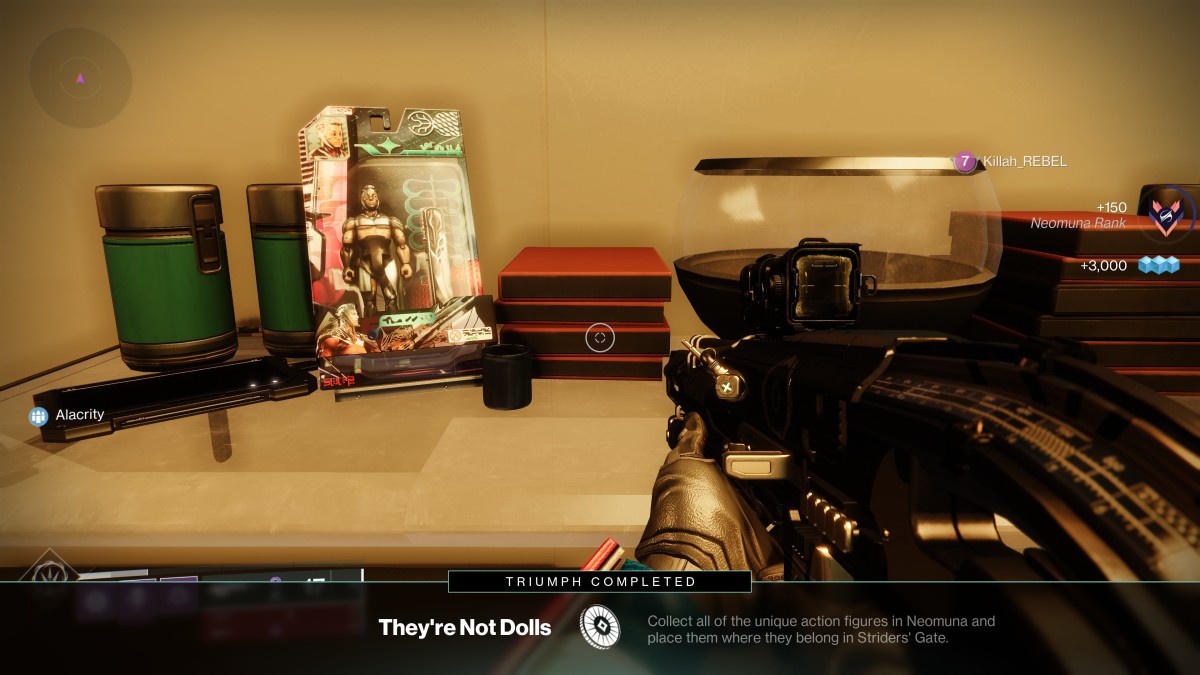
Once you manage to complete the sequence without running out of time, you will be transported back to the apartment area and given your action figure.
Lightfall action figure - Radiosonde clock dials
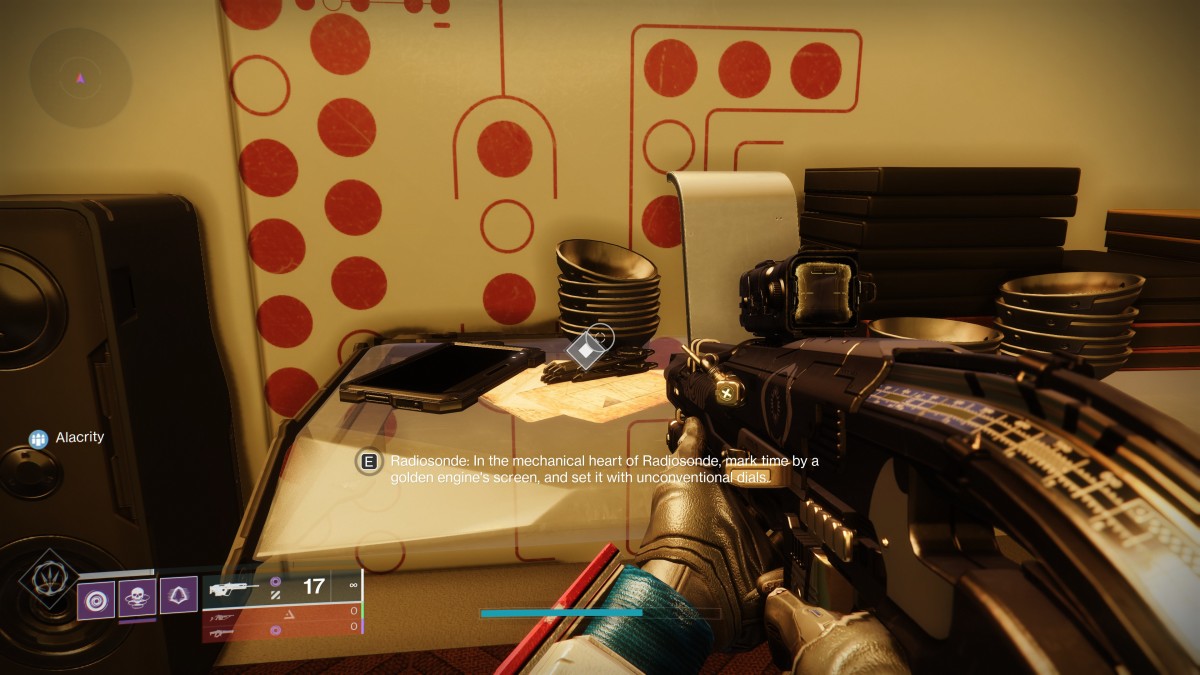
This one is more sedate again, thank goodness. We’re heading deep into the heart of Radiosonde, the big building down in Liming Harbor where you fought the Vex to stop them from taking over the CloudArk.
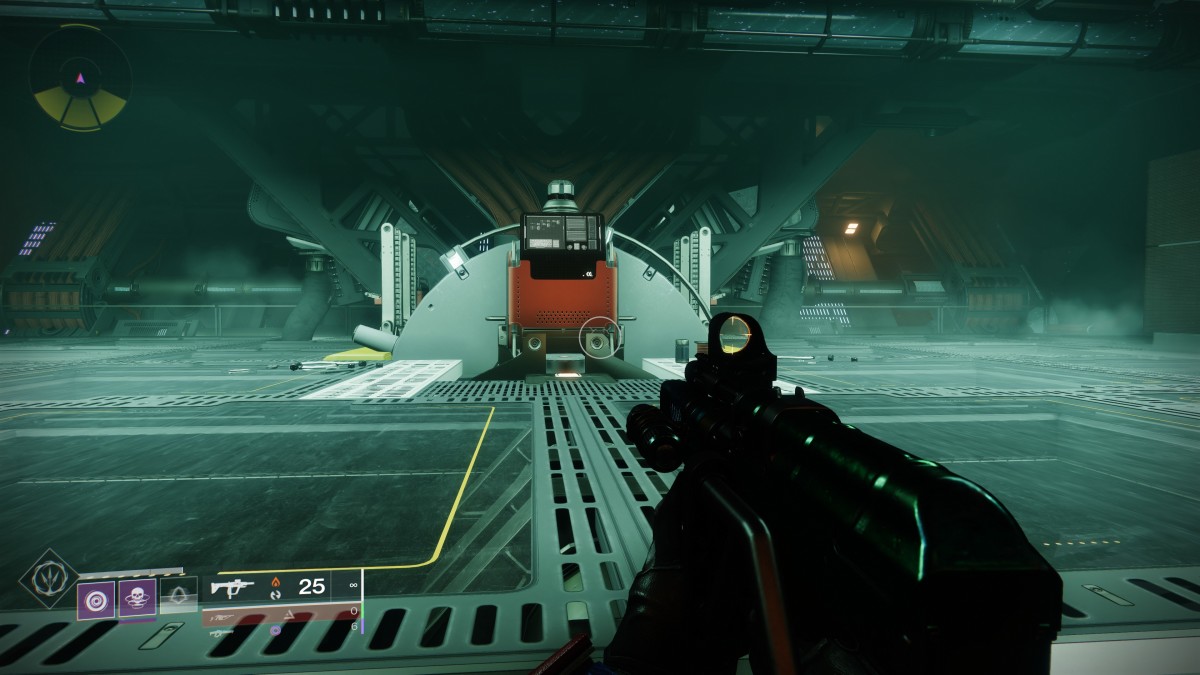
Follow the usual route into Radiosonde and stop when you get to the room in the campaign where you finished off the multi-room Vex hydra battle before rebooting the CloudArk. There is a terminal in the center of the room, which you can activate.
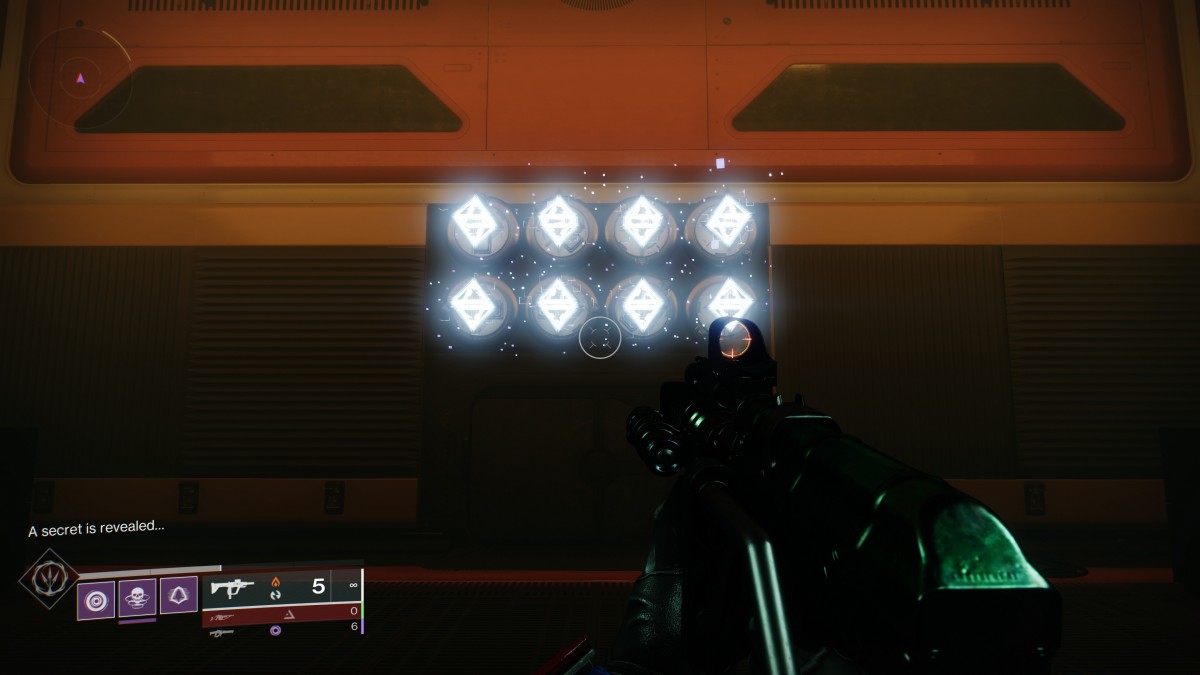
After hitting the button, spin 180 degrees and look up at the wall. You’ll see eight icons that look a bit like clock faces, and some white arc lines on the wall that shift between different patterns. The solution here is to shoot the “clock” that matches the number of white lines. So if you see nine lines, go for the second from left on the bottom row, which points at 9 o’clock.
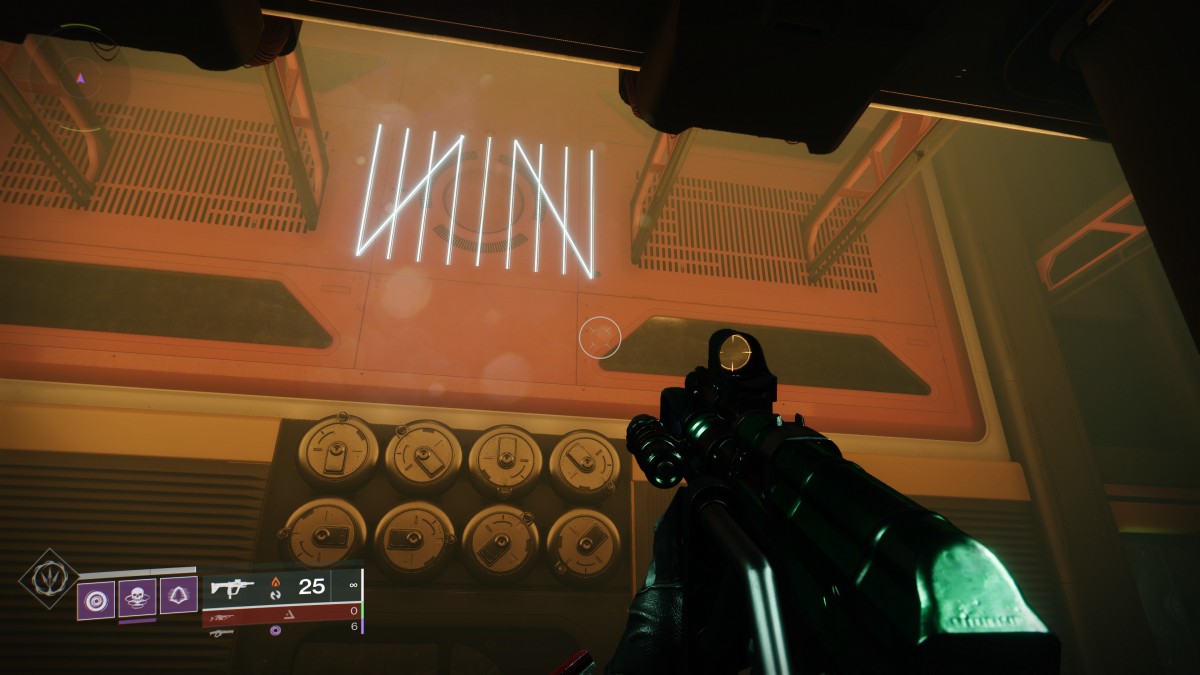
If you want to spend a few minutes figuring it out to give yourself a sense of achievement, be our guest. If not, here is the order in which to shoot the dials:
- Second from left on the bottom row
- Fourth from left on the bottom row
- Fourth from left on the top row
- First button on the bottom row
- Second from left on the top row
- Third from left on the bottom row
- Third from left on the top row
- First button on the top row
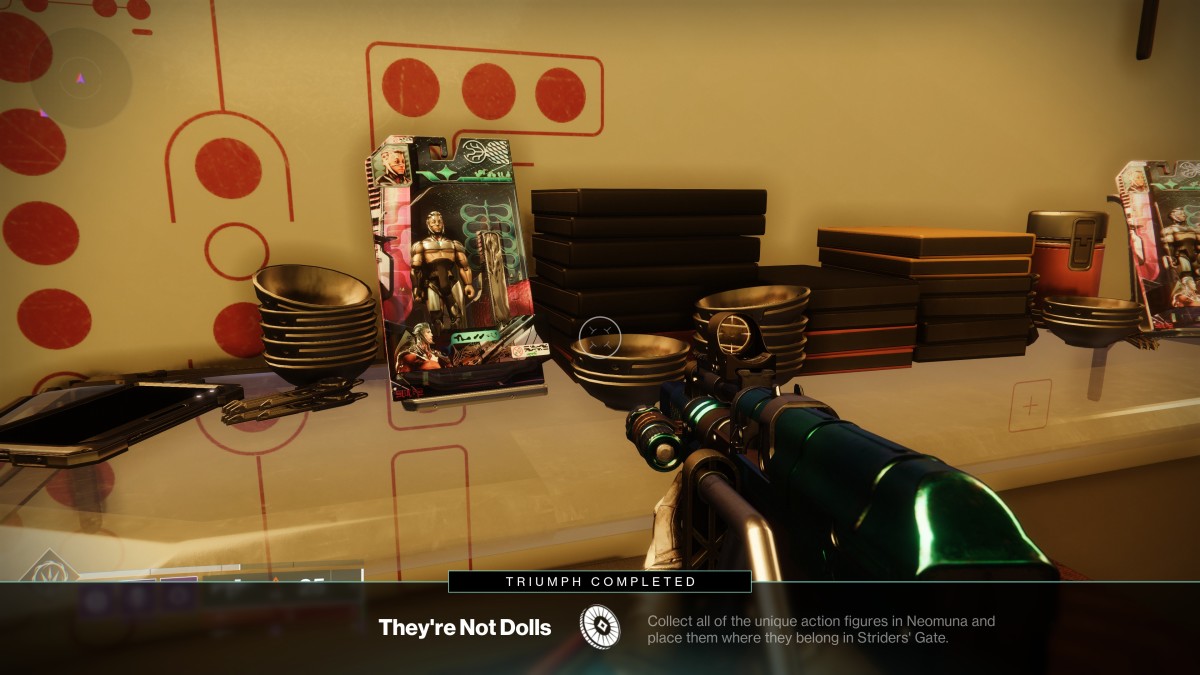
As you shoot each dial, it will light up with an arc diamond. Once they are all illuminated, you will be presented with your action figure by the terminal.
Lightfall action figure - Typhon Imperator Radial Mast room
The final action figure is the longest trek and requires some hot-footed jumping around, so if you’re a Hunter it may be time to dig out your St0mp-EE5 boots. Otherwise, you’ll probably just need a bit of practice or quite a mobile build.
The action figure is located deep in the Typhon Imperator where you fought Shadow Legion in a failed attempt to take down the Radial Mast. Yes, that room. Yes, it’s quite a long way inside the ship. Fortunately, Bungie has added one of those handy orange teleporters partway into the ship, which cuts out a lot of the journey from the campaign.
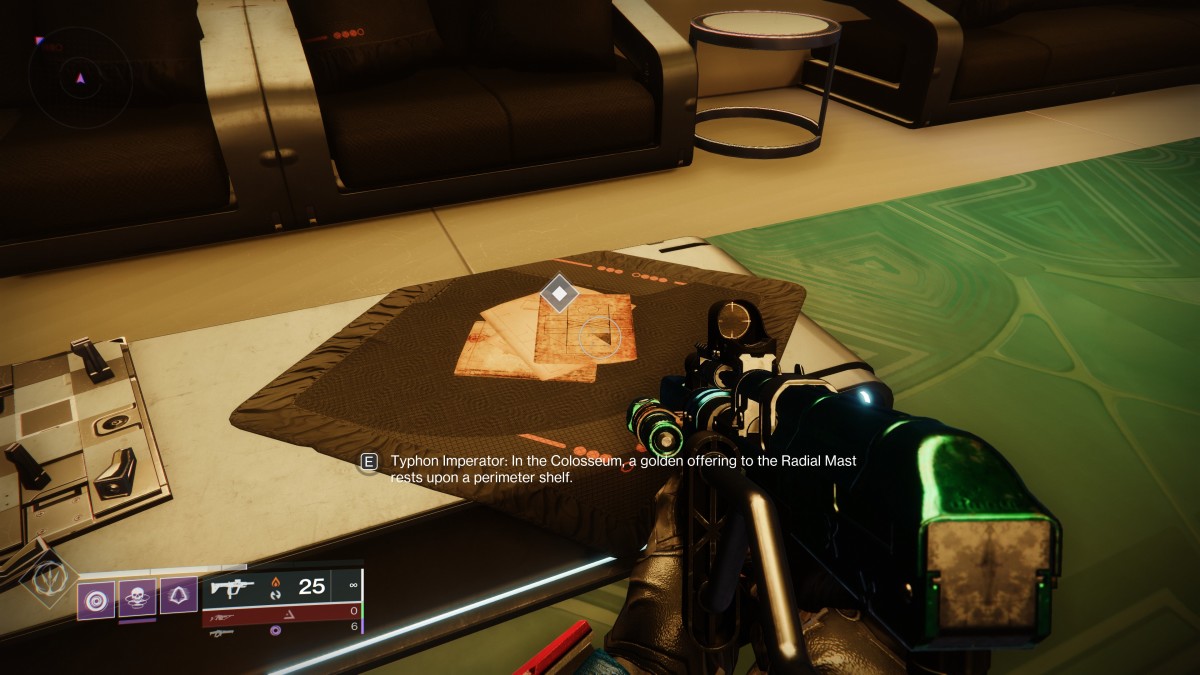
In case you’ve forgotten the way, the Typhon Imperator is on the left side of Ahimsa Park (seriously, you can’t miss it), with the entrance directly under the giant statue of Calus’ face. Once inside, follow the obvious path until you reach a room with some Shadow Legion.
Hop over the railing and take the right exit, then drop down into a treasure room. Try to land on the second floor platform, and take the left exit at this level. (If you fall down to the floor, then it should be easy enough to climb back up.) Then use the pillars in the next room to ascend higher to the next exit. Keep looking up in the next room, and you should see a passageway open in the top corner. Take it.
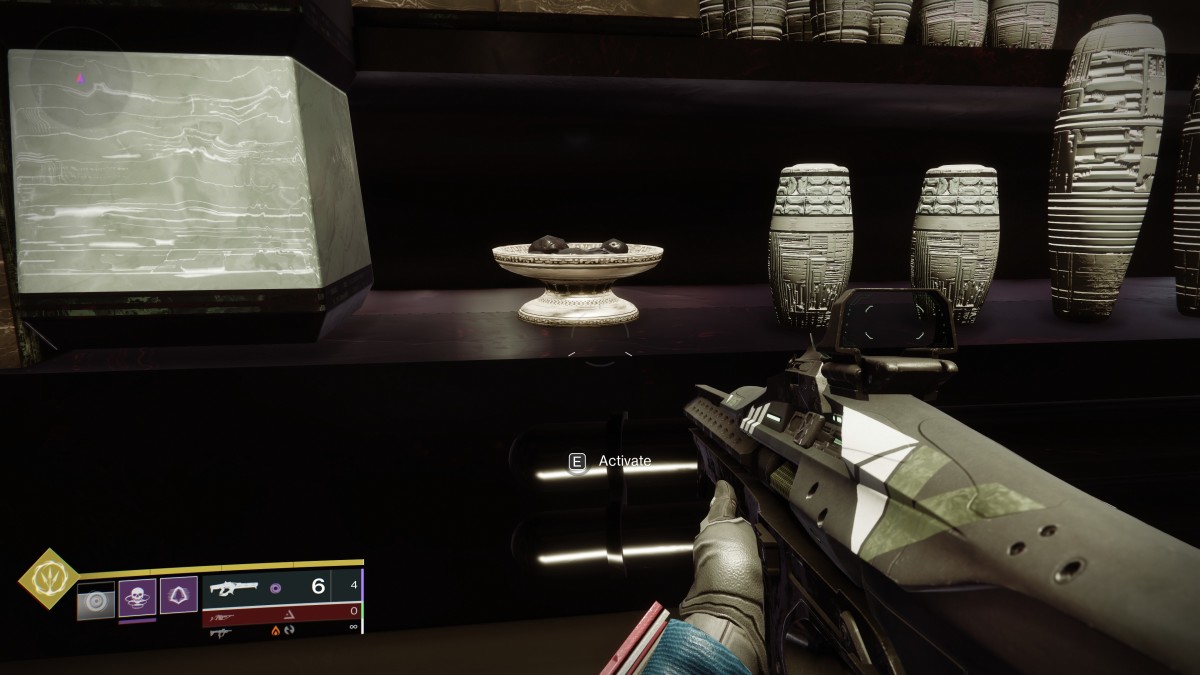
Next you’re in a room with more Shadow Legion, but just run through and climb some more pillars to take another roof-level exit. The next room is a bottomless pit with some pillars around the edges. Use them to skirt the room and exit through another doorway in the top right. Then just follow the path into another treasure chamber, and you’ll see the orange teleport at the top of the stairs.
This dumps you right outside the Radial Mast room, which is full of Shadow Legion. Clear them out, then head over to the raised platform on the right side of the room where you activated a plate during the campaign. In the back of that area, there’s a little dinner plate with some odd-looking stuff on it, which you can activate.
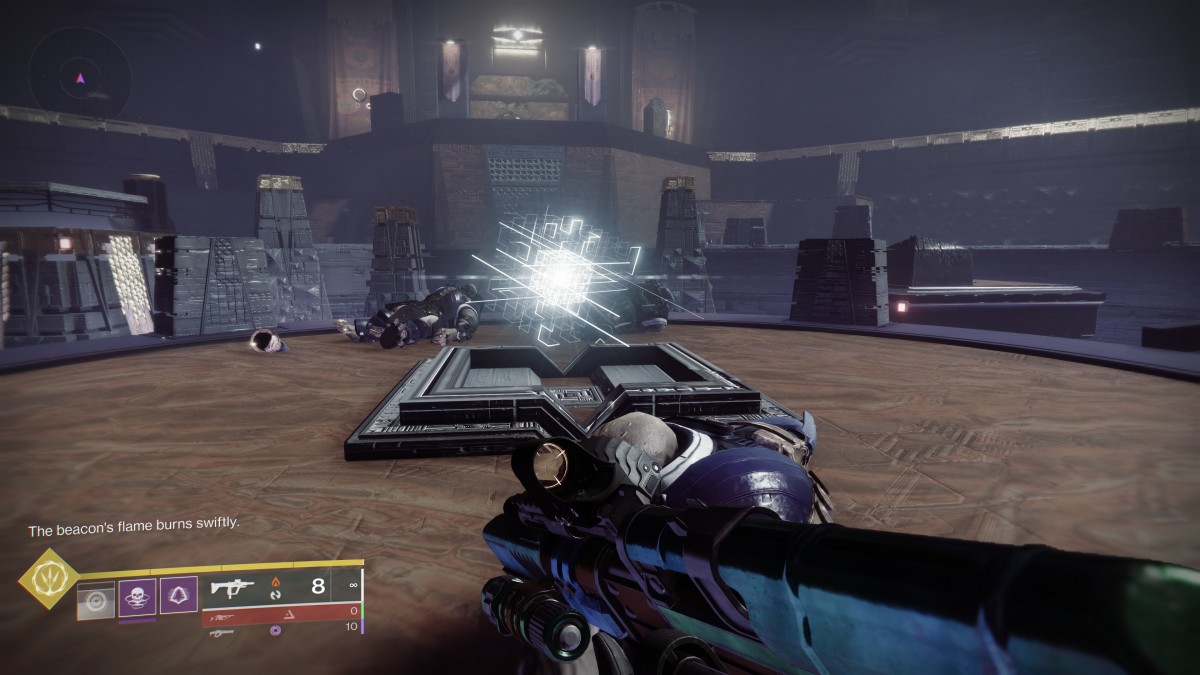
Hit the button, spin 180 and you should see a white object at the edge of the platform that looks a bit like a Vex glyph. You are going to jump around the room collecting a bunch of these. Collecting each one then points roughly to the location of the next one, and there are two slightly irritating jumps: one that involves going from the plate on the other side of the room up to the highest platforms, and another that is suspended in the middle of the chamber and requires a precise high jump from the previous glyph.
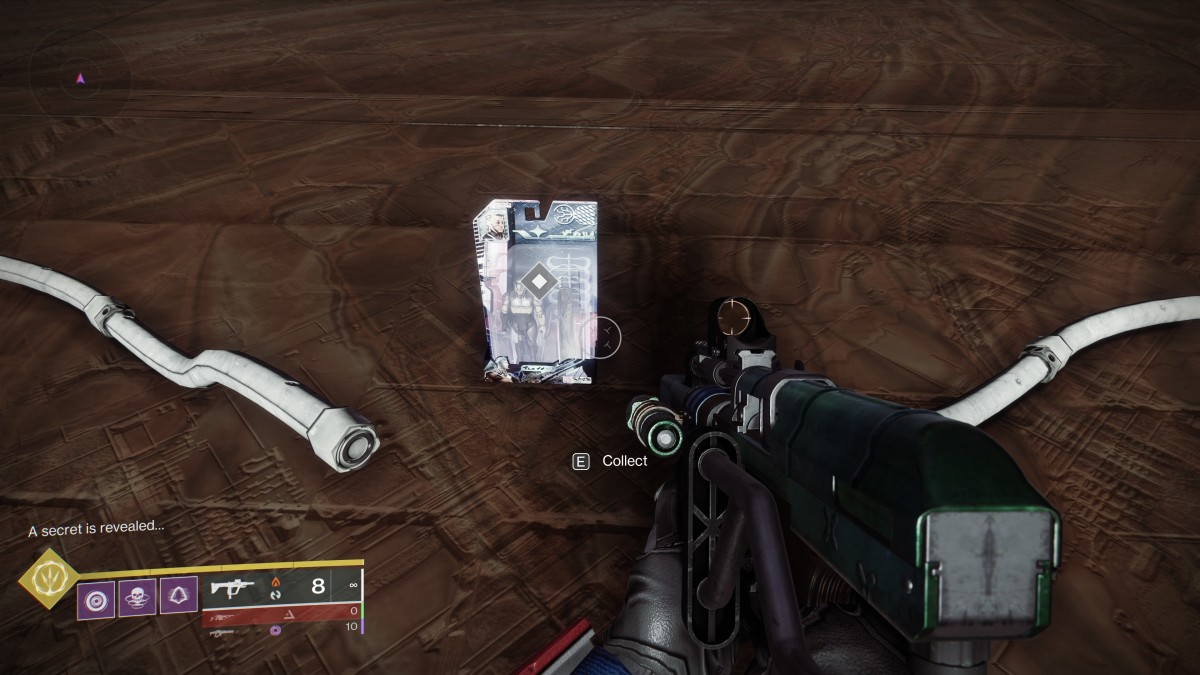
Even if it takes a few attempts, you should get it pretty quickly, and once complete, you will be rewarded with the final action figure!
