Resident Evil 4 remake Chapter 13 walkthrough

Contents
We’re back with yet another big Resident Evil 4 remake walkthrough, and this time we’re tackling the entirety of Chapter 13. This is the first chapter of the Island section of Resident Evil 4, and includes a bunch of changes that will surprise fans of the original.
For everything you need to get through Resident Evil 4 remake Chapter 13, just read through our full guide below.
The last guide in this series was Resident Evil 4 remake Chapter 12 walkthrough.
Make sure to read our full Resident Evil 4 remake walkthrough for everything you need to find treasures and complete requests like Blue Medallions and Clockwork Castellans.
The Wharf, Go after Ashley – RE4 Remake
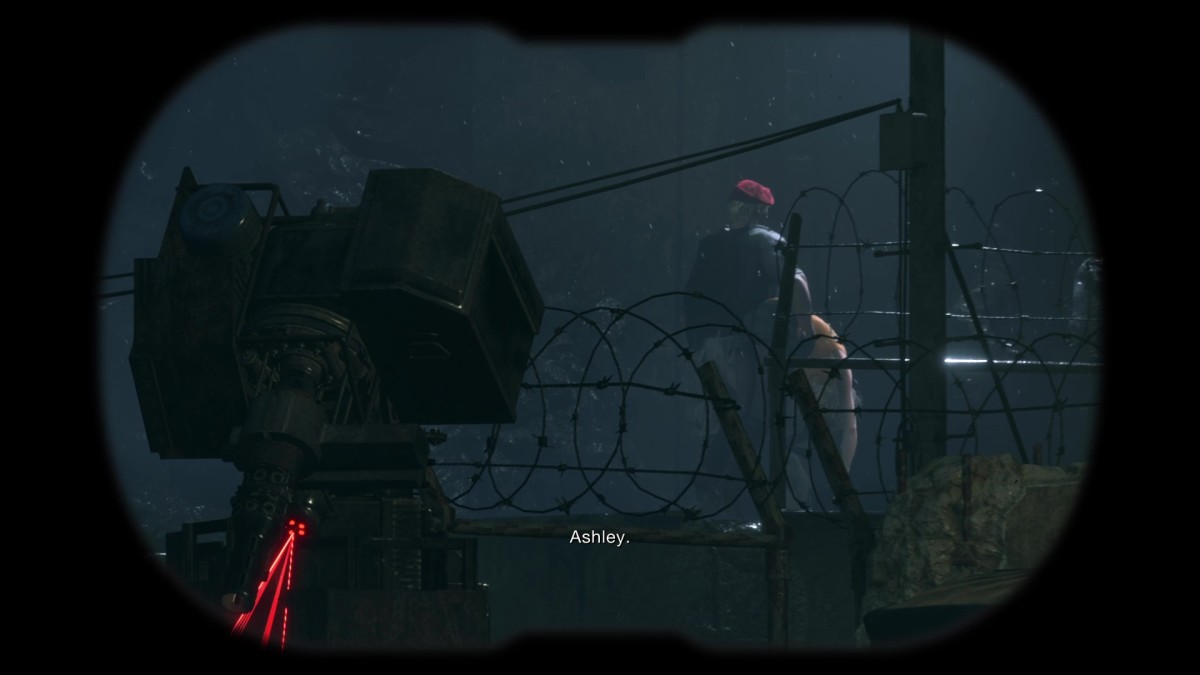
As you land on the Island, you’ll be able to use your binoculars to scout out the place, and you’ll see that it’s heavily guarded, and the guards are heavily armed. This is where Resident Evil 4 turns into a fully-fledged action game.
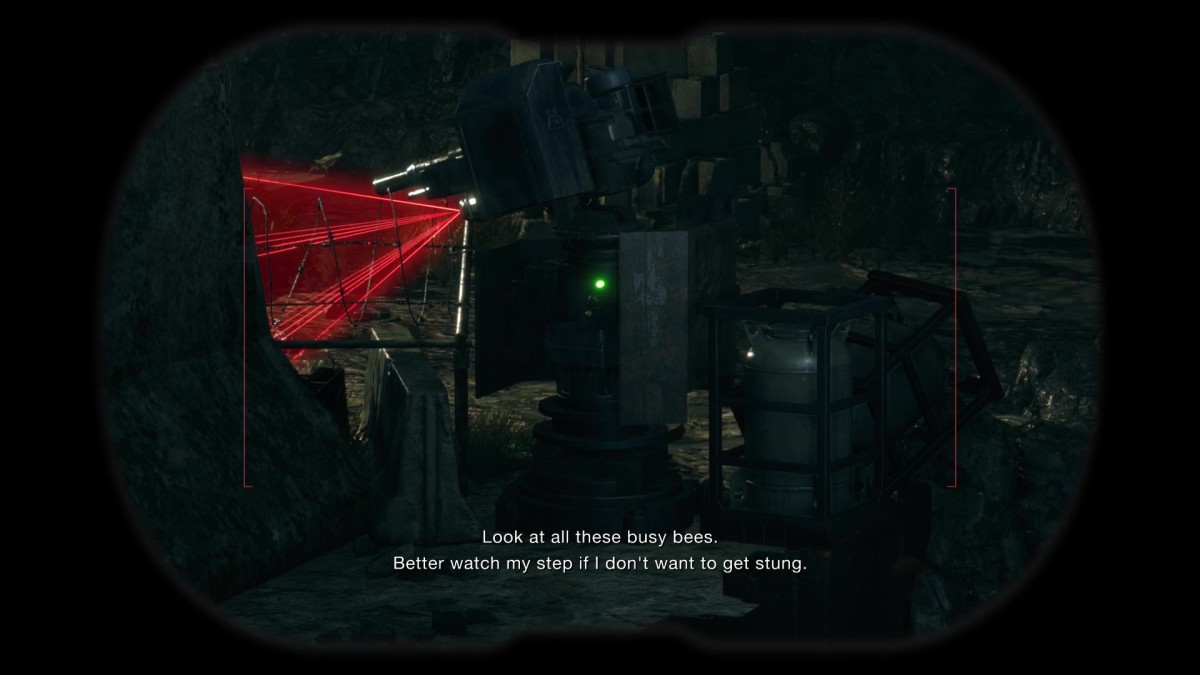
Follow the path, and you’ll see a red field – don’t touch it. You need to make your way around and press a button behind the turret to change where it’s aiming to make it safe to pass. This is a quick tutorial for the turrets ahead – you’ll need to move them around to make the path forward safe. You can also lure Ganados into the line of fire, if you’re smart.
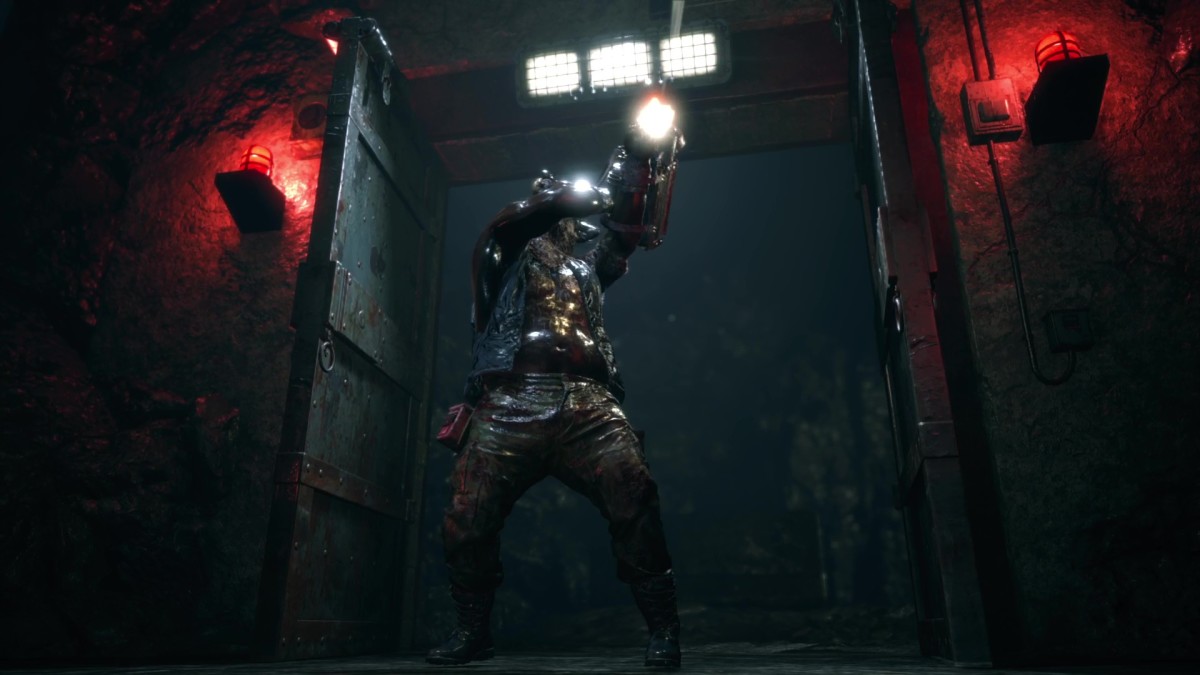
There’s a lot of enemies in this first area, but the turrets are the real challenge. Just don’t give any quarter to the bullhead enemy with the minigun.
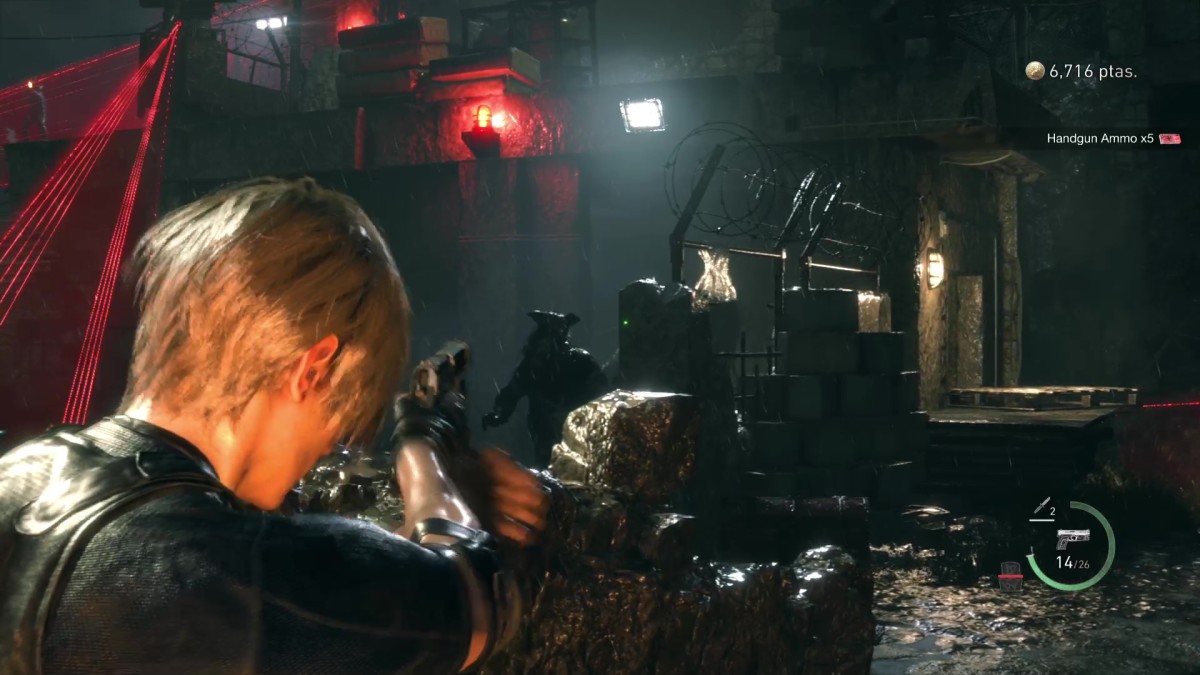
Once you get through and make it up the stairs at the end of this turret section, you’ll head through a cave and climb a ladder at the end to get to the upper section of the Wharf.

There is a building here, and you can crouch around to take out a few enemies, but there’s no avoiding the foes up ahead – some of them are equipped with rocket launchers, so make sure to take out any ranged Ganados with your rifle first. You’ll also have to contend with Ganados that have metal shields. You can’t blast these away, so hit the limbs they’ve left exposed or use explosives.
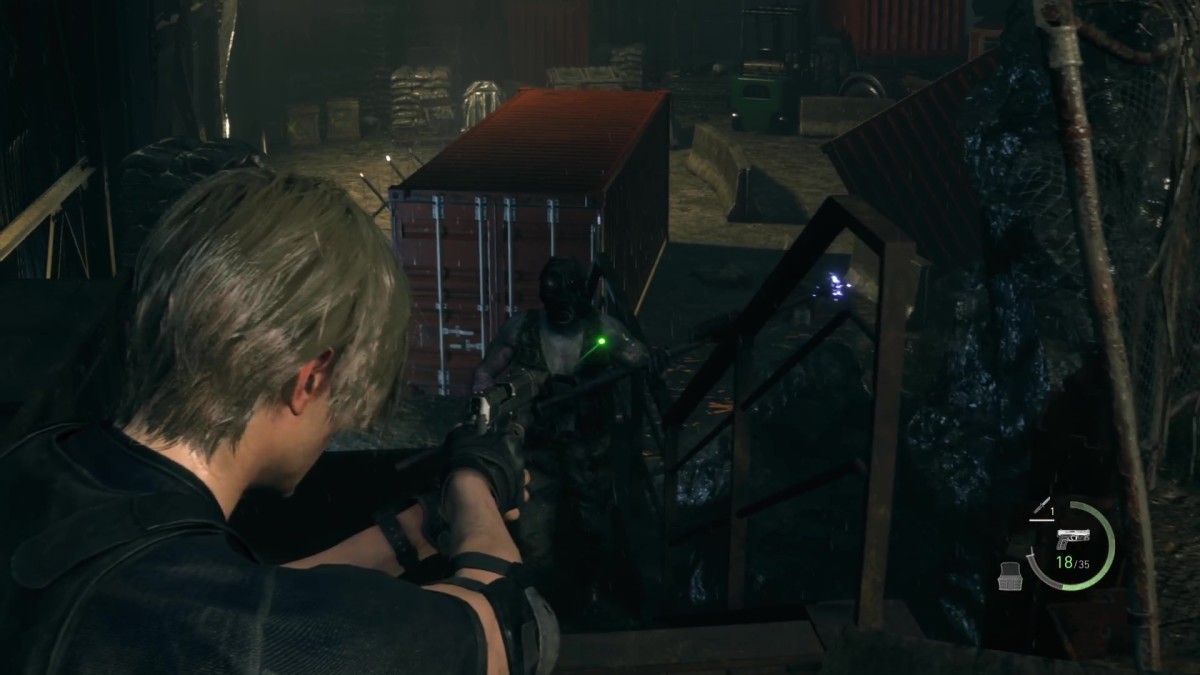
After you get through this area, you’ll have a chance to find a Clockwork Castellan, and a second Elegant Crown in case you missed your first chance to sell a treasure for 100k. Head up the stairs here to enter the Lab.
The Lab, Rescue Ashley – RE4 Remake
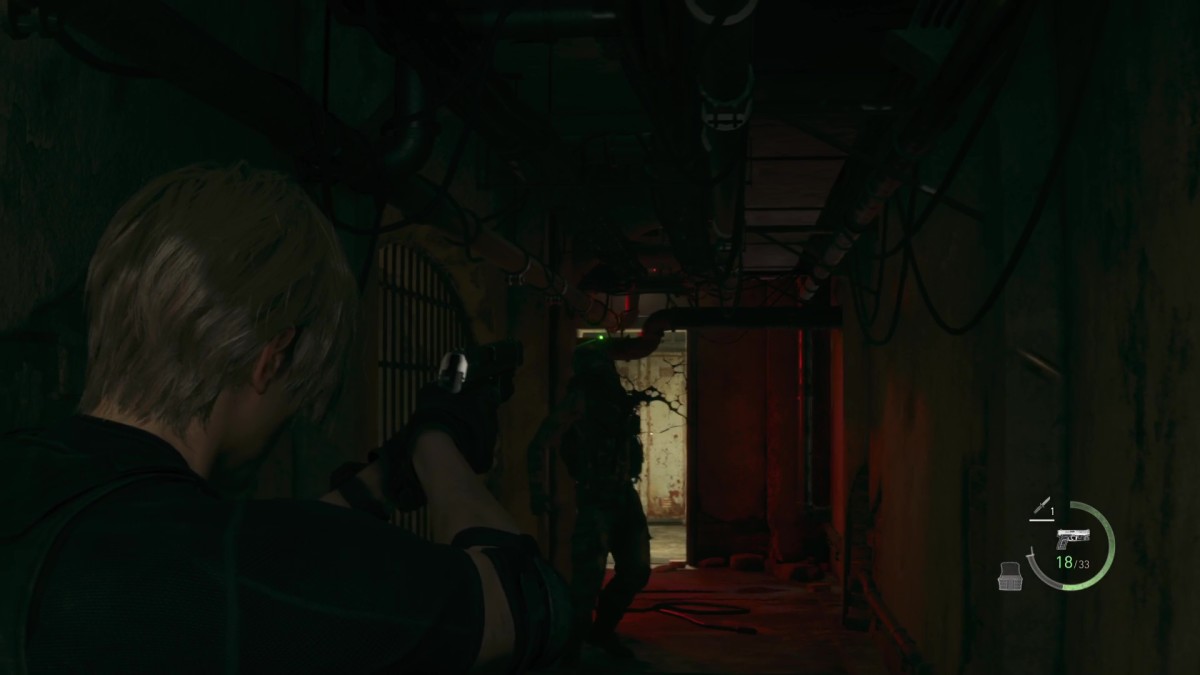
In this first room you’ll find a few enemies upstairs. You need to head into the Surveilance room upstairs to deactivate the lock on the door downstairs and progress. Once through, you’ll be able to see where Ashley has been locked up, but it’s not easy to get her out.
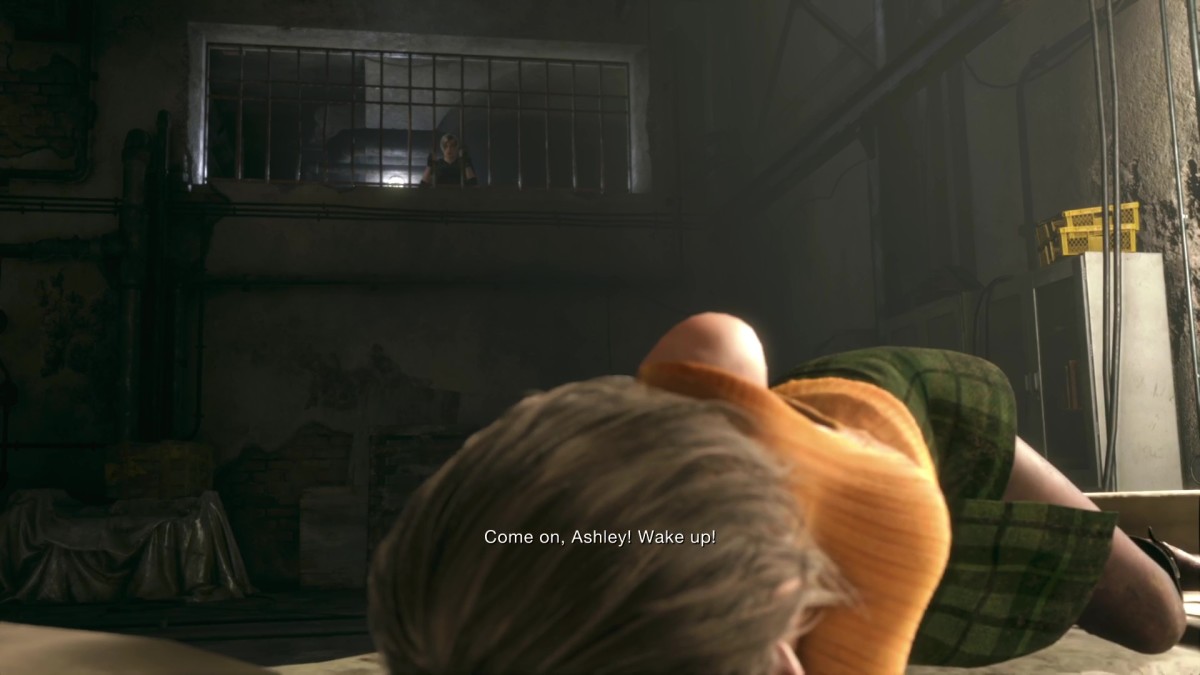
Jump down and defeat the Gandos guarding Ashley’s Holding Cell – one is a bullhead. You’ll need a Level 3 Keycard to get Ashley out, and that’s easier said than done. Climb up the ladder in this room and head through the door. There’s a few more enemies lurking in here.
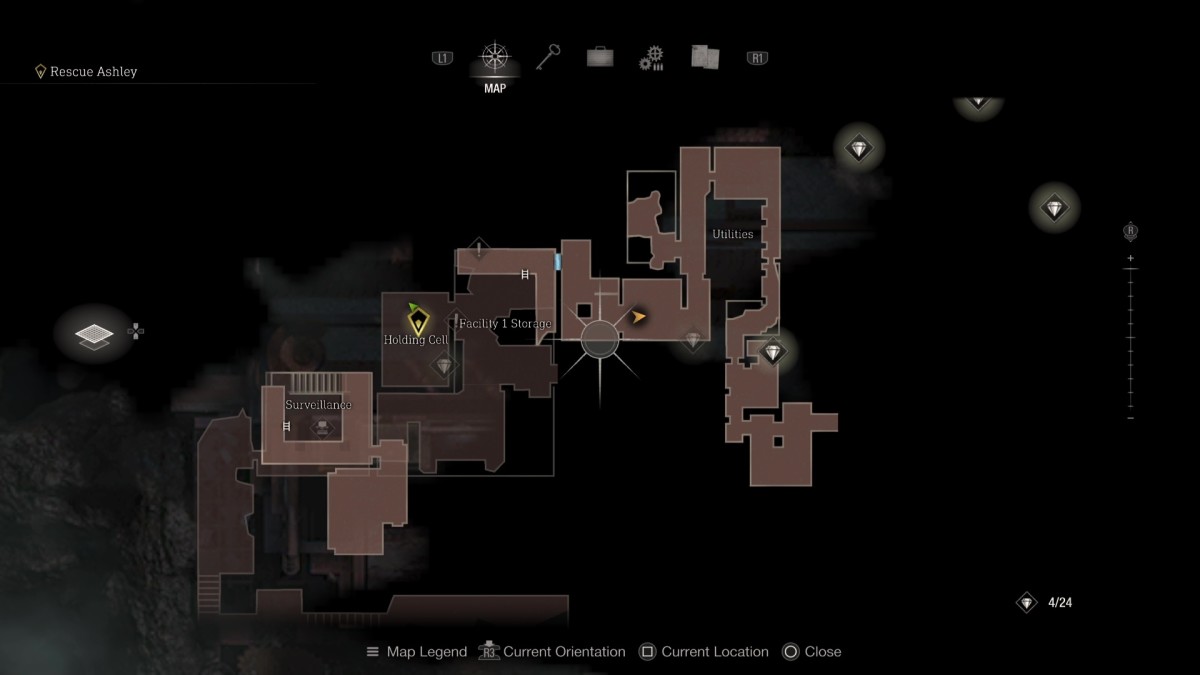
You need to make your way through Utilities, where you’ll find a merchant, and make your way into the Lab to find a Keycard, and upgrade it to Level 3. This is going to be a long one.
Getting the Level 1 Keycard – RE4 Remake
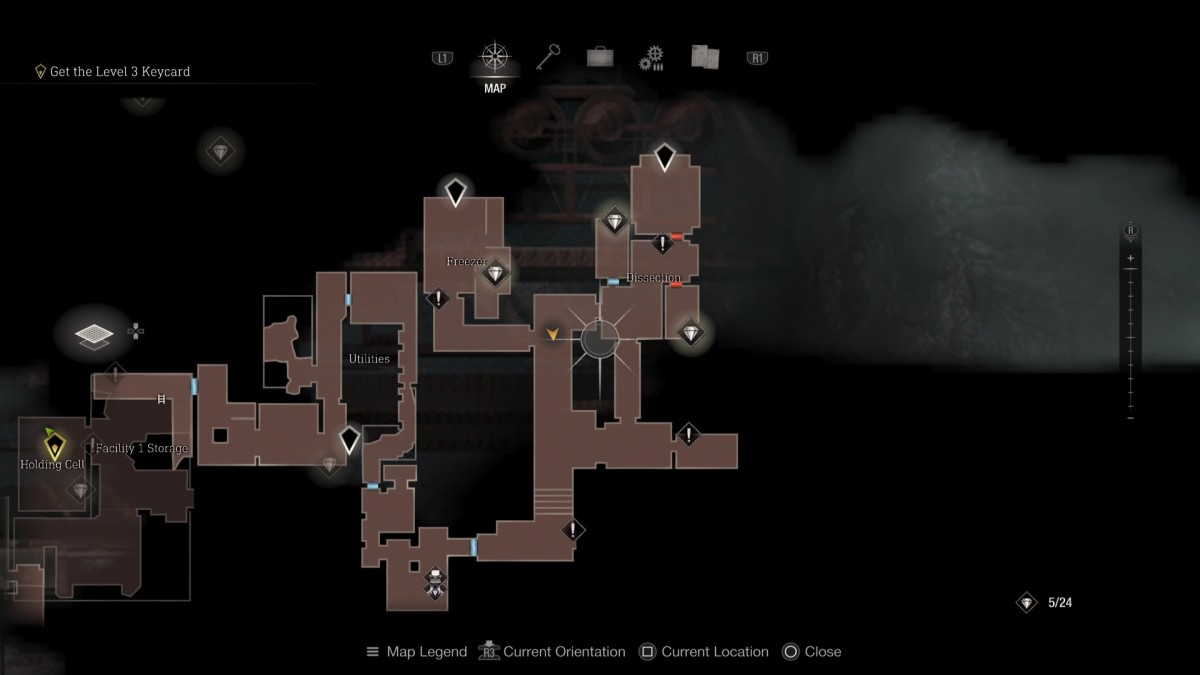
The first thing you need to know is that the Lab is on emergency power, and only half of the facility can be powered at any one time. From the Dissection area, head South, down to the area behind the large gate. In here you’ll be able to find the power switch, which will flip which areas have power. Press it now. You will also be able to open up the large gate now.
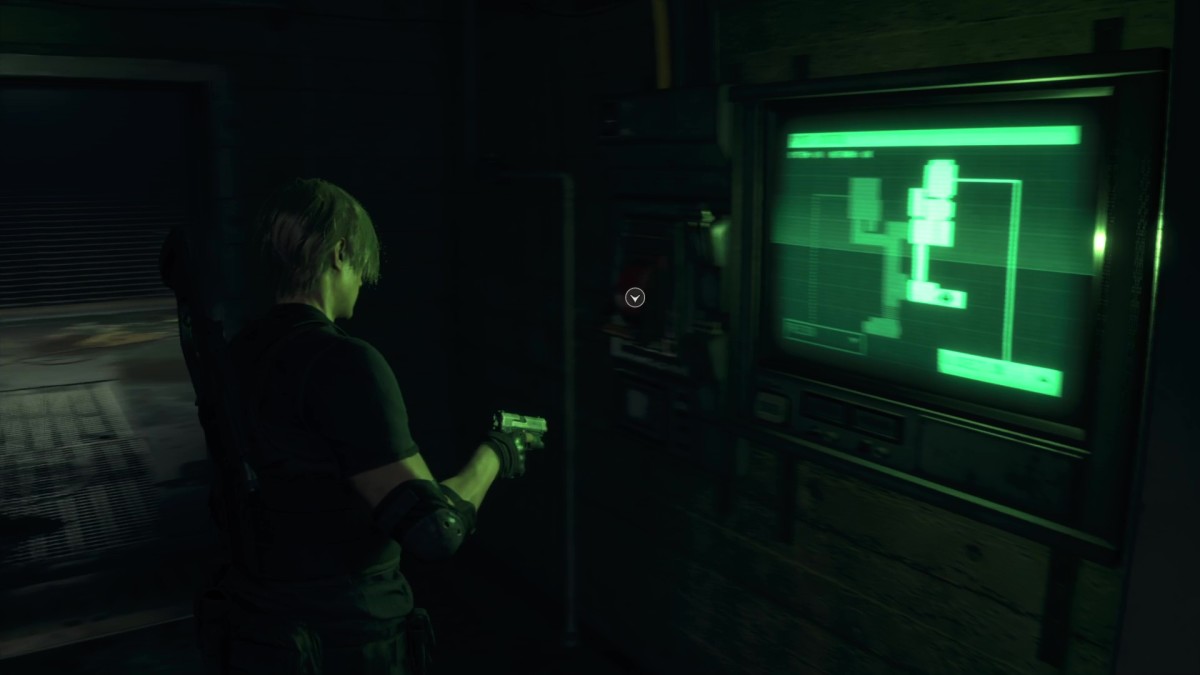
Head back to Dissection, where the Electronic Lock Terminal will now be active. This is a short and simple puzzle, and there are three of them throughout the game. For everything you need to easily solve it, check our Electronic Lock Terminal puzzle guide.
Once the lock is solved, you can get into the main Dissection room and grab the Level 1 Keycard from the back of the room.
Getting the Level 2 Keycard – RE4 Remake
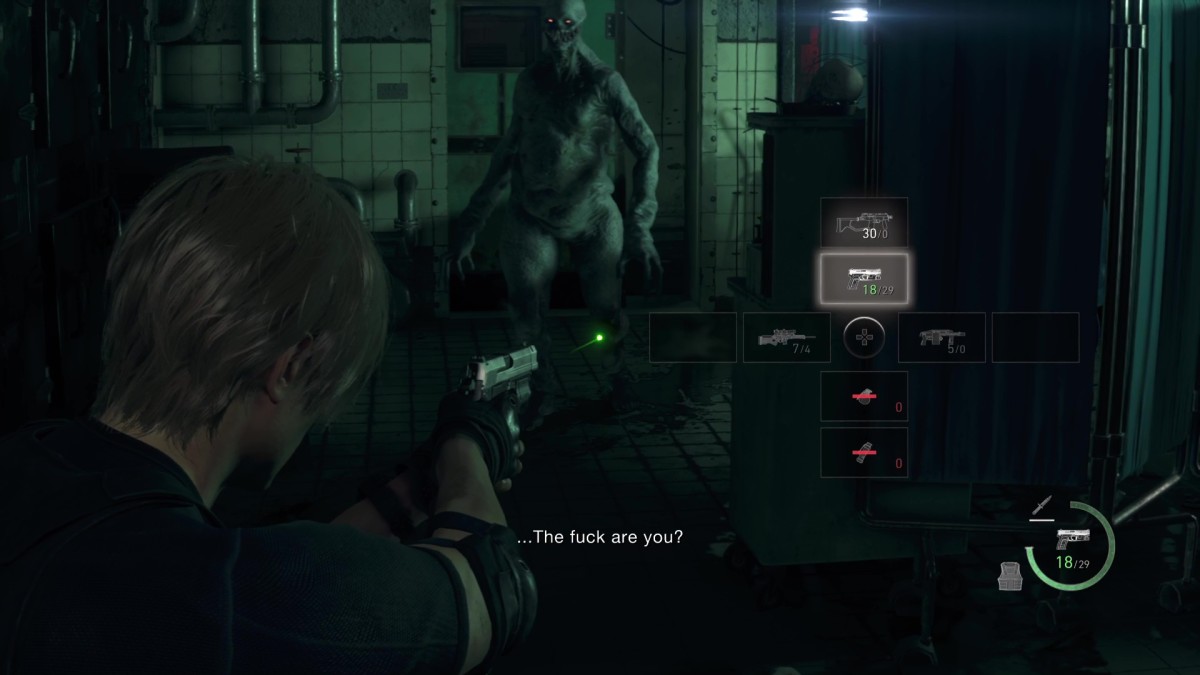
In this area you can also collect the LE 5, a unique sub-machine gun. For more, check our LE 5 location guide.
As you leave the Dissection room, you’ll get your first encounter with the Regenerador. You don’t have the means to effectively kill this beast yet, so just take its leg off to give you some time to run away.
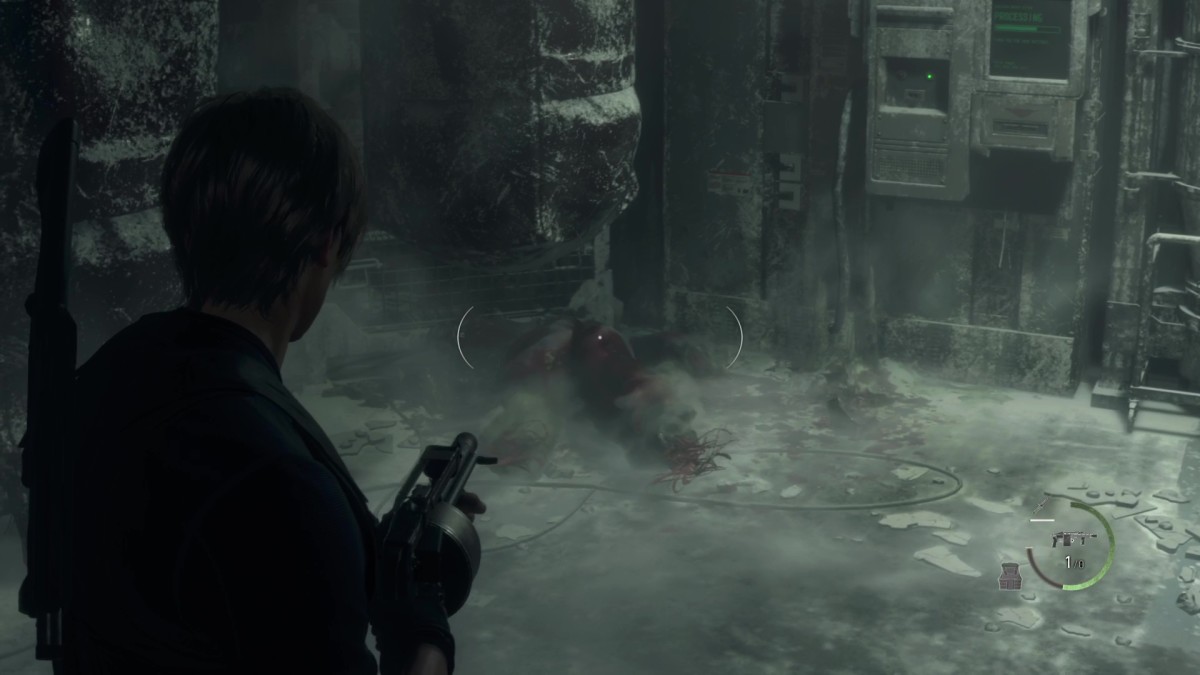
You’ll need to head back down the power switch and flip which locations have power. After that, head to the Freezer. Inside is another Electronic Lock Terminal, though this one is optional.
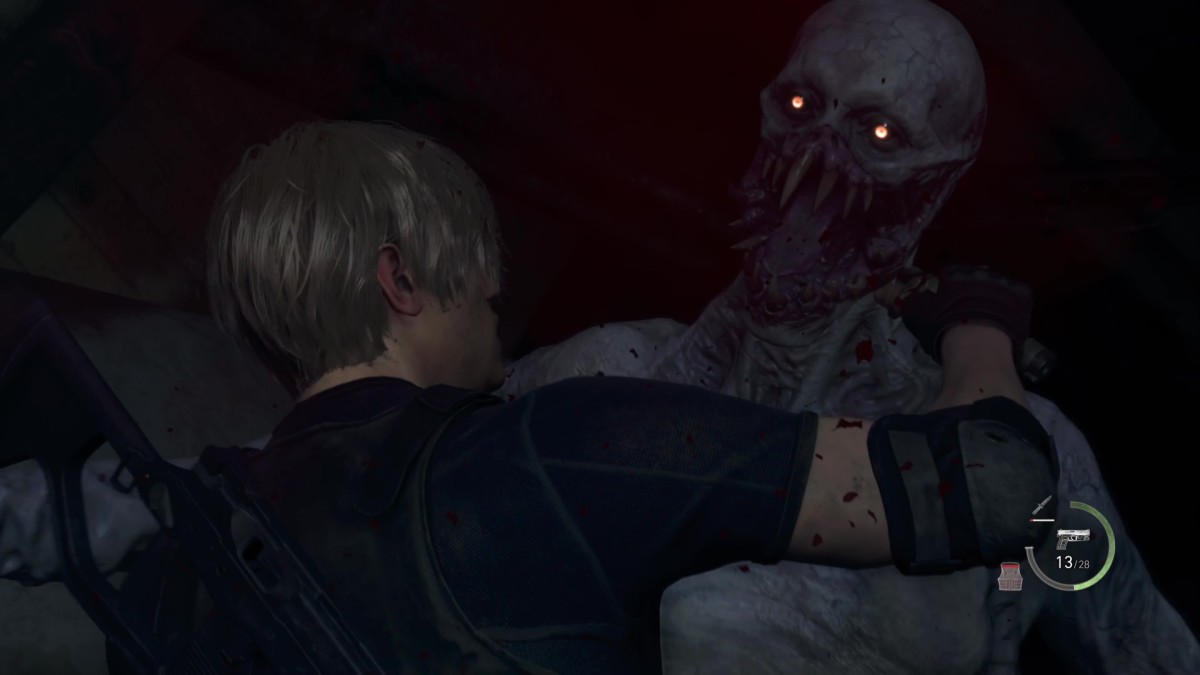
There is a machine to rewrite your Keycard at the back of the Freezer. Use your Level 1 Keycard here and, after some time, it’ll become a Level 2 Keycard. The only problem is that you’ll be assaulted by a Regenerador, and you still won’t have a good way to kill it. Feel free to flee the Freezer for now, and come back for your Keycard after.
Getting the Level 3 Keycard – RE4 Remake
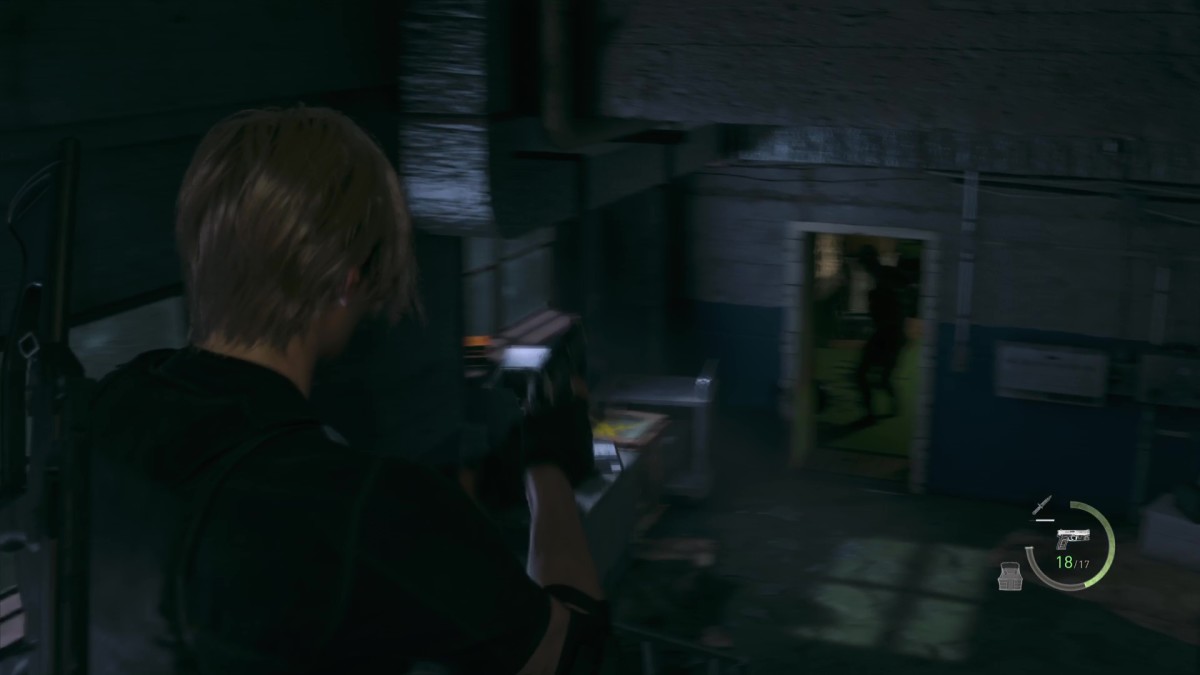
Nearly done, though there are likely two Regeneradors roaming about the Lab now. Get through the door which is opposite where the merchant is with the Level 2 Keycard, and you’ll find yourself in Systems. No Regeneradors down here, at least. Enemies will come through the door down the stairs. Through that door you’ll find the Incubation Lab.
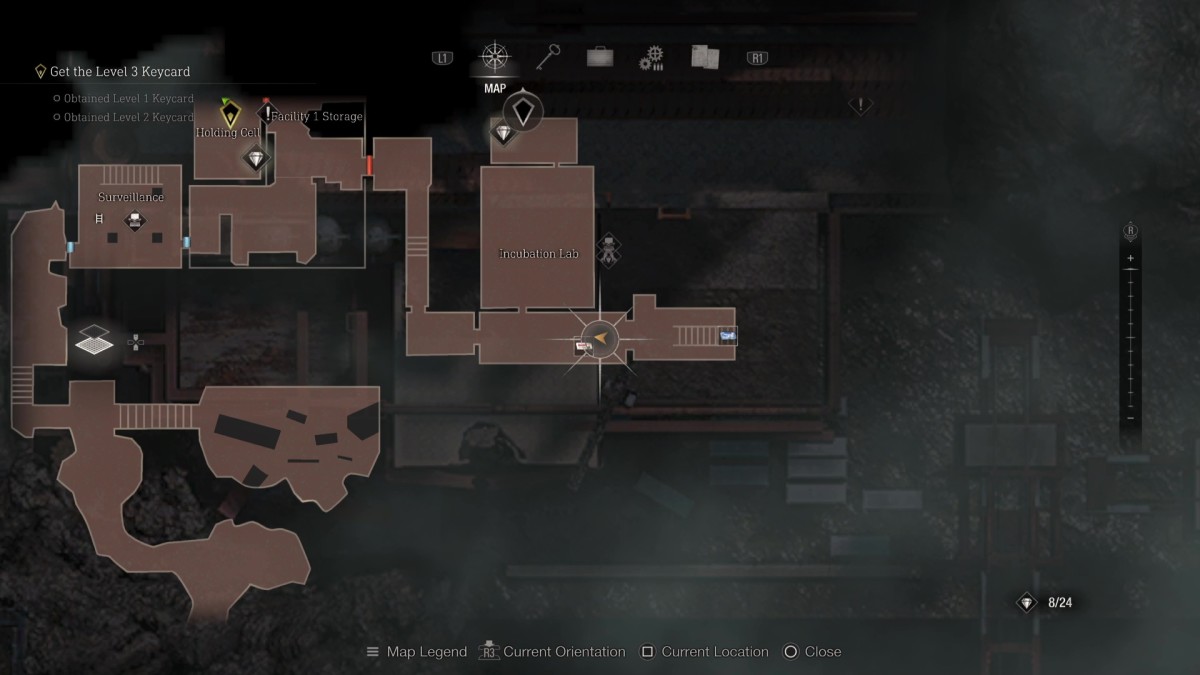
Did I say no more Regeneradors? I lied. Head into the Incubation Lab and into the back room. There’s another card rewriter in here, but it won’t open without a Wrench. In the case here you can also find the Biosensor Scope, which gives your weapons x-ray vision. You can attach it to your rifle, or your newly acquired LE 5.
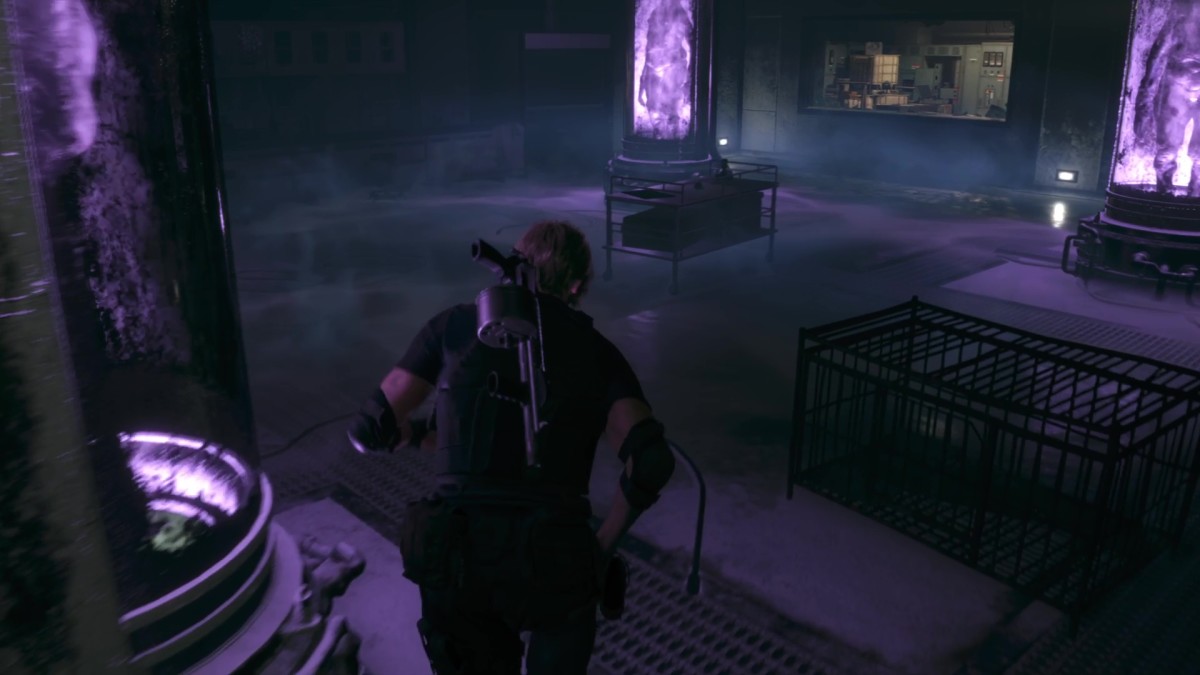
The Biosensor Scope will allow you to see glowing red parasites living on Regeneradors. Once you kill all of these, Regeneradors will die. Usually. Now that you have that piece of information and the Biosensor Scope, you should be able to find a Wrench, but if you need more help, check our Incubation Lab Wrench guide.
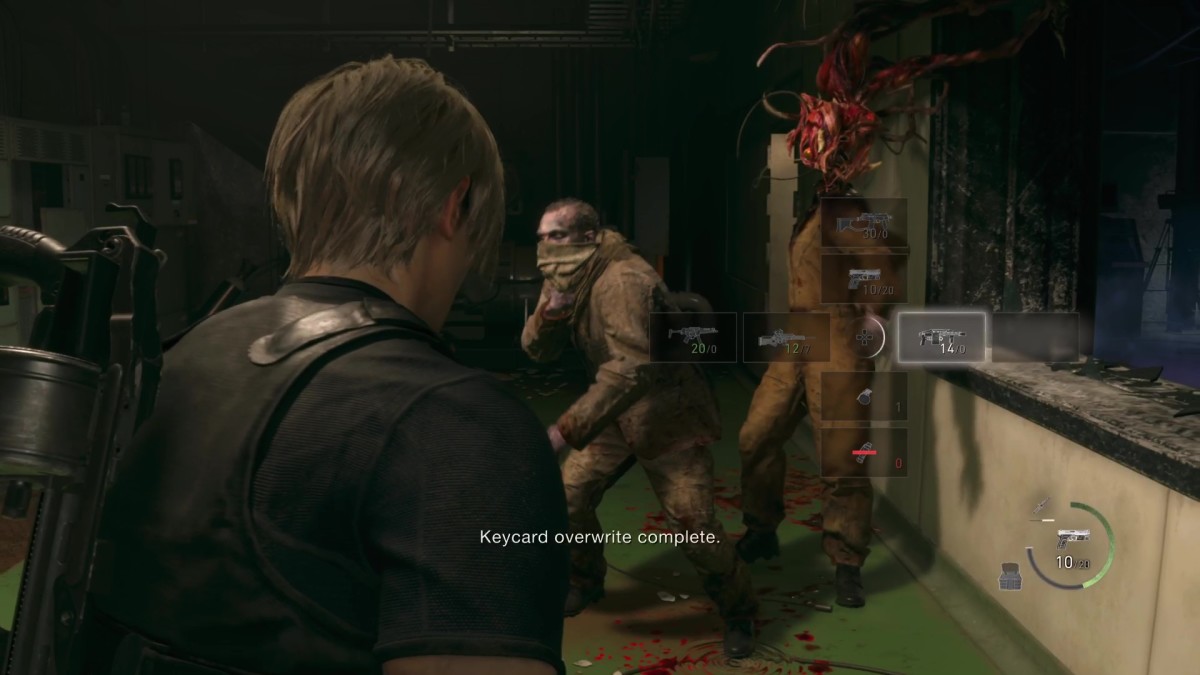
Once you find the Wrench and start rewriting your card, Ganados will flood in with explosives. If you or they break the incubation tubes in the room, the Regeneradors inside will break out and cause you problems. You can lure the enemies back into the previous room with stairs before that happens, though.
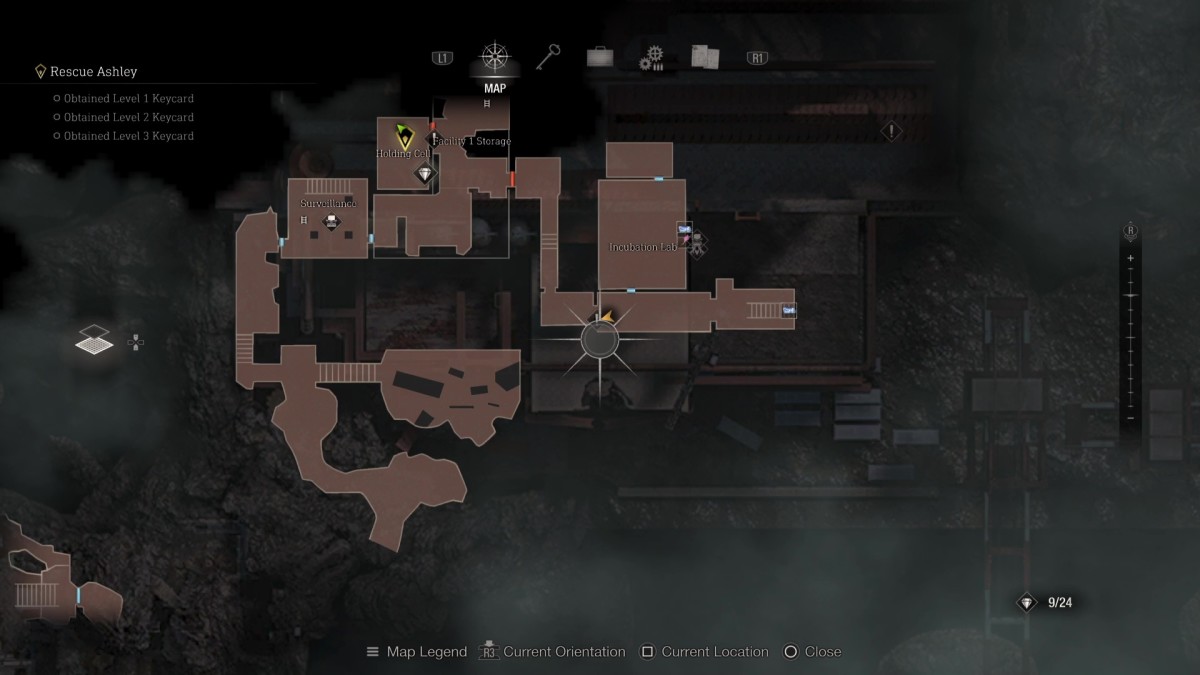
Now that you have the Level 3 Keycard, you can go back to Ashley’s Holding Cell to open it. Luckily there’s a shortcut behind a Level 3 gate just outside the Incubation Lab.

Once you get inside Ashley’s Holding Cell, that will conclude Chapter 13. Next up is Resident Evil 4 remake Chapter 14 walkthrough.
