Zelda Tears of the Kingdom: Camera Work in the Depths quest guide

The camera is one of The Legend of Zelda: Tears of the Kingdom’s technically optional upgrades, but it has a surprising amount of utility and can be very helpful in a wide range of activities. Unlocking it is fairly simple, but will require you to dive deep into the Depths, something that can be a little bit daunting.
Nonetheless, unlocking the camera will let you progress a number of other quest lines, and ultimately give you access to some useful Purah Pad upgrades and other helpful devices, so it’s well worth doing. This guide will take you through everything you need to know about the camera in Tears of the Kingdom, including a step-by-step walkthrough of how to unlock the camera, and how to use it.
For more Zelda guides and tips, like how to find and activate all Skyview Towers, or an explanation of all Zonai Devices, make sure to read our full Zelda: Tears of the Kingdom walkthrough.
How to unlock the camera - Zelda TOTK
Unlocking the camera in Zelda Tears of the Kingdom isn’t a particularly difficult affair, but you will need to prepare a little bit and progress through the game to get access to the quest. Once completing the tutorial area, you’ll need to talk to Purah and unlock the paraglider, which will open up the next part of the quest.
After that, you’ll want to speak to a few people around Lookout Landing, and you’ll be given the Camera Work in the Depths quest, which tasks you with following Robbie into the depths and will unlock the camera.
Camera Work in the Depths full walkthrough - Zelda TOTK
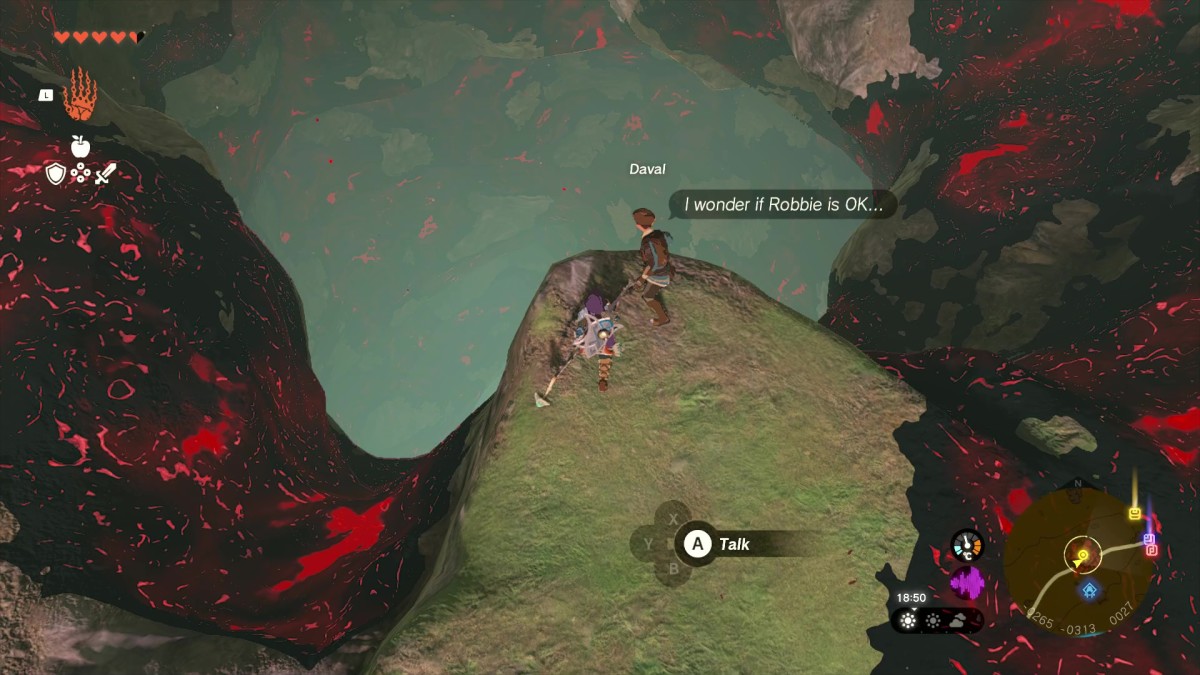
Once the Camera Work in the Depths quest has been accepted, you’ll need to head south of Lookout Landing, to a big hole in the ground that leads to the depths. You won’t have to travel particularly far to find it, nor will you need to look around much — as long as you have the quest tracked, there will be a waypoint for it.
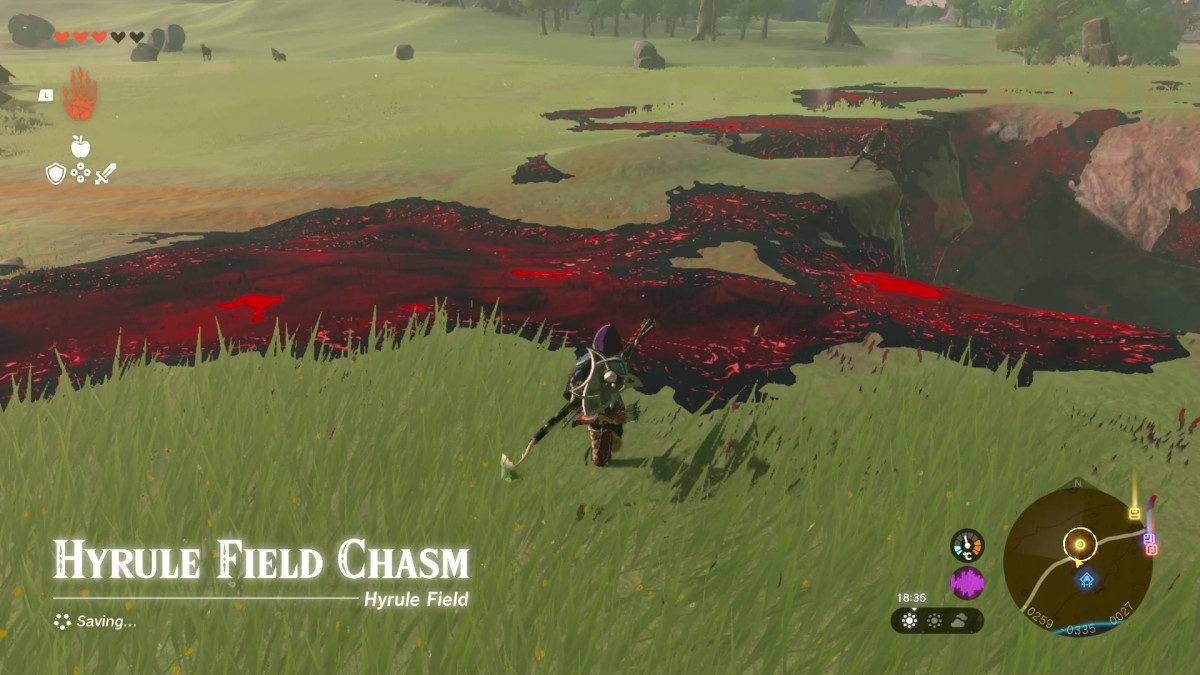
When approaching the hole, be sure not to step in any of the dark sludge surrounding it. That’s called gloom, and it will sap your hearts if you step in it. Before descending into the Depths, you’ll want to make sure you have plenty of Brightbloom Seeds, as the Depths are very dark and you’ll need them to see beyond your nose.
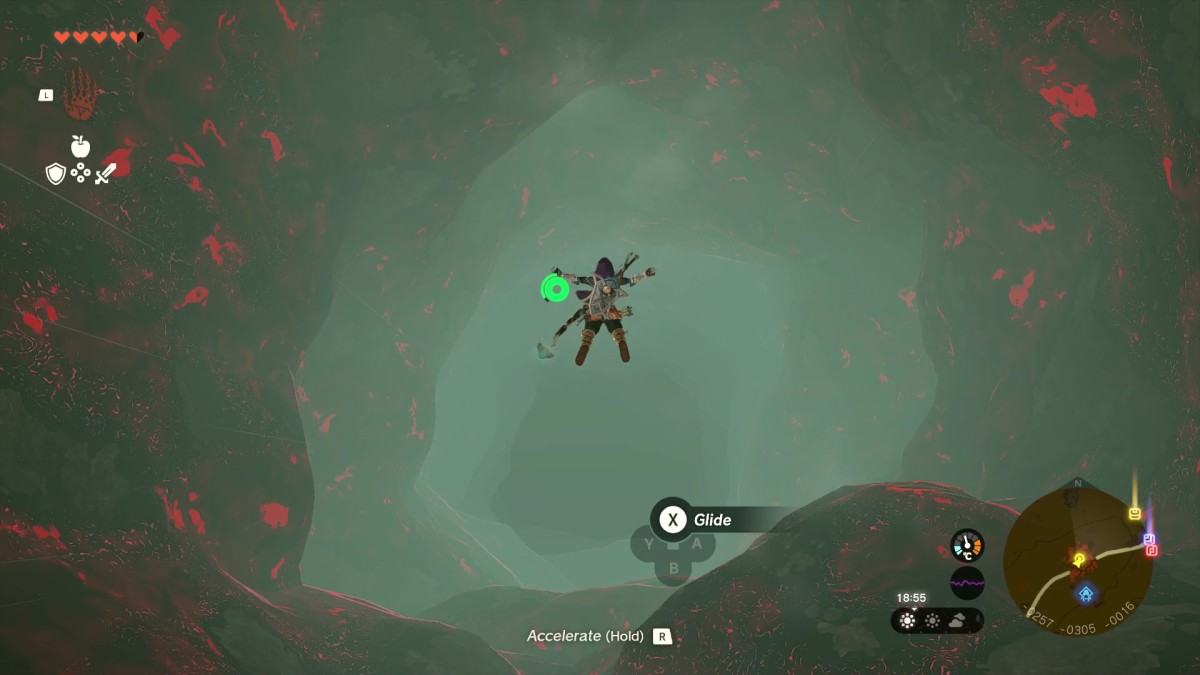
It’s time now: jump into the hole. You’ll want to glide a little bit, just to make sure you’re not hitting the ground at full speed, and you’ll also want to avoid touching the walls while you fall, as they’re also covered in gloom.
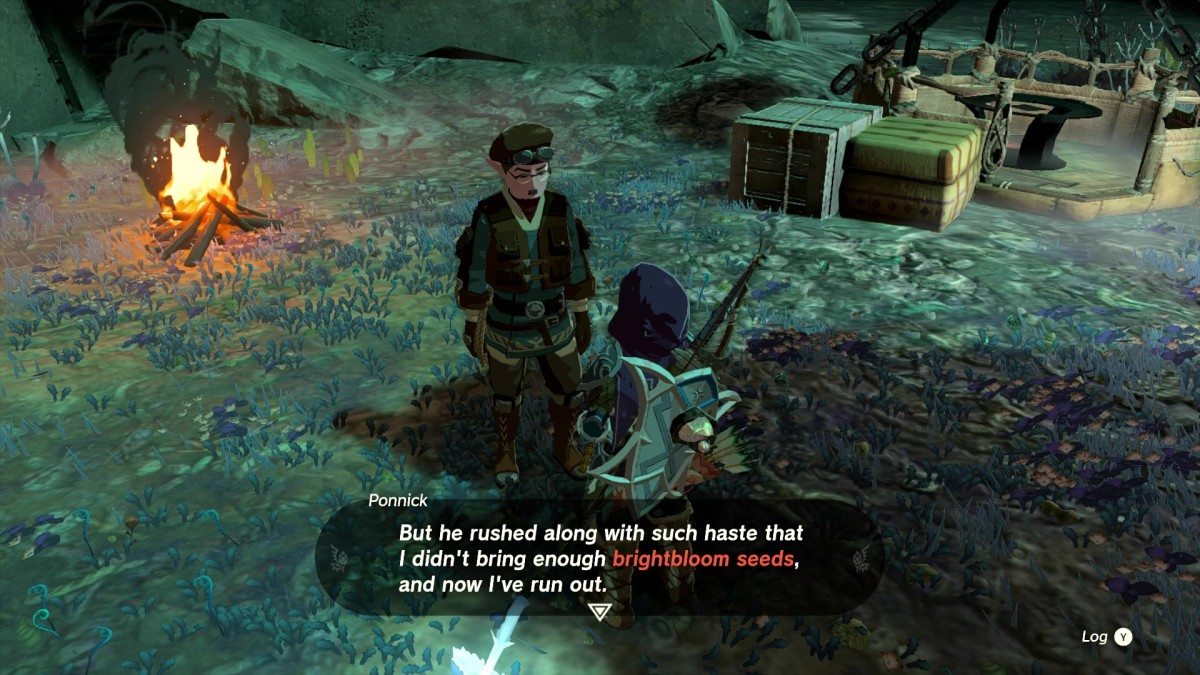
Once you’ve landed, you should see a campfire and a man called Ponnick very nearby, and talking to him will reveal that Robbie has gone ahead and point you in the right direction.
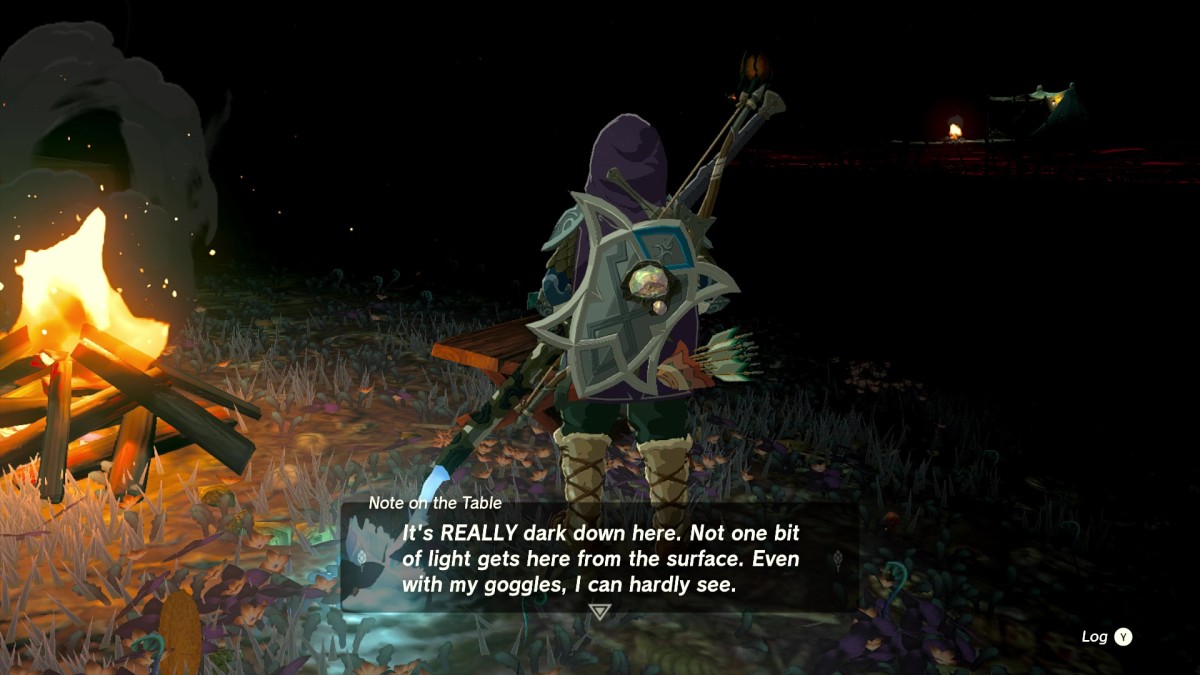
Start heading toward the glowing roots that Ponnick pointed you to, stopping by campfires along the way to read up a little bit on the Depths if you like.
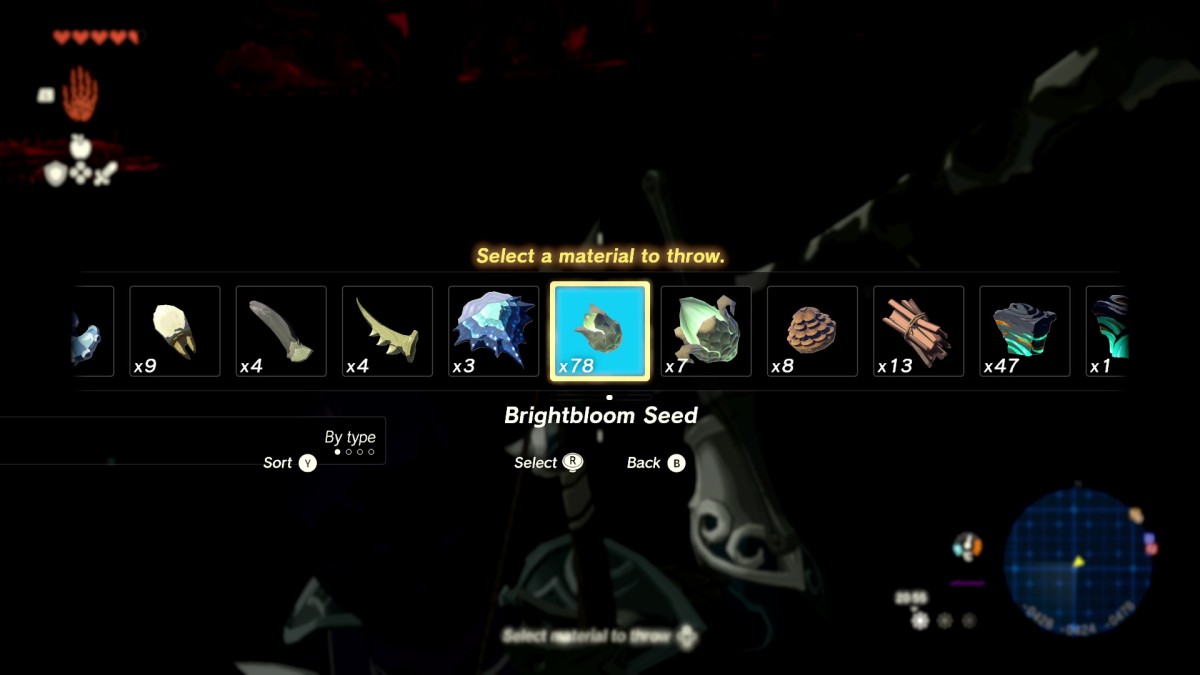
On your way, you’ll need to make sure you avoid gloom on the ground, which can be tricky to see if you’re not using Brightbloom Seeds. To use a seed, simply prepare to throw your weapon, press up on the d-pad, then select Brightbloom Seed and release the button to throw it.
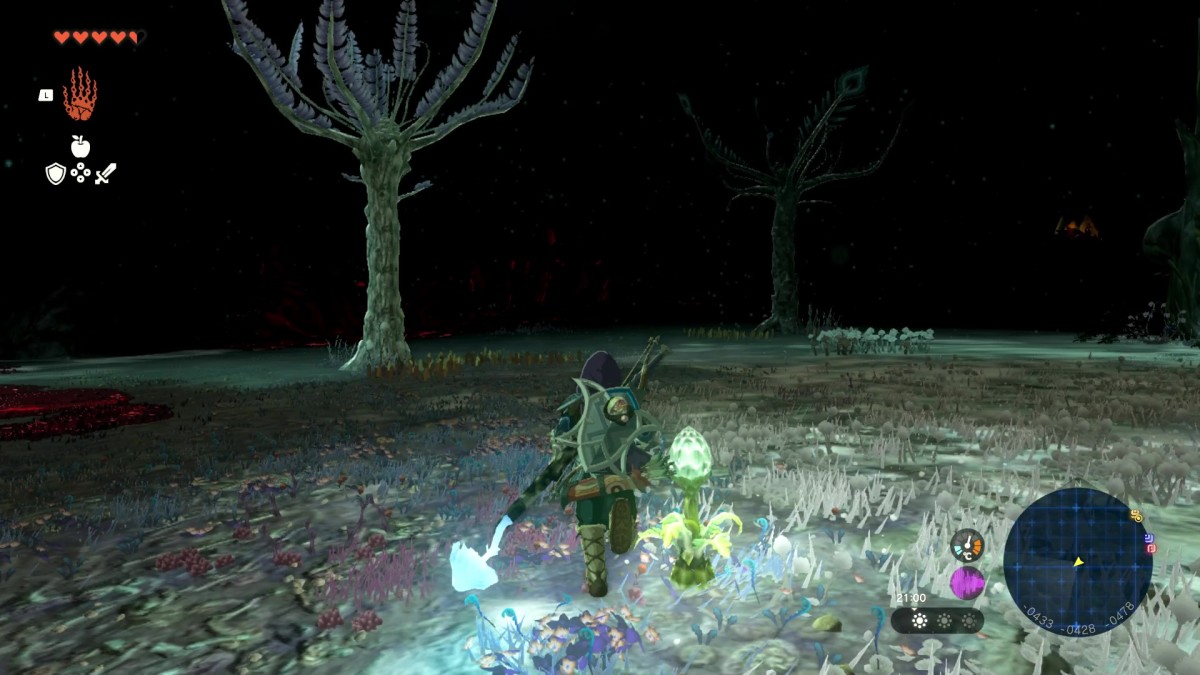
You can also attach Brightbloom Seeds to your arrows using the same method when readying an arrow. Once a seed is thrown or fired off, it will create a circle of light where it lands.
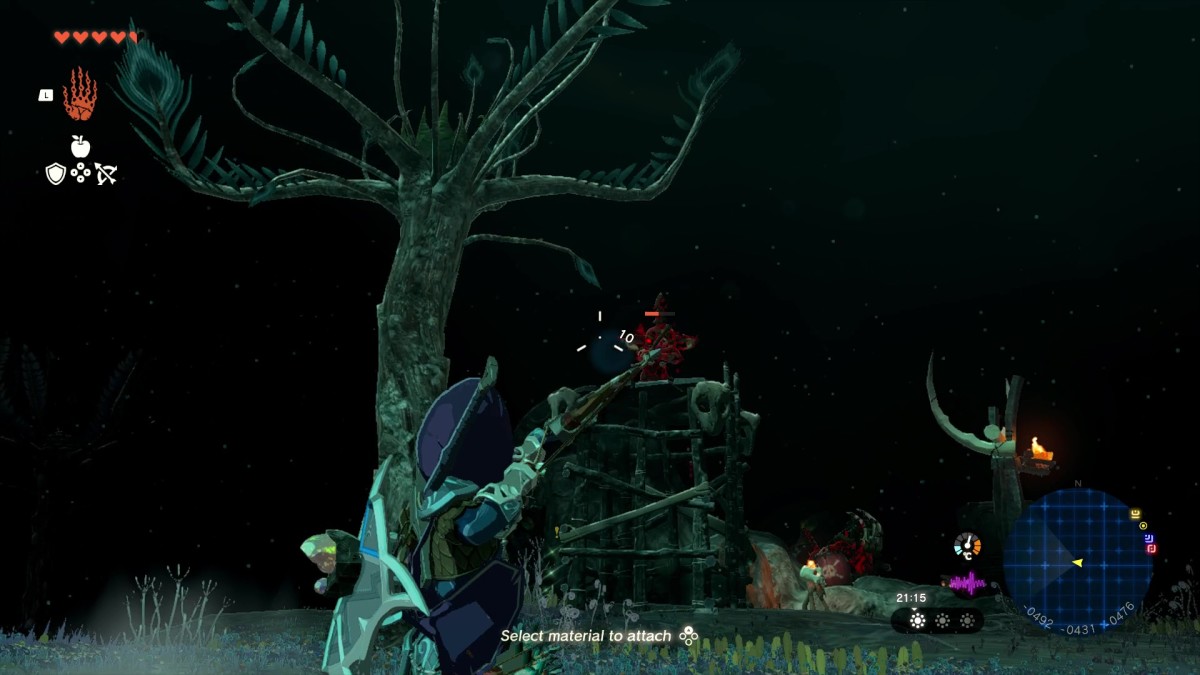
Keep heading toward the glowing root — there will be some enemies on the way, and you should be careful fighting them because any hit you take will permanently reduce your HP until you get back to the surface. Still, they drop some decent items, and there’s a lot of Zonaite around their camps, which is absolutely crucial for later in the game.
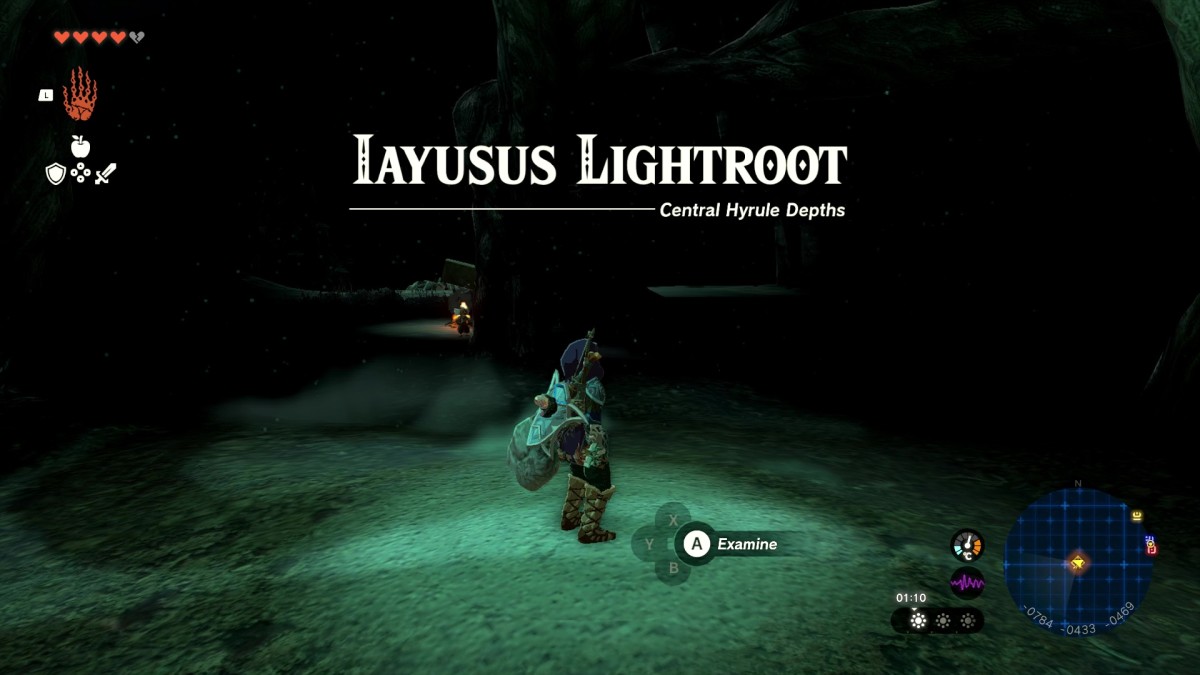
Eventually you’ll reach the big glowing root, called Iayusus Lightroot, and Robbie will be standing at a nearby campfire. He’ll tell you that there’s a statue he’d love to get a look at, if only there was more light.
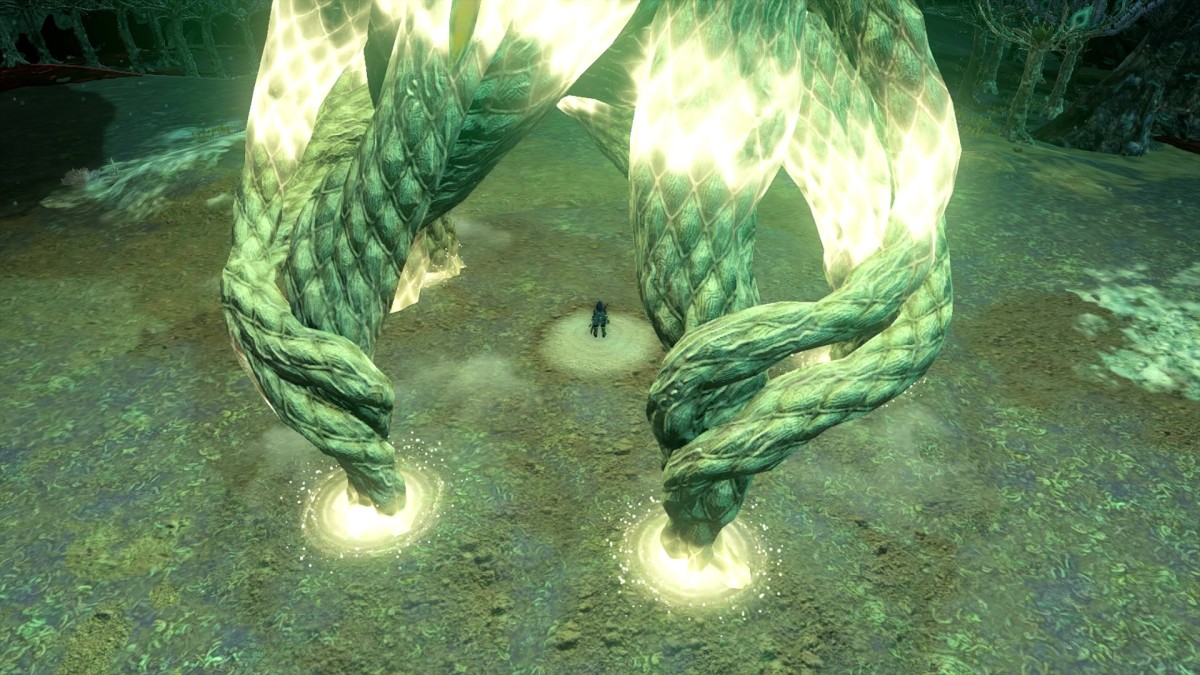
Head back to the center of the lightroot, and press A on it to activate it. It will act as somewhat of a localized tower, unveiling the map in the area immediately surrounding it, and in the process light up the area too.

Go speak to Robbie again, and he’ll talk about the statue for a little while. He’ll upgrade your Purah Pad to give you access to the camera, and it’s here you’ll want to use it to take a photo of the statue.
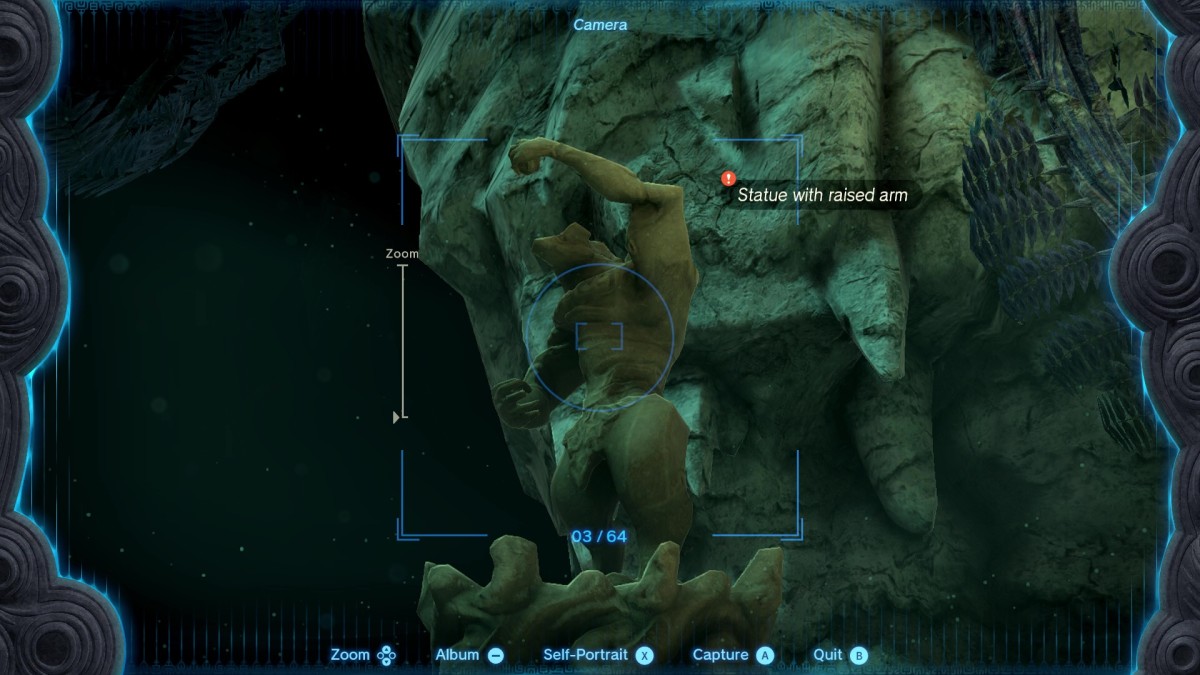
Once you’ve taken the photo, go talk to Robbie again, and he’ll tell you that you simply must show Josha on the surface. Open up your map and teleport back to Lookout Landing, then talk to Josha to complete the quest.
How to use the camera - Zelda TOTK
The camera in Tears of the Kingdom is very similar to the one in Breath of the Wild, and as such it’s very easy to use. While you can use it simply to take silly selfies (who among us has not?), it also serves a purpose.
To use the camera, simply hold down the L button to open up the powers wheel, then select the camera. It will open up the viewfinder, and from here the controls are very simple. Press up or down on the d-pad to zoom in and out, press A to take a capture, or press X to enter self portrait mode.
While in self portrait mode, you can move the analog stick into one of the four cardinal directions to get Link to pose, and then press ZL to change that pose to a secondary pose, making up eight poses in total.
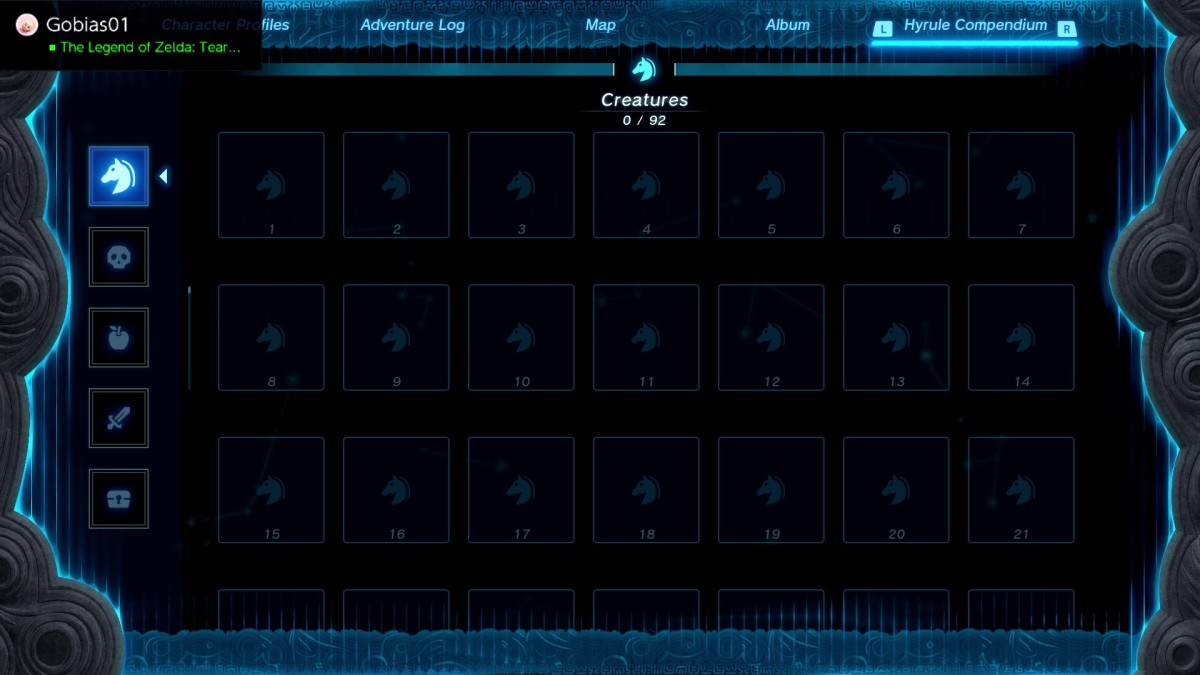
The main purpose of the camera is to help you fill out the Hyrule Compendium, which is a big encyclopedia of everything you can encounter in the wild. It won’t fill itself out though, so you’ll need to take a photo of every creature, monster, material, piece of equipment, and treasure in the game if you want to complete it.
