Zelda Tears of the Kingdom: Gatakis Shrine guide

The Legend of Zelda: Tears of the Kingdom offers more than 150 shrines, spread across the game's overworld and sky islands. Activating and completing as many as you can is quite important for your adventures, as each shrine's blessing will make you more powerful.
Some shrines are must-visit spots, because just activating them would allow you to fast travel back to an important location nearby.
The Gatakis Shrine is one such shrine, as it is located right below Rito Village, at the center of Lake Totori in the Hebra region.
Here's everything you should know to complete the Gatakis Shrine in The Legends of Zelda: Tears of the Kingdom, from its location, a walkthrough of the shrine itself, and how to get the optional treasure chest.
For more Zelda guides and tips, like how to find and activate all Skyview Towers, or an explanation of all Zonai Devices, make sure to read our full Zelda: Tears of the Kingdom walkthrough.
Gatakis Shrine location in TotK
As we mentioned, you will find the Gatakis Shrine in the Hebra region, just under Rito Village. The shrine's privileged location makes it the perfect fast-travel spot whenever you want to return to the home of the bird-like Rito people. The exact map coordinates of the Gatakis Shrine are -3650, 1805, 0168.
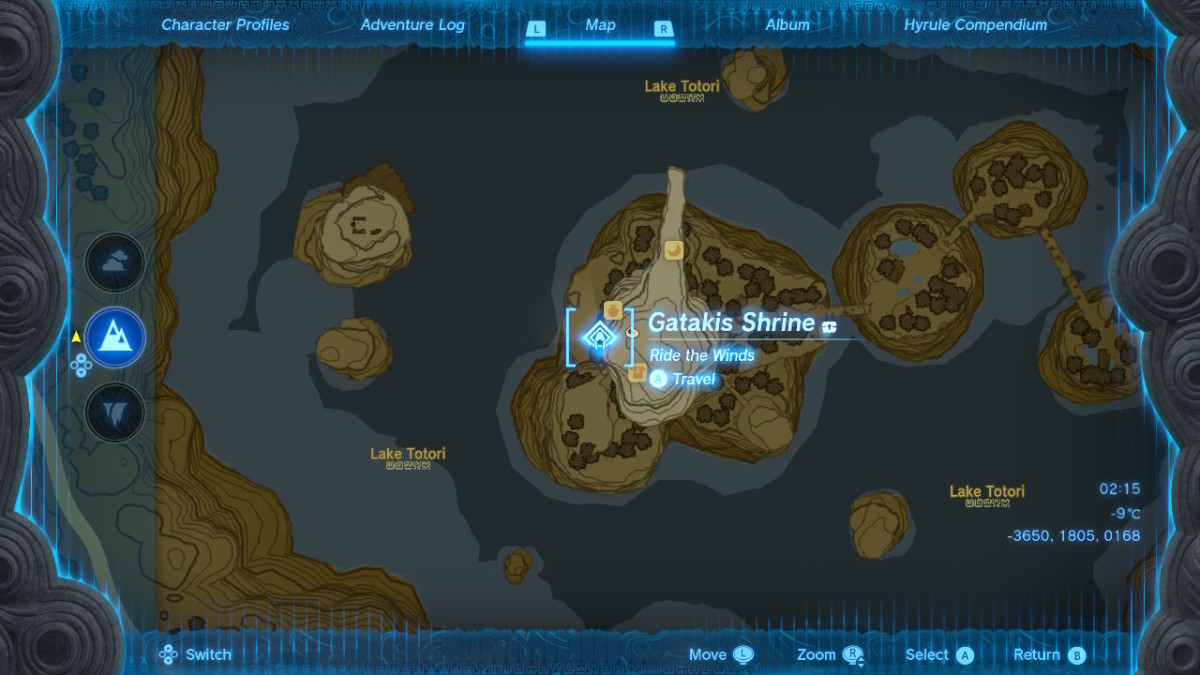
We have a detailed guide on how to reach Rito Village on horseback in our Where’s Tulin? guide and Tulin of Rito Village quest walkthrough. If you're coming from Lucky Clover Gazette, you need to cross the downed bridge, and head toward Rito Village.
Don't enter the village through the gate, but go either left or right, as the shrine is on the far side of the main island in Lake Totori.
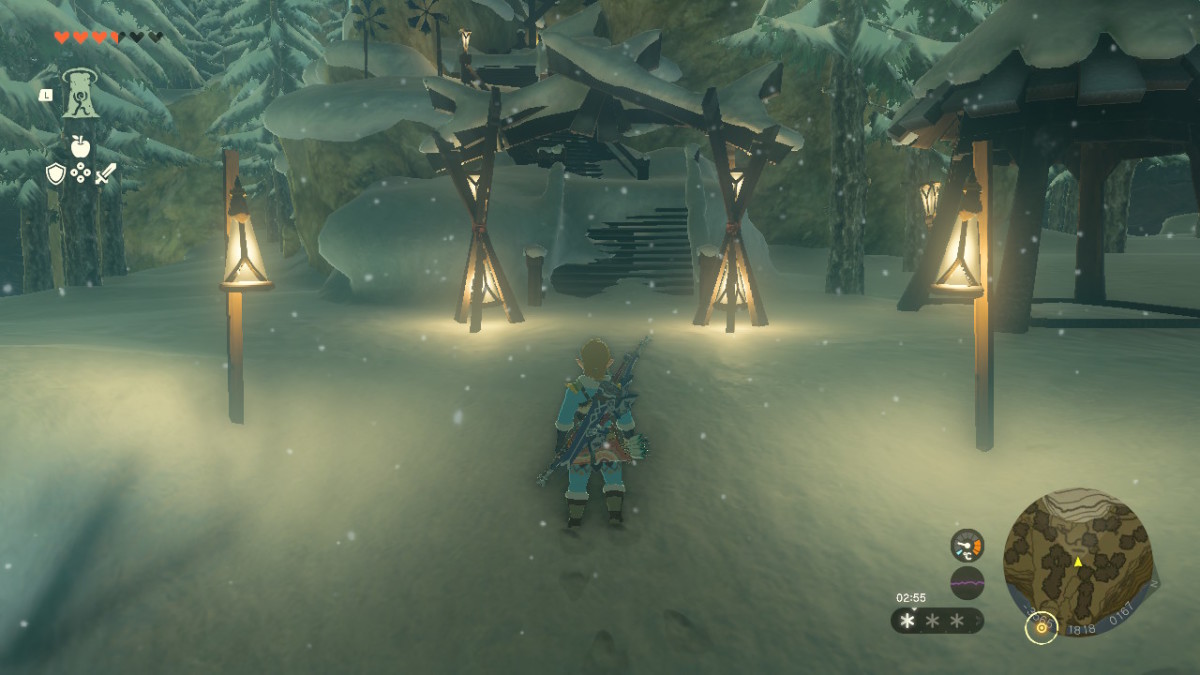
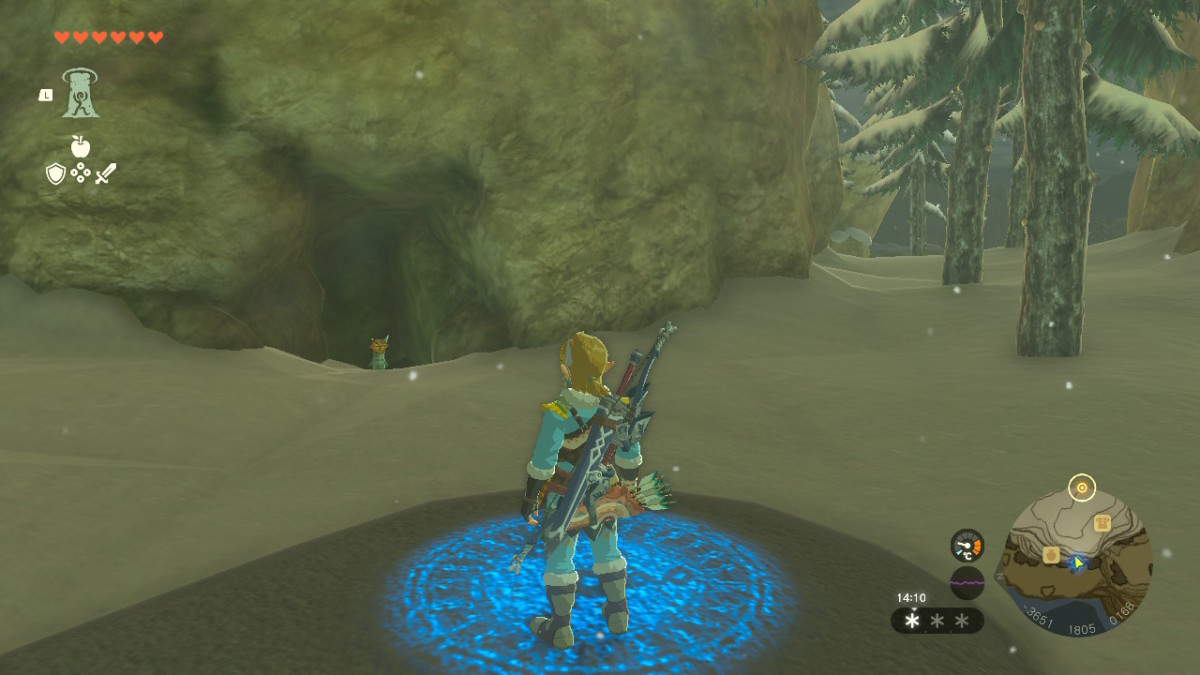
There is a small recess in the rock just in front of the shrine's entrance, which is a good place to use Link's Ascend ability to get up to the village and its shops quickly. There's also a korok hiding in that spot, so make sure you grab an easy korok seed there.
Gatakis Shrine walkthrough - TotK
As the challenge name Ride the Winds suggests, the Gatakis Shrine is all about using the power of wind and making your way with the paraglider. Check out our Paraglider guide if you don't have it yet.
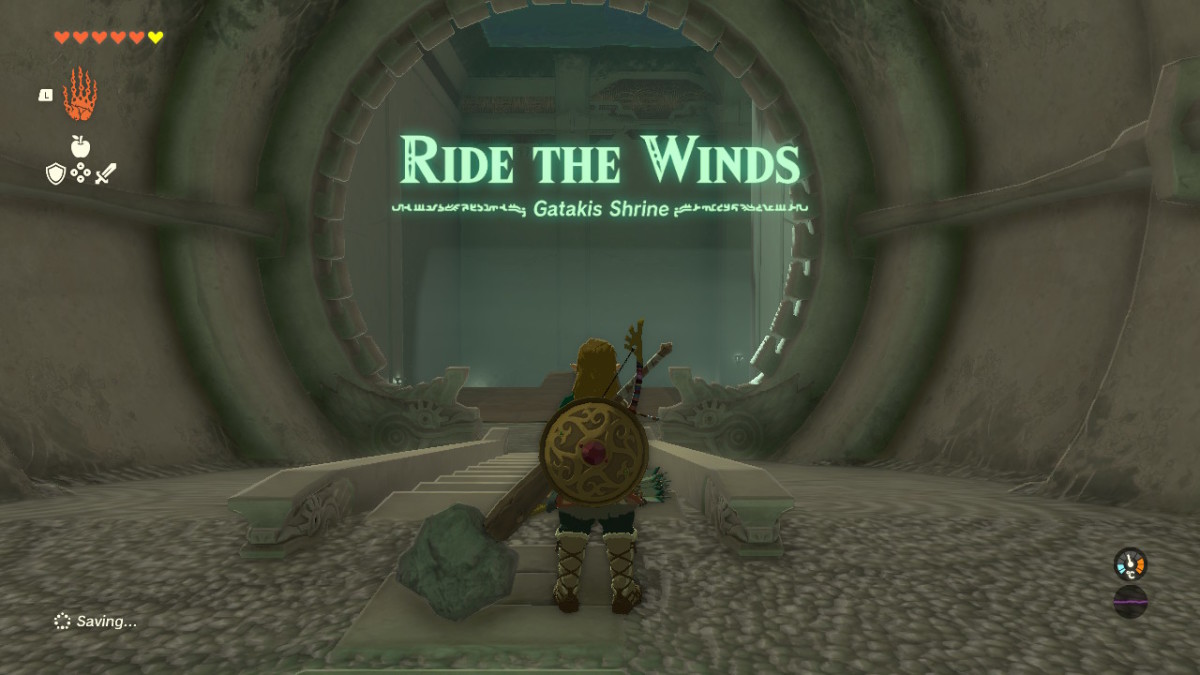
The shrine starts with a wide chasm you need to cross with your paraglider. Notice the large wind tunnel on the other side, as you can continue to glide to the right into the next section or close your paraglider for a short break before you move ahead.
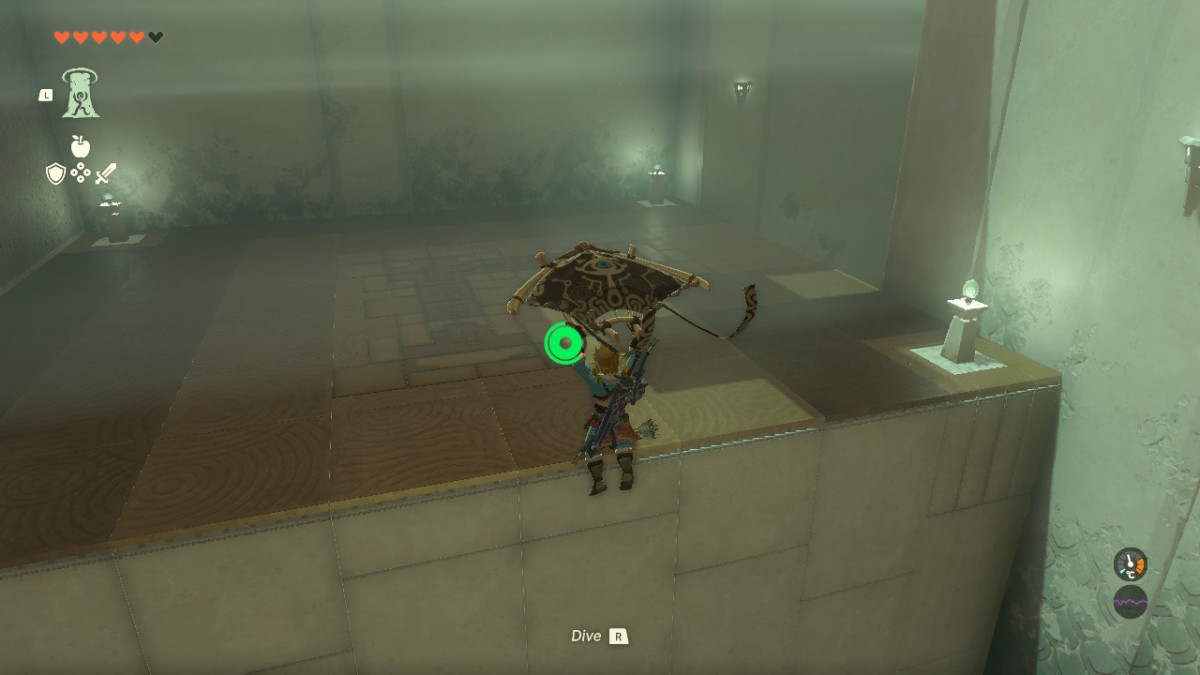
Next, glide in the direction of the wind while moving sideways to avoid the lasers. It's best to glide slightly to the left, where there are almost no lasers, and then to the right, to land on the platform.
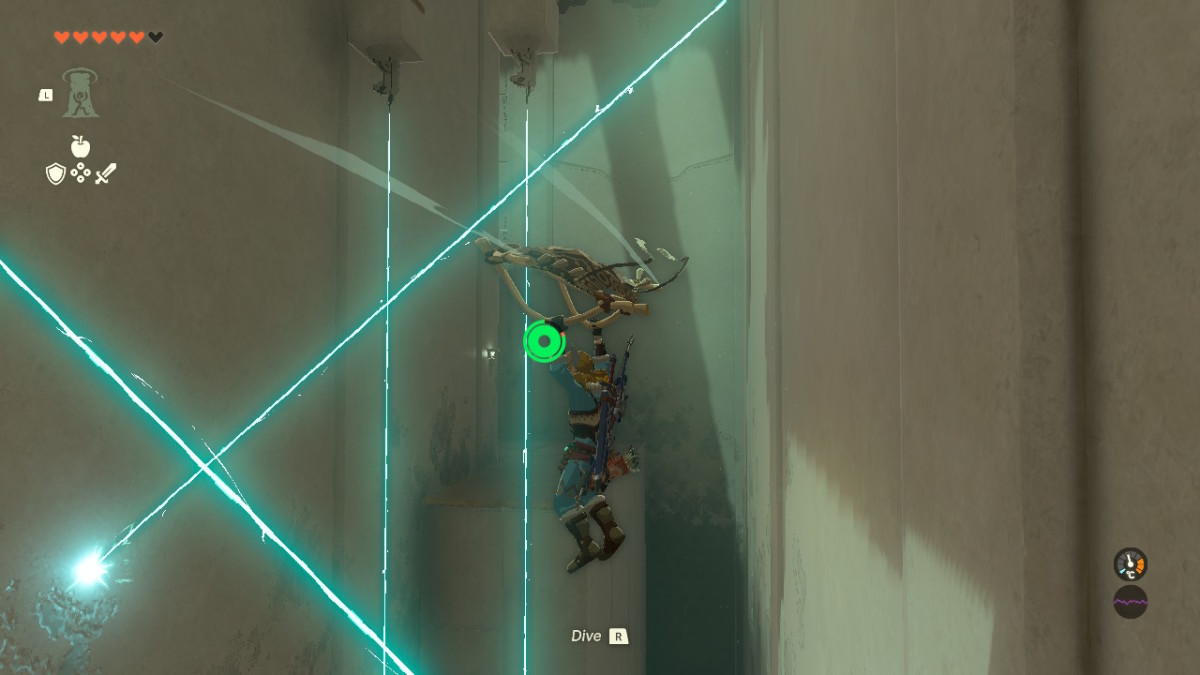
In the next section, there's a big circular hole in the floor. You'll see a giant rotating platform below, with an opening through which you need to glide. The wind is blowing upwards this time, so you will have to use the paraglider in bursts, opening it for a short time and closing it, to safely descend through the opening.
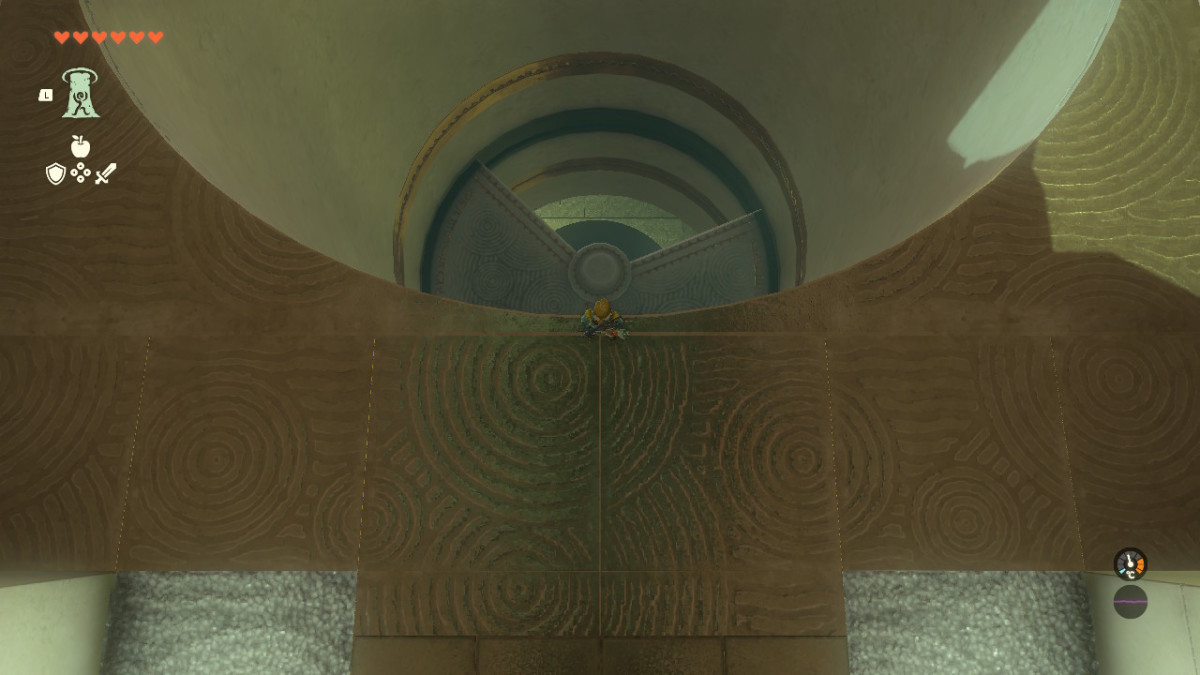
You'll be using this technique a lot to navigate the rest of the shrine. It's OK to land on the rotating platform and continue your descent from there, as long as you don't fall from a great height, in which case you will take fall damage.
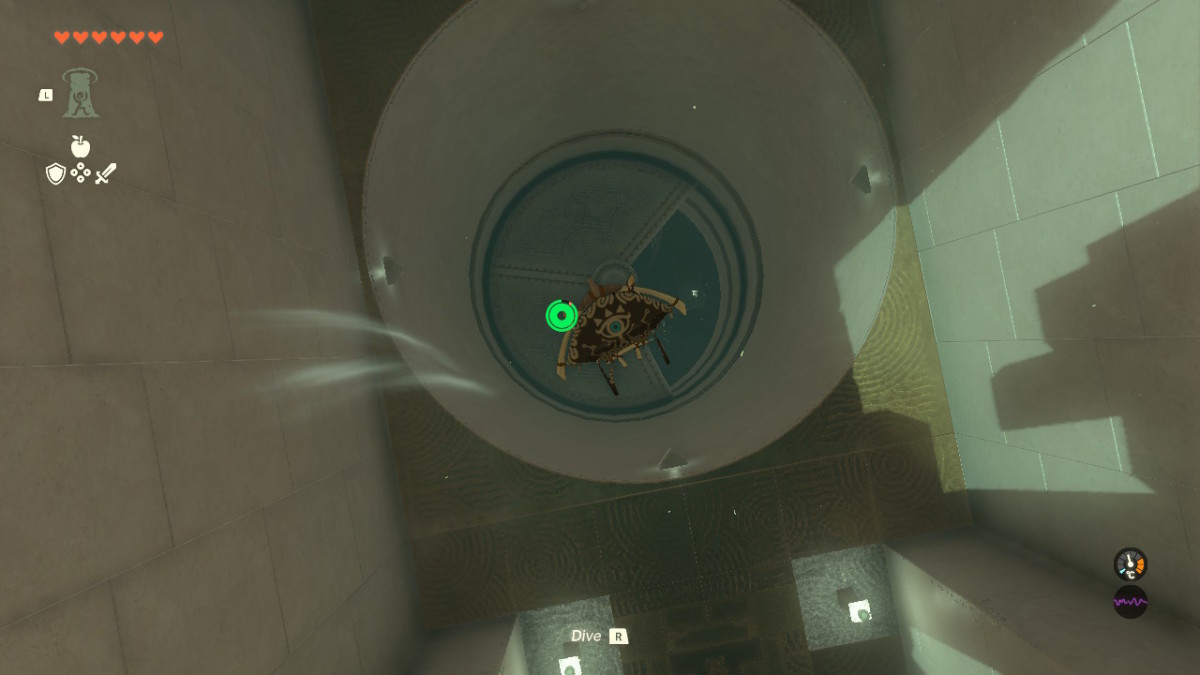
Once you're through the opening, there's another platform with a circular hole covered by ice. Land carefully on it and jump several times to break the ice and continue your descent. There are three spinning fans at the bottom of the next chamber, so make sure you don't fall on them as you will take damage and die in the abyss below.
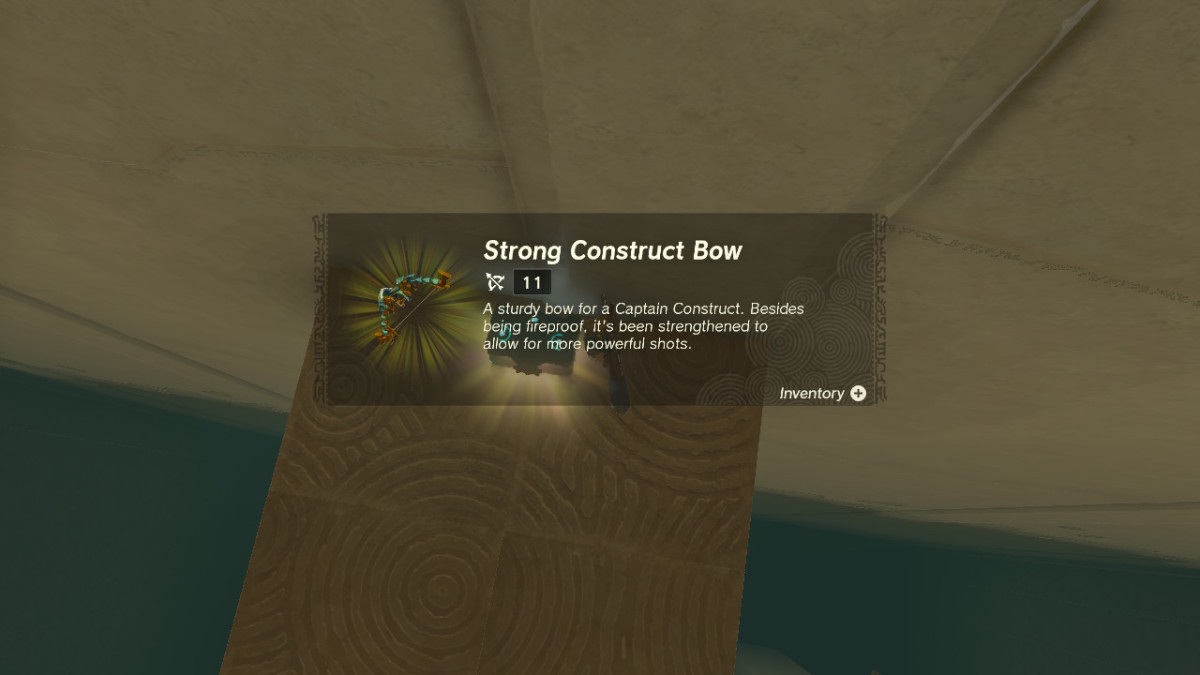
The chamber also has three platforms with one construct guarding each one. Carefully glide to the tallest platform first, kill the construct, and open the Zonai treasure chest for a Strong Construct Bow.
The construct is easy to take out, and you can use your bow to freeze time while airborne and shoot it from a distance.
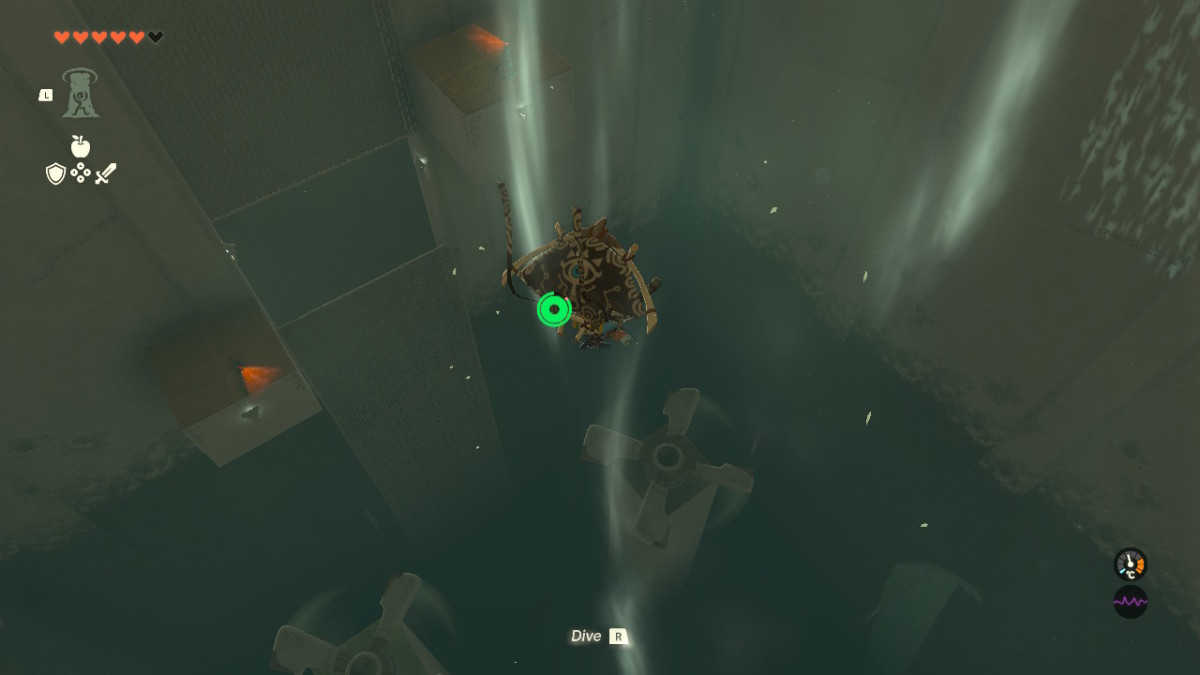
You can kill the other two constructs for parts if you wish. The exit from this chamber is to the left of the top platform, between the other two platforms.
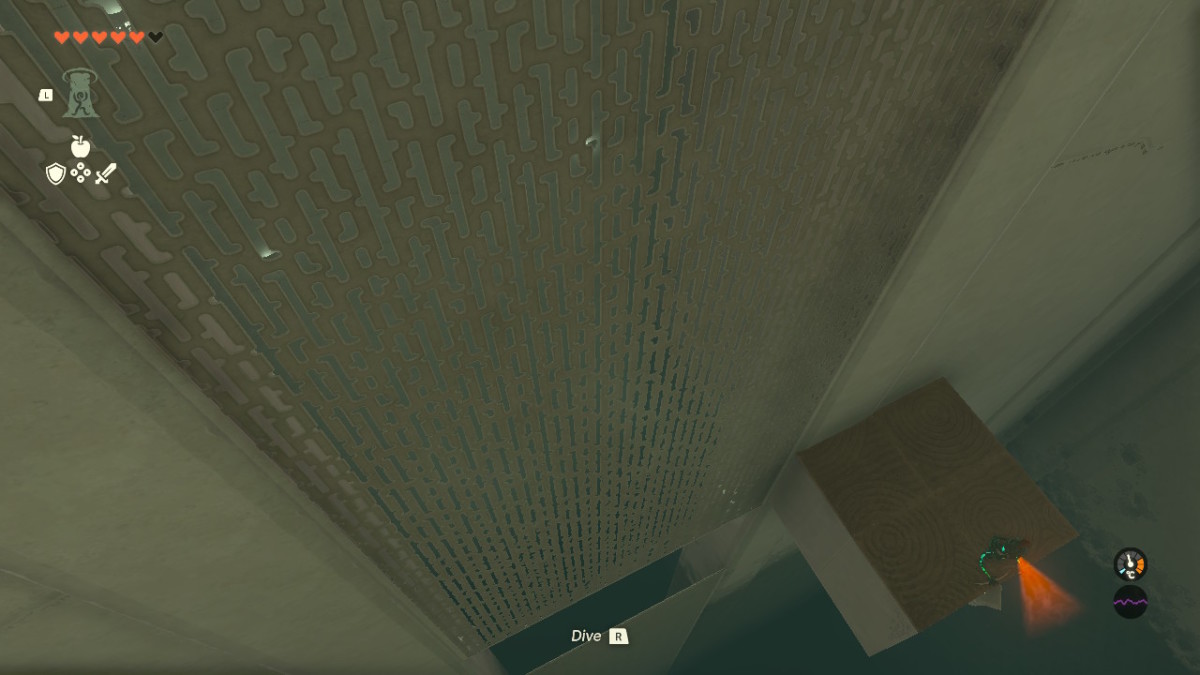
Glide towards the wall above it, then drop through the opening and immediately open your glider again to move up on the other side of the wall, helped by the upward wind.
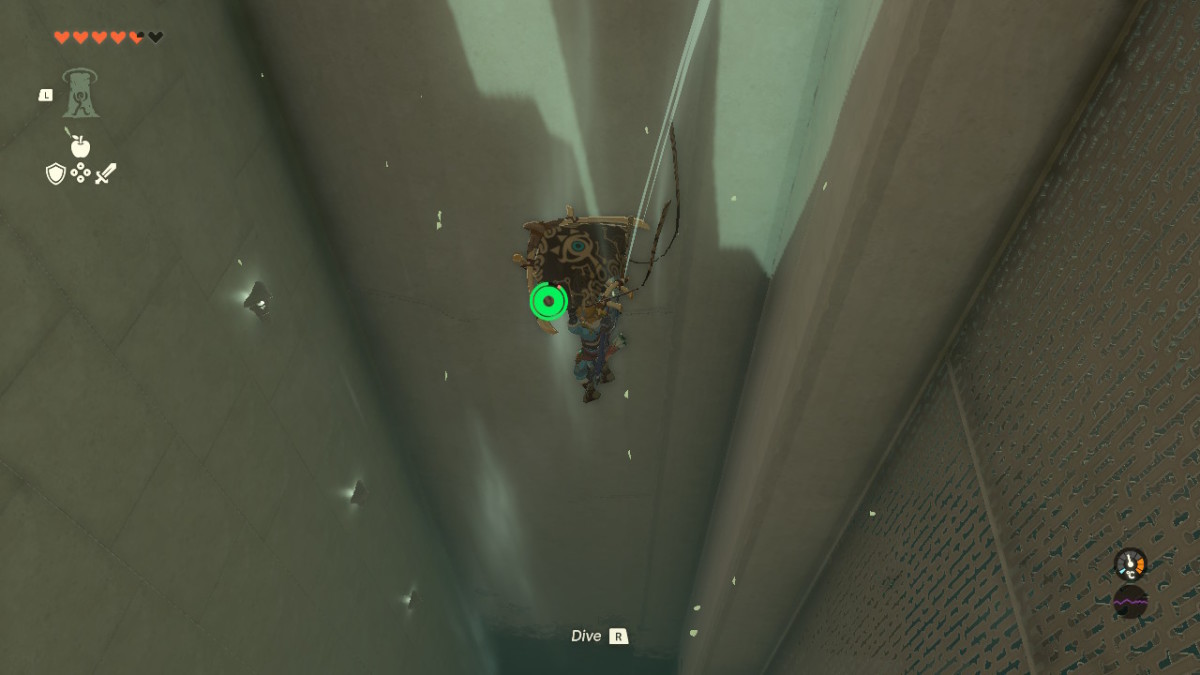
Once you reach the top, you're in the final chamber where your reward awaits.
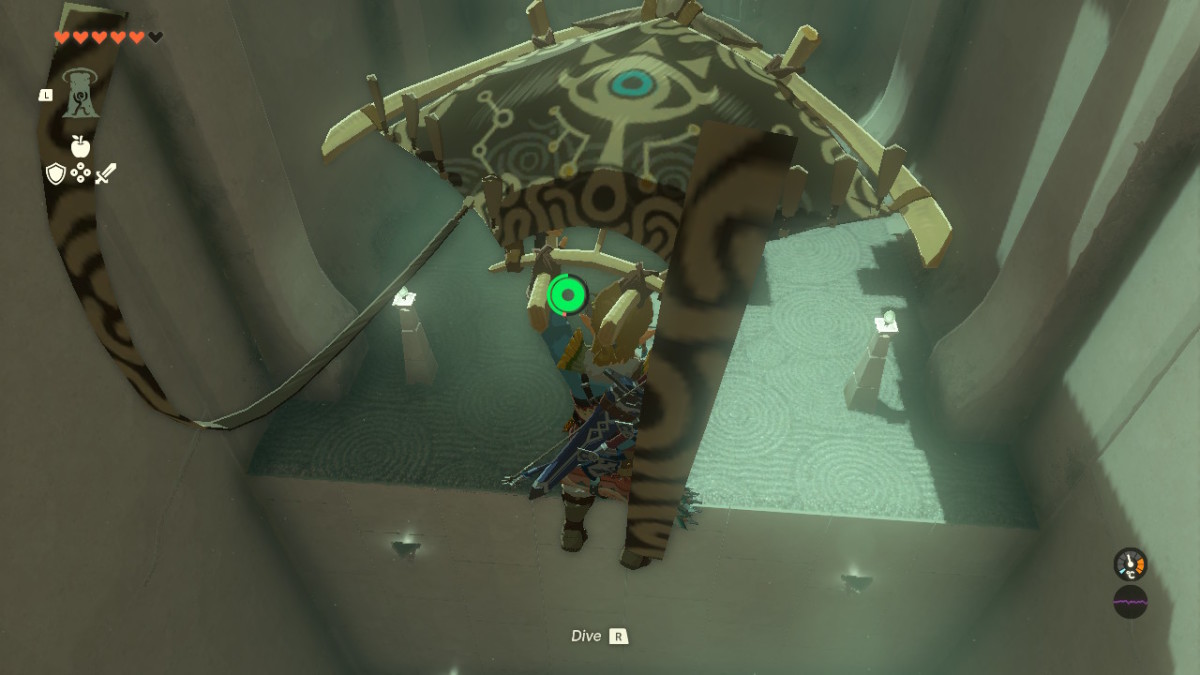
Move away from the wind tunnel and descend towards the platform with your paraglider to receive the Light of Blessing.
