Zelda Tears of the Kingdom: Great Sky Island tutorial area walkthrough

Contents
- Link’s Awakening – Zelda TOTK
- Getting the Ultrahand ability, approaching Ukouh Shrine – Zelda TOTK
- Getting the Fuse ability, approaching In-isa Shrine – Zelda TOTK
- Getting the Ascend ability, approaching Gutanbac Shrine – Zelda TOTK
- Recall, Fourth Shrine, Nachoyah Shrine – Zelda TOTK
- Descending to Hyrule – Zelda TOTK
The Legend of Zelda: Tears of the Kingdom is out now, and if you’re getting started and eager to jump into the meat of the game, we’ve got you covered. A lot like Breath of the Wild, this game has quite a robust tutorial that takes place on the Great Sky Island. This area includes multiple shrines which tutorialize the game’s new suite of abilities.
In this guide, we’re breaking down everything you need to get through the Great Sky Island tutorial area so you can start playing the game “properly.” Just read through our walkthrough below for everything you need to know.
For more Zelda guides and tips, like how to find and activate all Skyview Towers, or an explanation of all Zonai Devices, make sure to read our full Zelda: Tears of the Kingdom walkthrough.
Link’s Awakening – Zelda TOTK
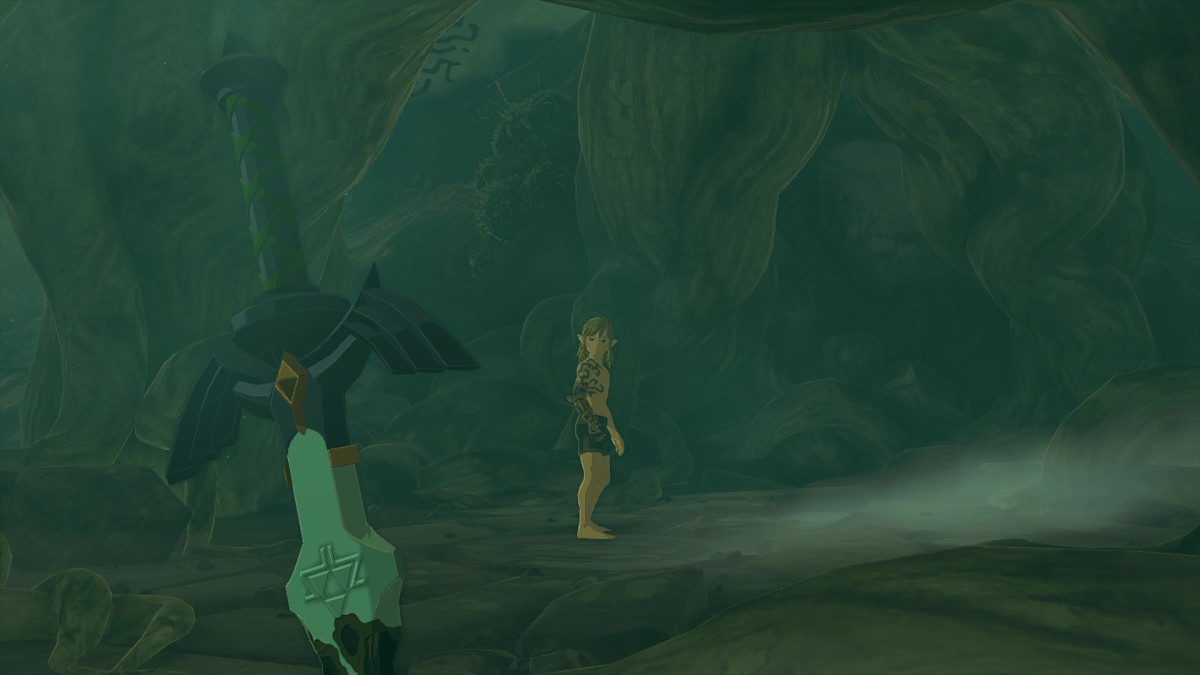
As always, Link wakes up in a haze after an incident that caused The Upheaval. Pick up the Decayed Master Sword, slash through the vines, and use the terminal up ahead. Next up is a linear pathway to make your way out of this starting area. Once you get to the cliff’s edge, jump off to get started.
Getting the Ultrahand ability, approaching Ukouh Shrine – Zelda TOTK
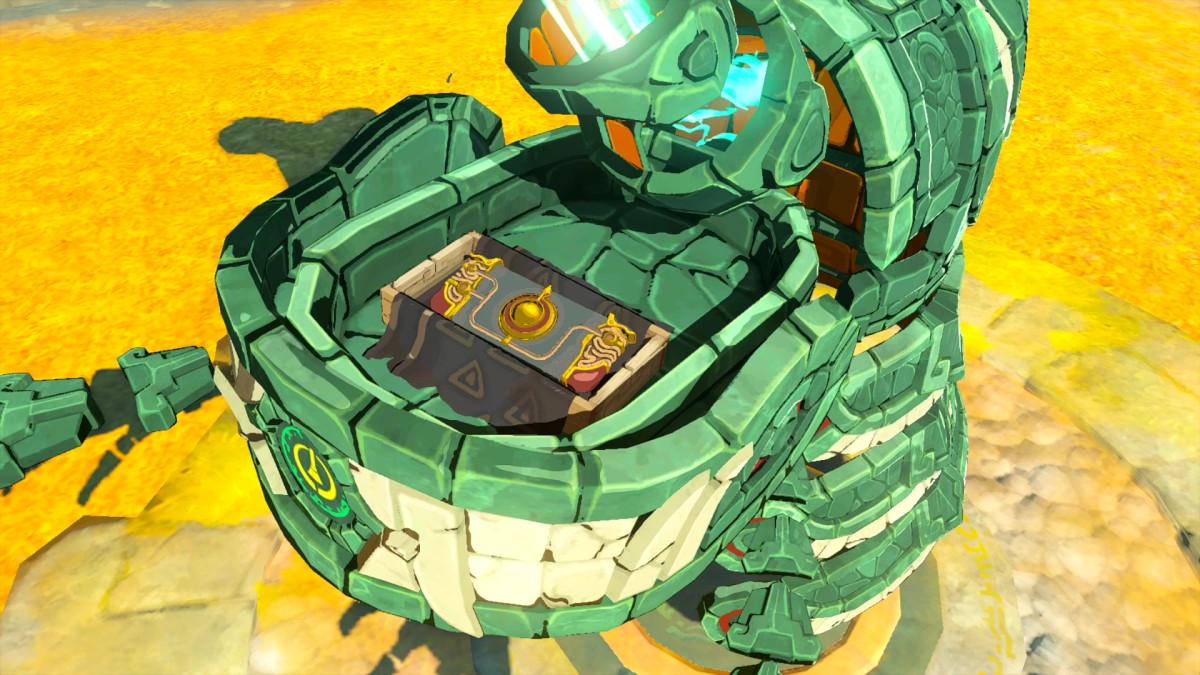
Landing in the water, below, skip past the enemy and interact with the Construct next to the inactive terminal ahead. It will give you the Purah Pad. The terminal will then become active, and you can jump from the next sky island to the larger islands below.
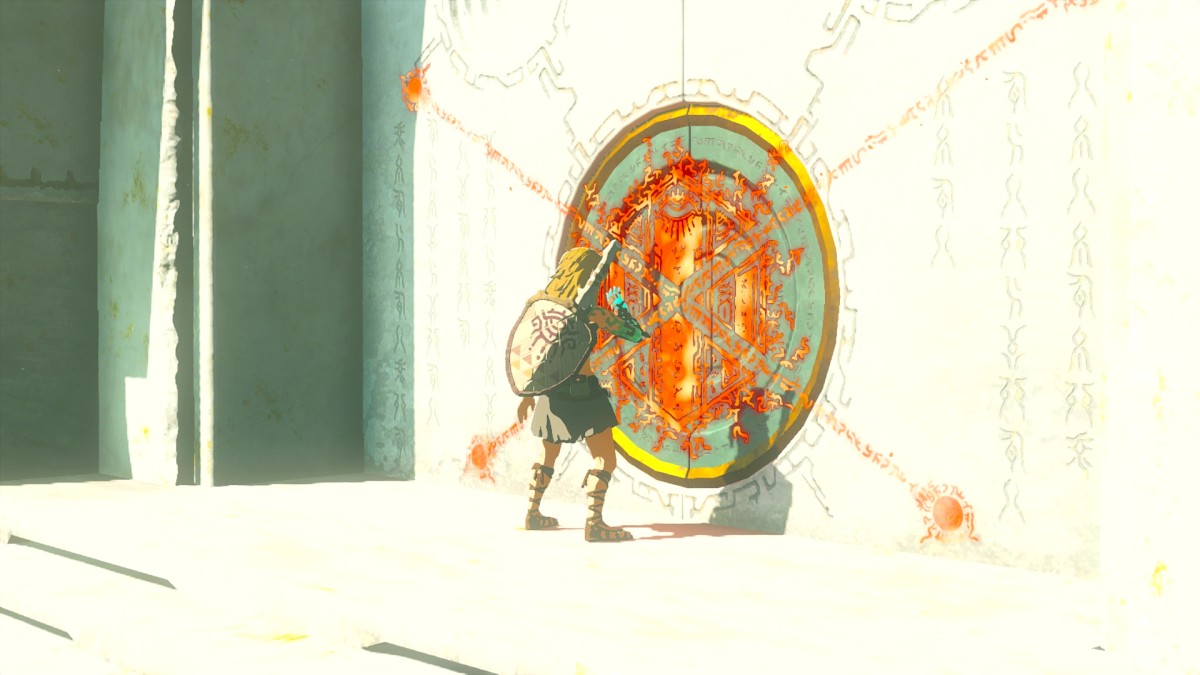
Head to the large building up ahead – you won’t be able to get inside, but you’ll get a cutscene with the source of your right arm. The shrines will activate in the distance now, and luckily, the closest one is just over a field and up some stairs.
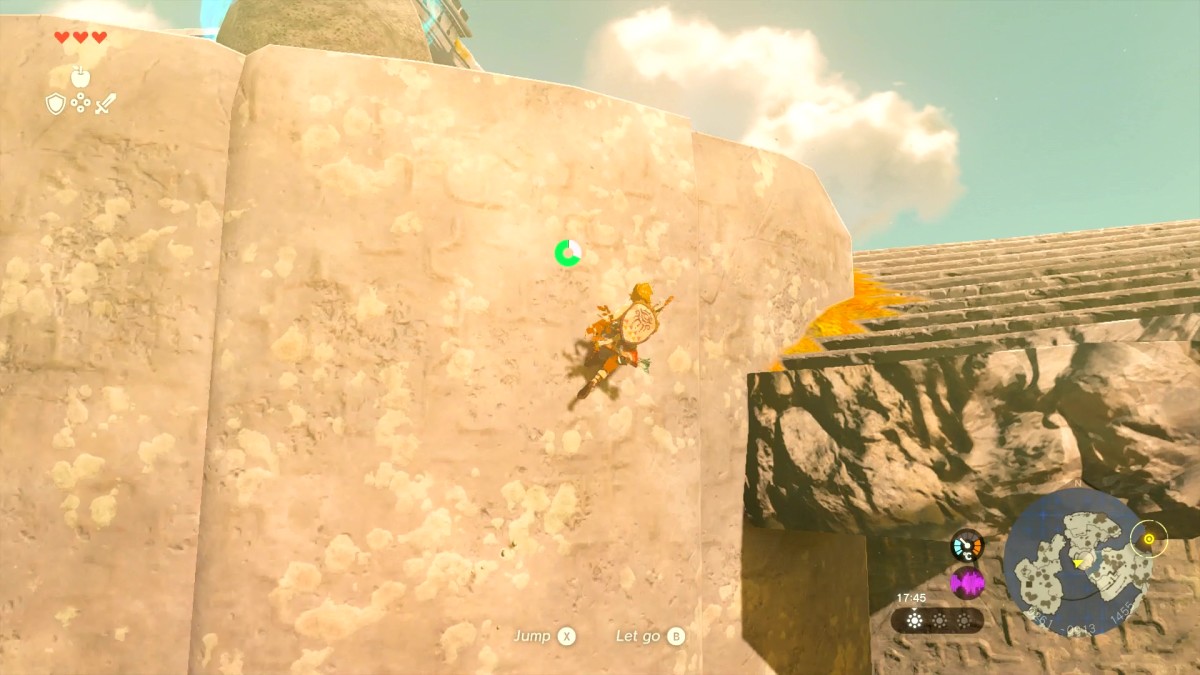
Climb your way up to find the Ukouh Shrine, where you’ll learn the Ultrahand ability. For more, check our Ukouh Shrine guide and our Ultrahand guide.
Getting the Fuse ability, approaching In-isa Shrine – Zelda TOTK
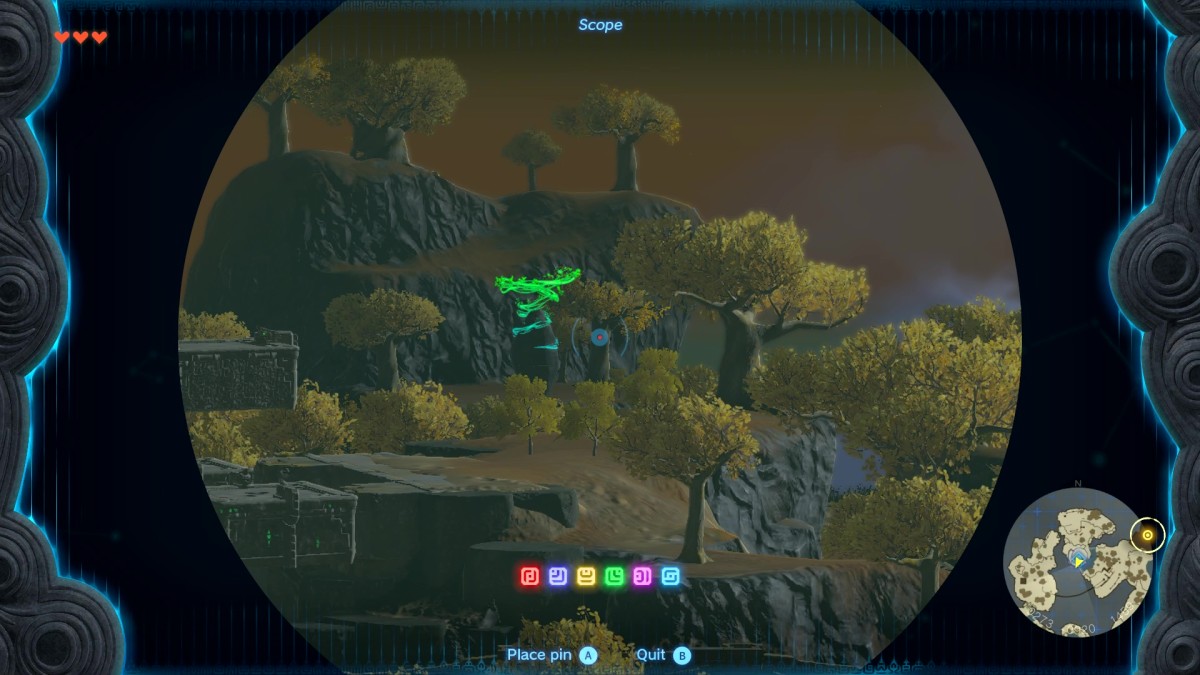
Once you exit the shrine you’ll get the Scope and the ability to pin things. There is one shrine ahead of you to the Southwest, and if you look to the Southeast, high on some icy islands, you’ll see another shrine to pin.
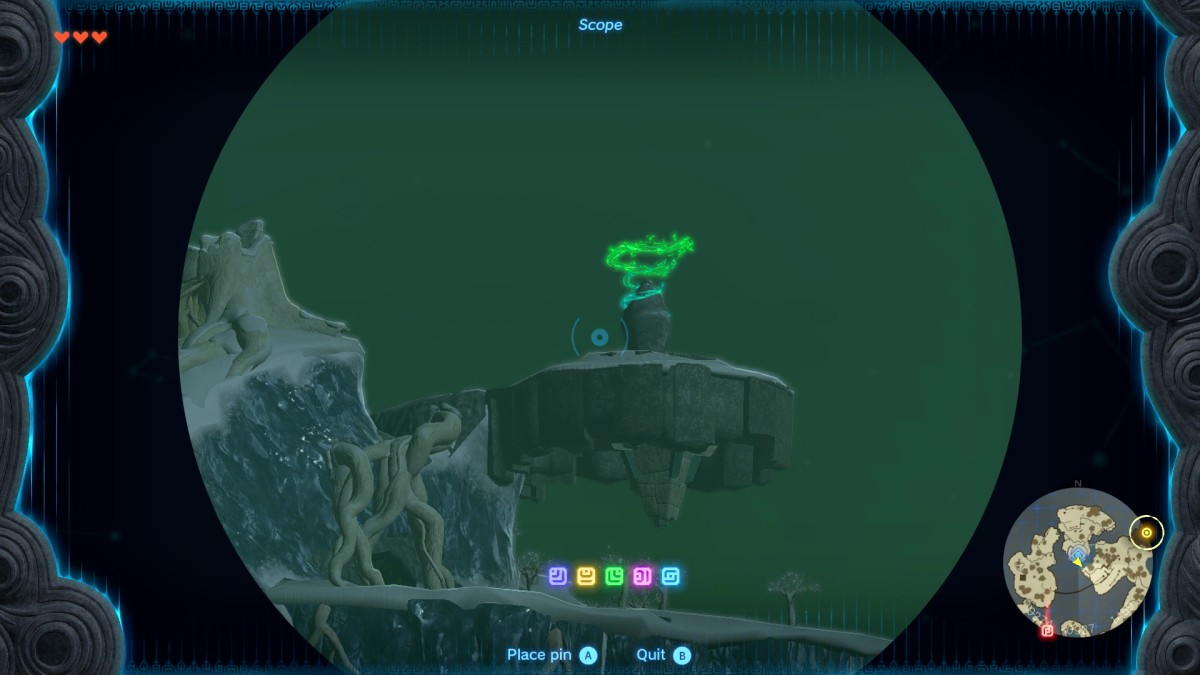
The Southwest shrine is closer, so we’ll be heading to that first.
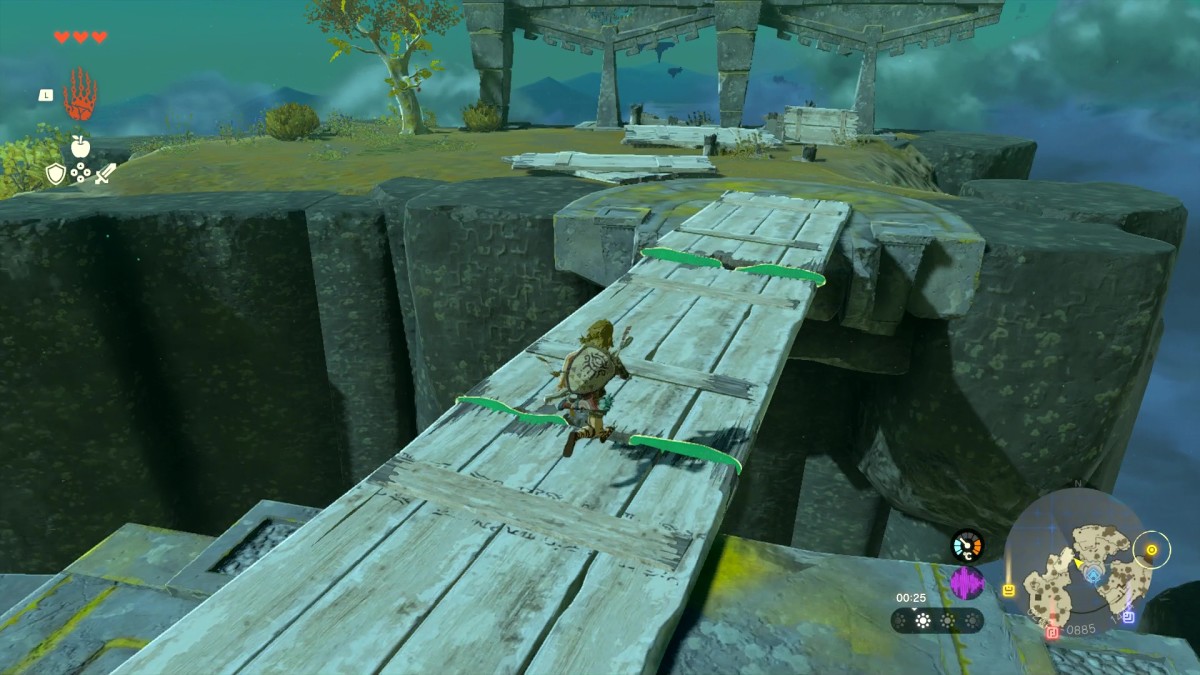
Just down the stairs from the shrine you’ll be able to connect wooden boards together to cross a gap to an island to the West, and then you can cross this island to head towards the next shrine.
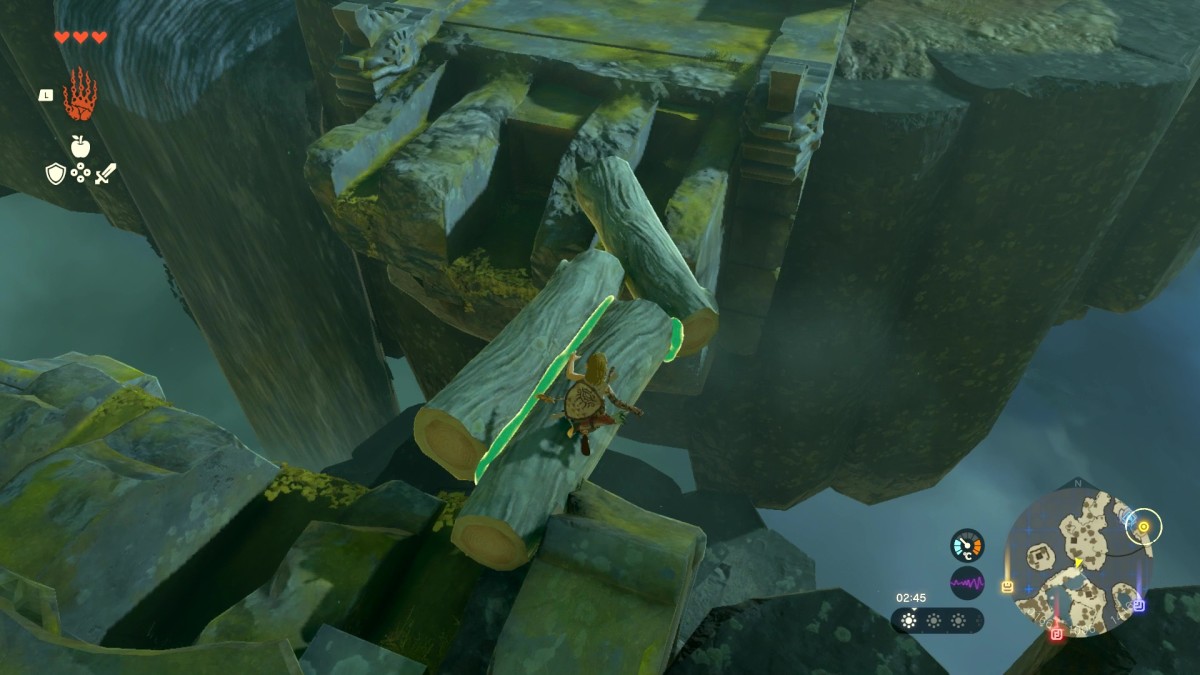
Once you come to the end of the island you can connect wooden logs to make another bridge and cross.
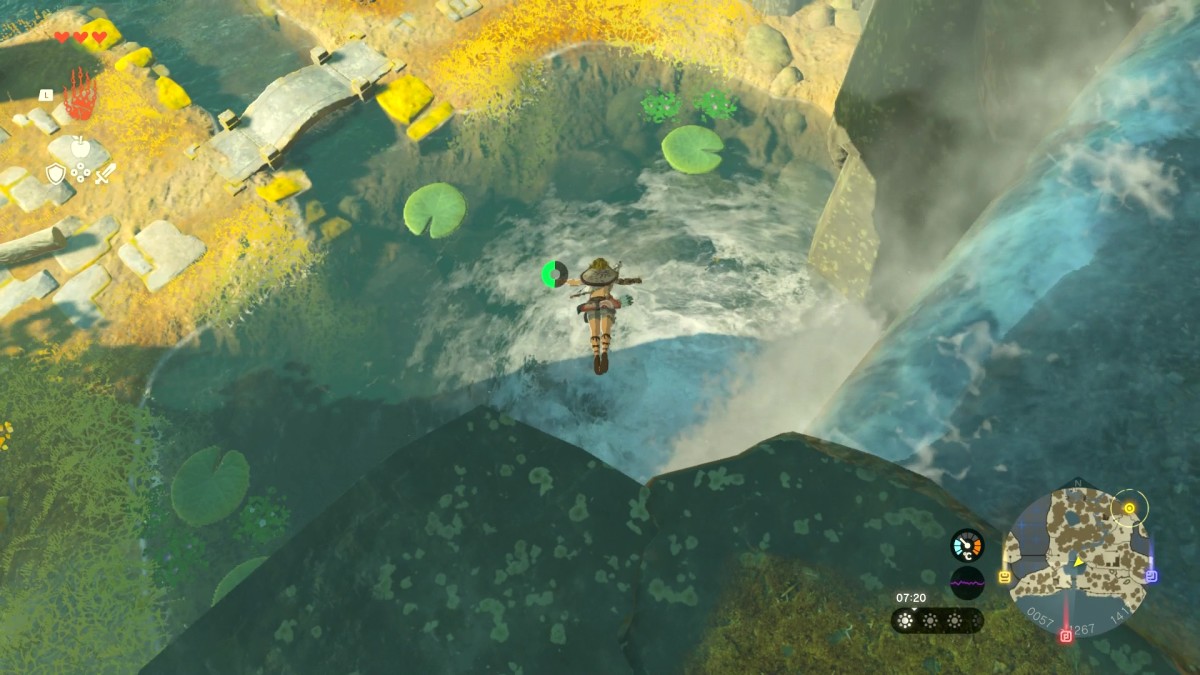
Make your way across the next island while following the stream to the lake ahead, and then jump into the lake near the waterfall. The stream now leads into a big lake you’ll need to cross. Connect logs together and use the nearby sails to build a raft that’ll take you over the water with the wind.
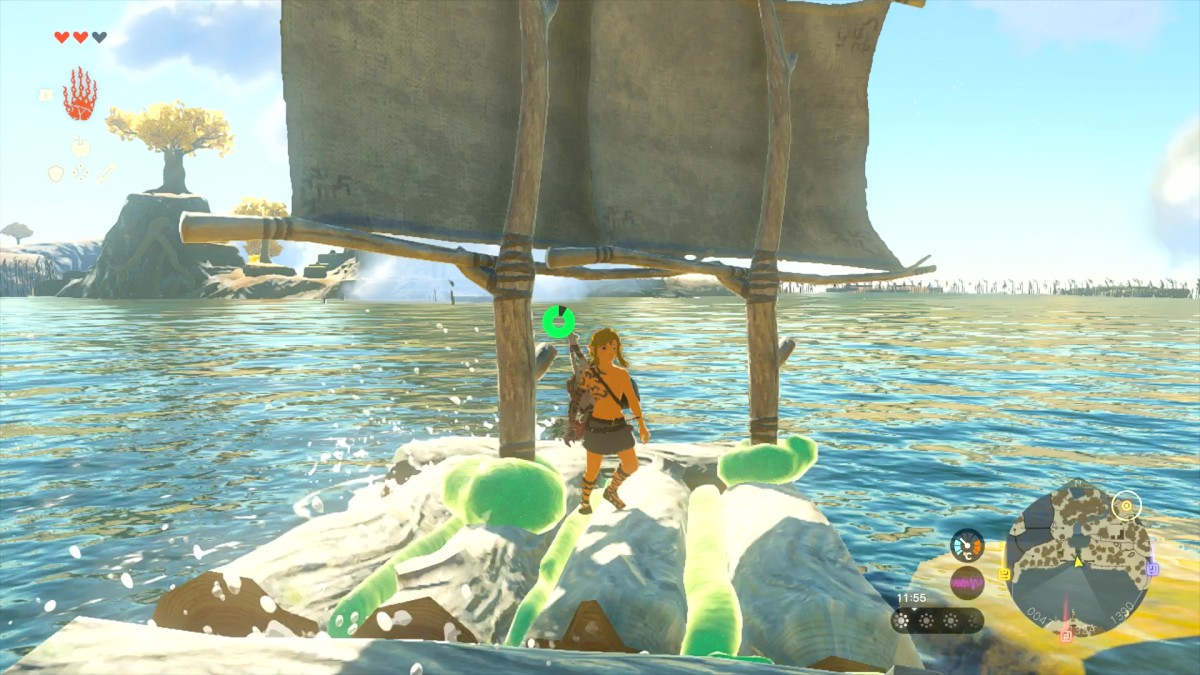
Once you get across the water, you’ll be at the In-isa Shrine, where you’ll learn the Fuse ability – this will be essential for your battles ahead. For more, check out our In-isa Shrine guide and our Fuse ability guide.
Getting the Ascend ability, approaching Gutanbac Shrine – Zelda TOTK
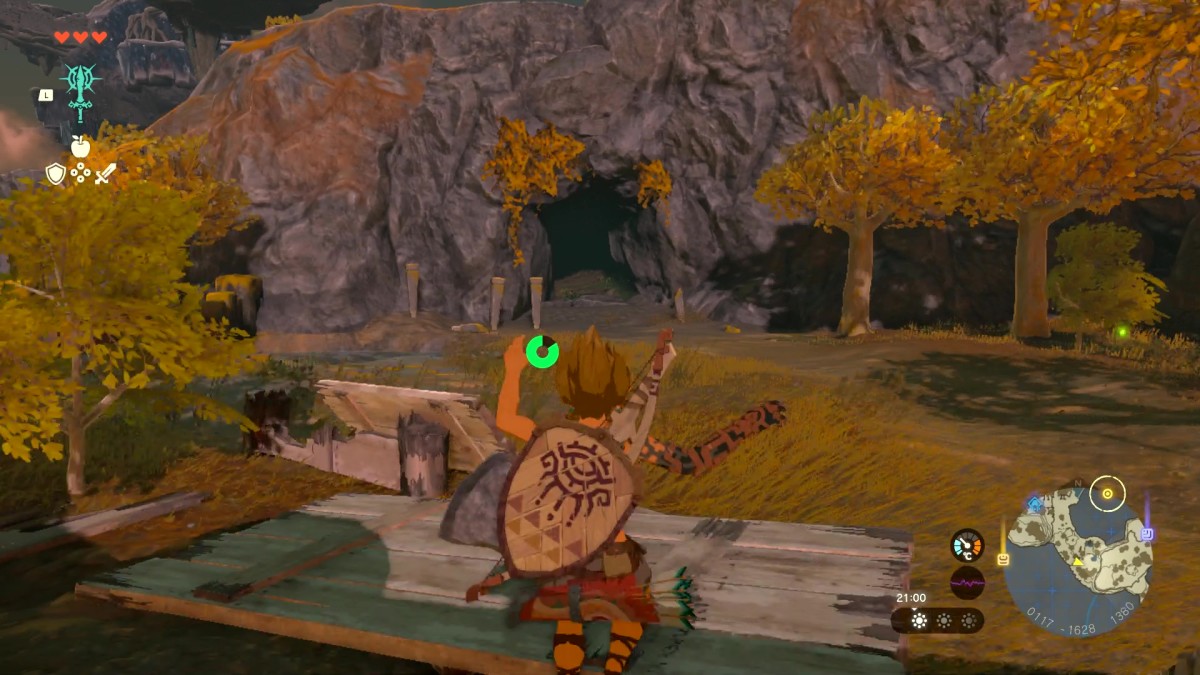
After exiting In-isa Shrine, you’ll be gifted the Energy Cell. This will help you power vehicles and various Zonai devices, and will be essential for the puzzles ahead. You’ll also be pointed towards a cave system up ahead – let’s head through here. This will also mark your first encounter with a Bubbul Frog, which you can get Bubbul Gems from.
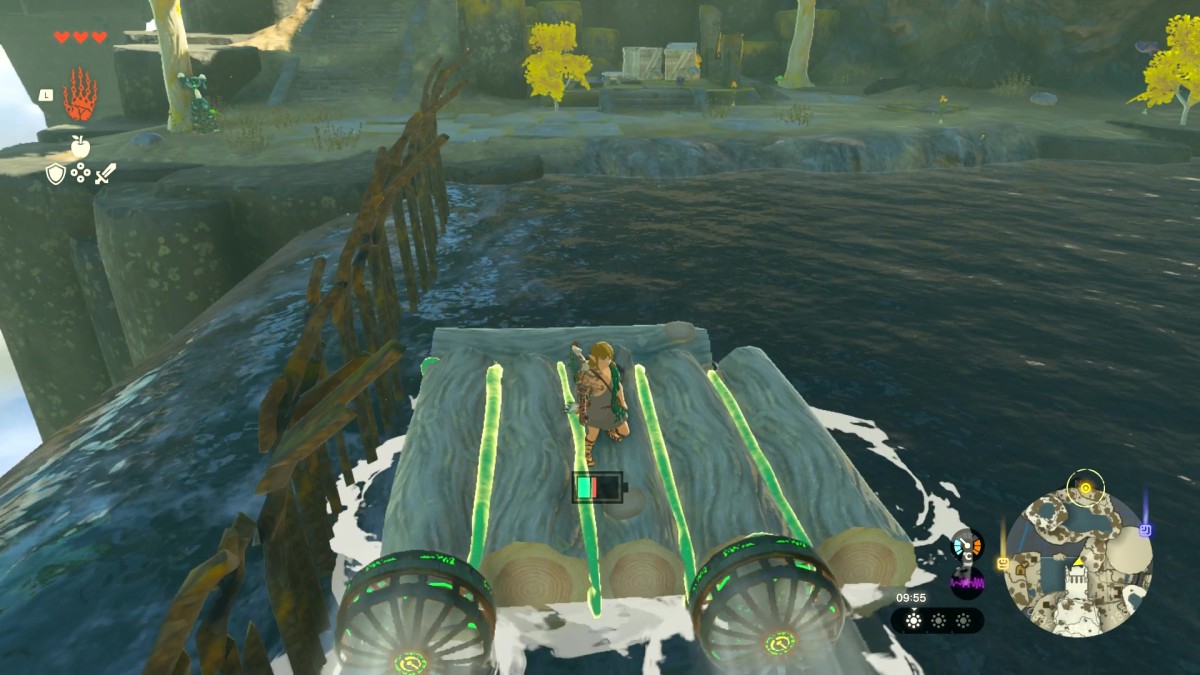
On the other side of the cave, you’ll find another Steward Construct, and it has some fans you can use. Fashion another raft with the logs and attach the fans at the rear to push it. A simple way to power Zonai devices like these fans is to throw a Zonai Charge at it. Hold R and press up to swap to an item, and then throw the Zonai Charge at your raft. This will power any Zonai devices attached to it. You can pick the Zonai Charge up again after. Use this to cross the large body of water.
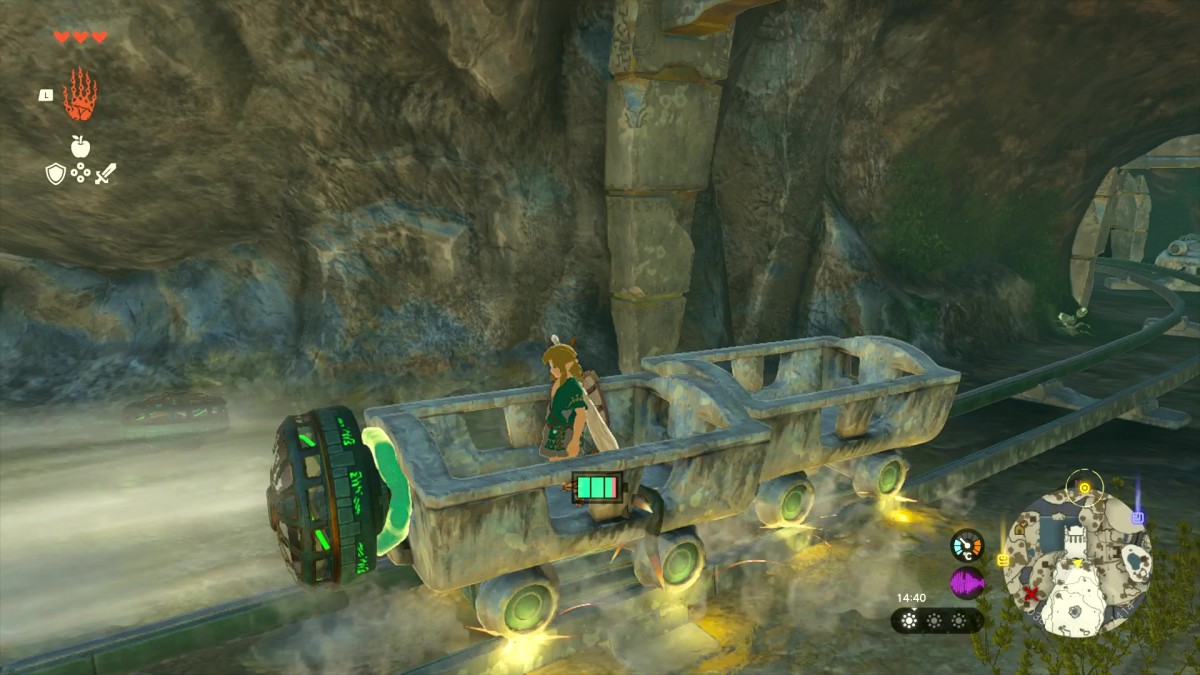
Once you’re over, climb up the hill to find the mine shaft, where you’ll find rail tracks and mine carts. You can place a cart on the rails and attach a fan to the back to speed through the mines. In the darkness down here you can throw Brightbloom Seeds to brighten the place up. You’ll also find a place to trade Zonaite for Crystalized Charges, but you shouldn’t worry about this until you need to increase your Energy Well.
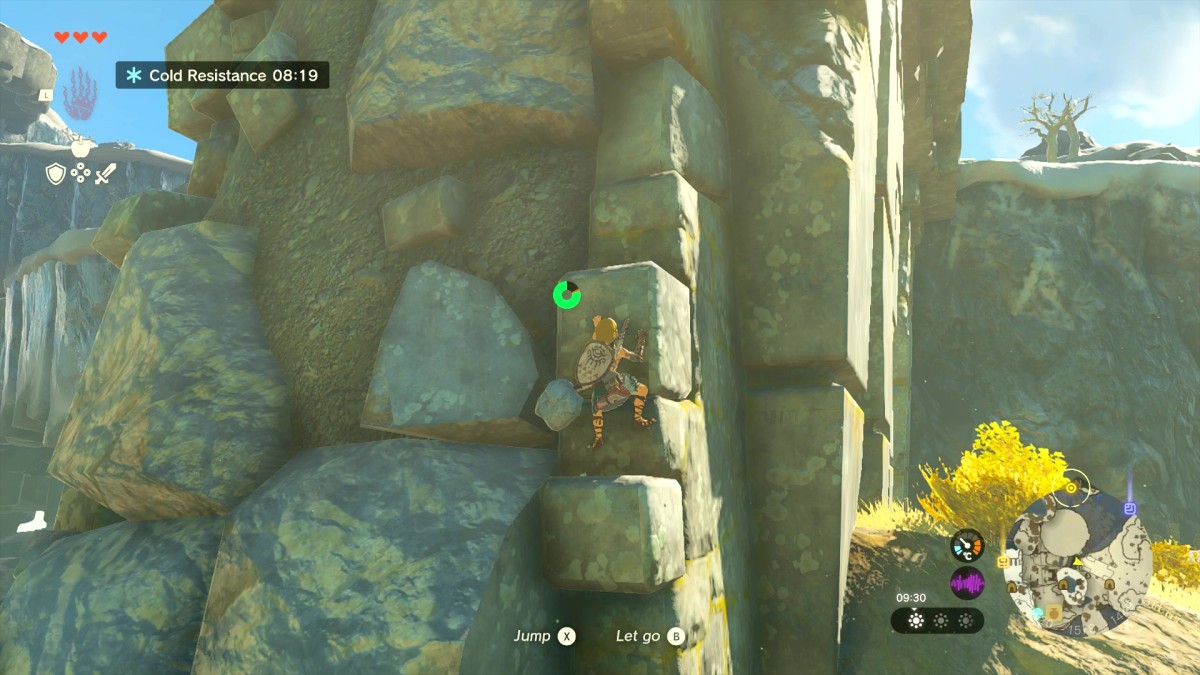
There’s another rail track up ahead for you to put a cart and fan onto – but this area is optional. Turn to the East and you’ll see a cave next to a large archway. The cave is a good opportunity to cook up some meals with peppers to give you Cold Resistance. Once you’re set, you can make it up the hill quickly by climbing the side of the archway.
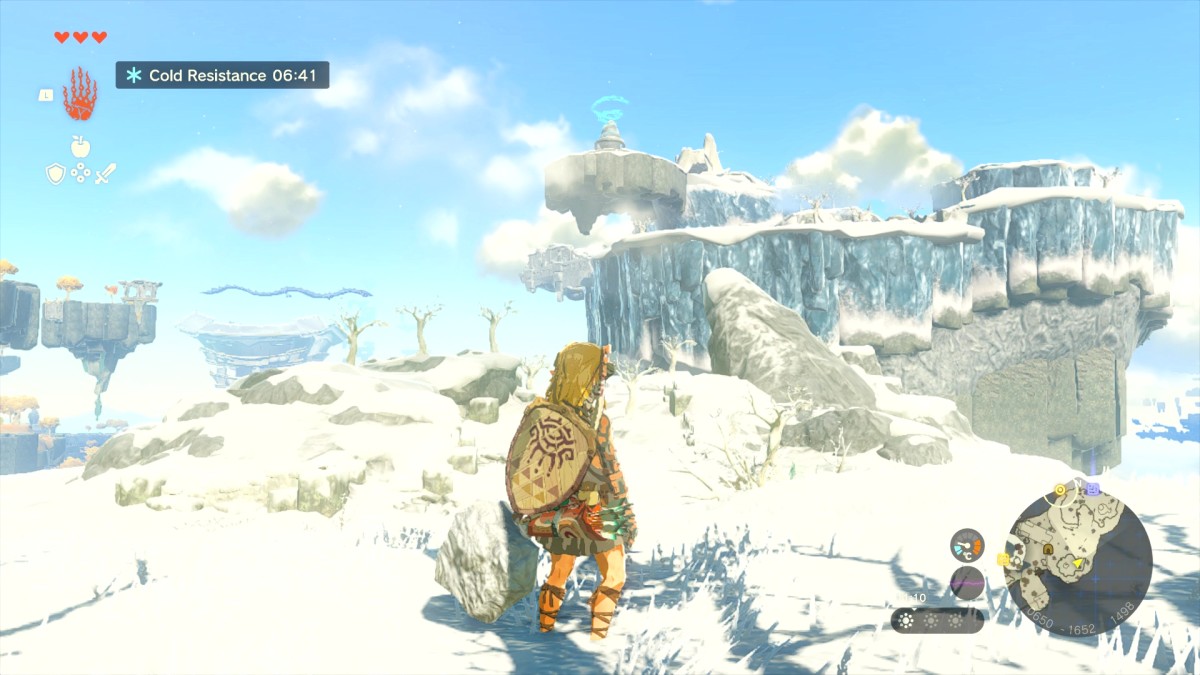
It’s still a long trek to the next shrine. You’ll be able to see if on the horizon, though. Head across this snowy plain to the rock structures up ahead. From here you’ll get a good view: you won’t be able to climb the ice surrounding the shrine at all, so you need another way up. There’s a cave beneath where the shrine is, head inside and prepare to deal with a bunch of Like-Likes.
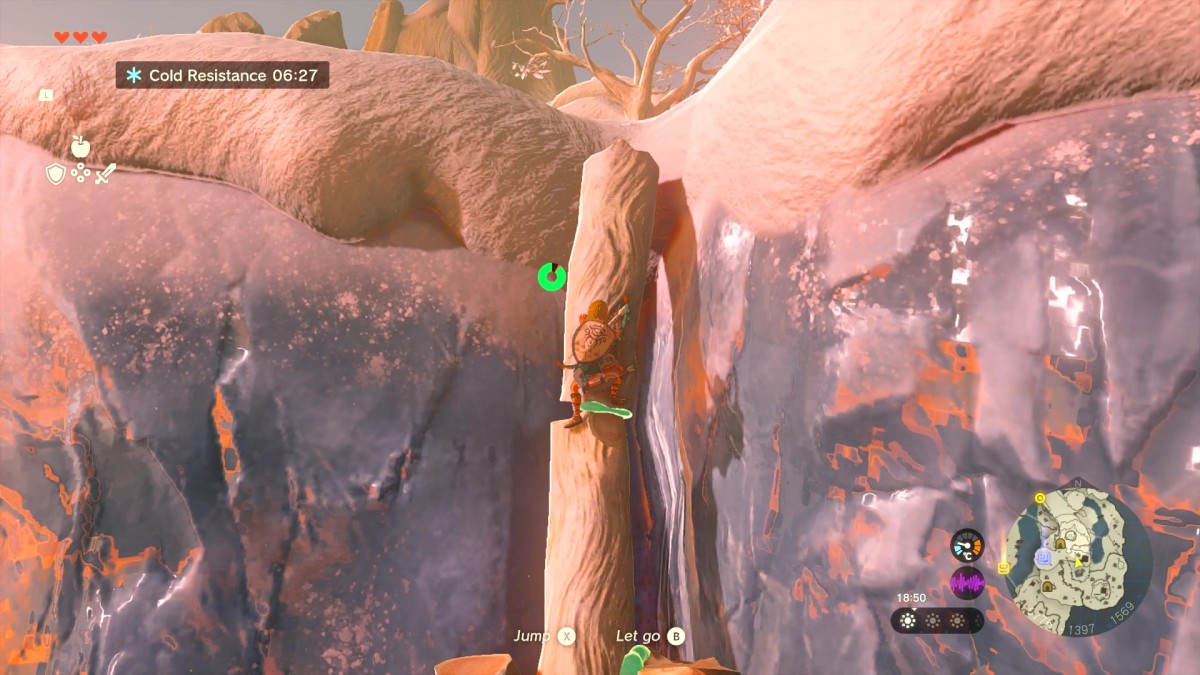
As you exit the cave, head up the path and hill to your left. There’s a bunch of trees at the top of the hill. It’ll be pretty simple to piece together a ladder out of logs, place that against the wall, and climb straight up towards the shrine, since you can’t climb the ice. You’ll finally find yourself at Gutanbac Shrine, where you’ll learn the Ascend ability. For more on that, check our Gutanbac Shrine guide and our Ascend ability guide.
Recall, Fourth Shrine, Nachoyah Shrine – Zelda TOTK
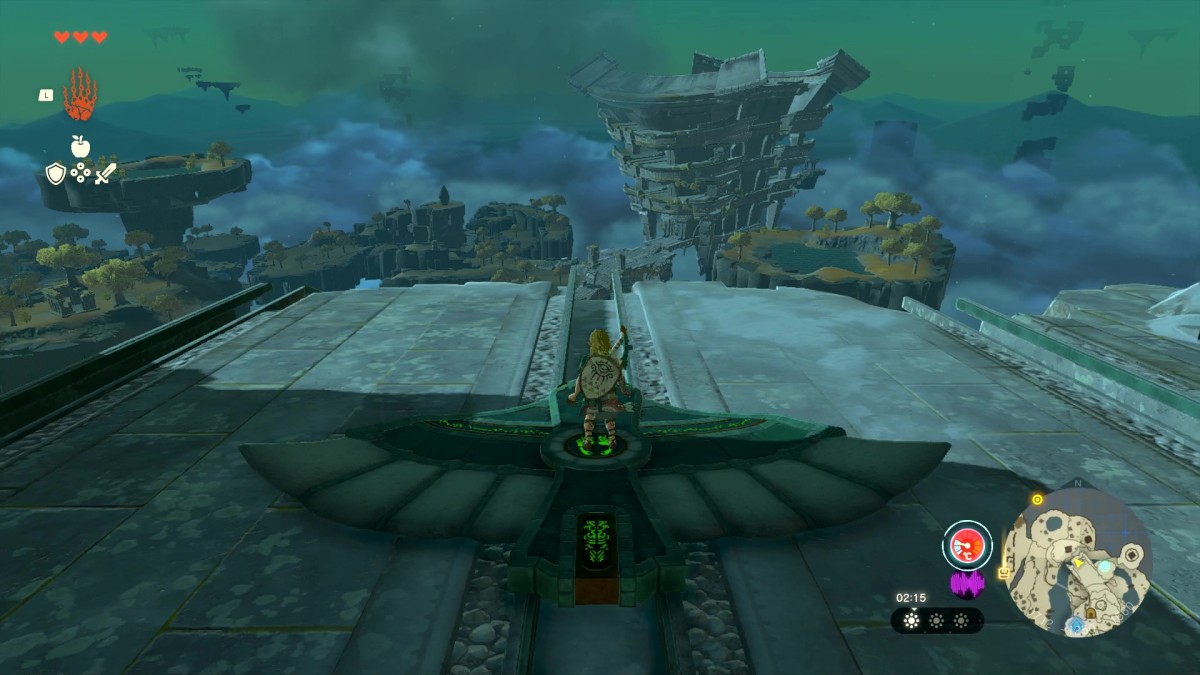
Once you exit the shrine, use the Ascend ability on the overhead tree bark nearby. Head through the hollow tree and you’ll see some gliders and ramps. Gliders can – as the name implies – glide through the sky with you on the back, but they need to get off the ground, which is where these rail ramps help out a lot. Place a glider on the rails, jump on, and then stand in the center to start gliding back towards the large temple from the start. You will now be able to open the door that was blocking your way previously.
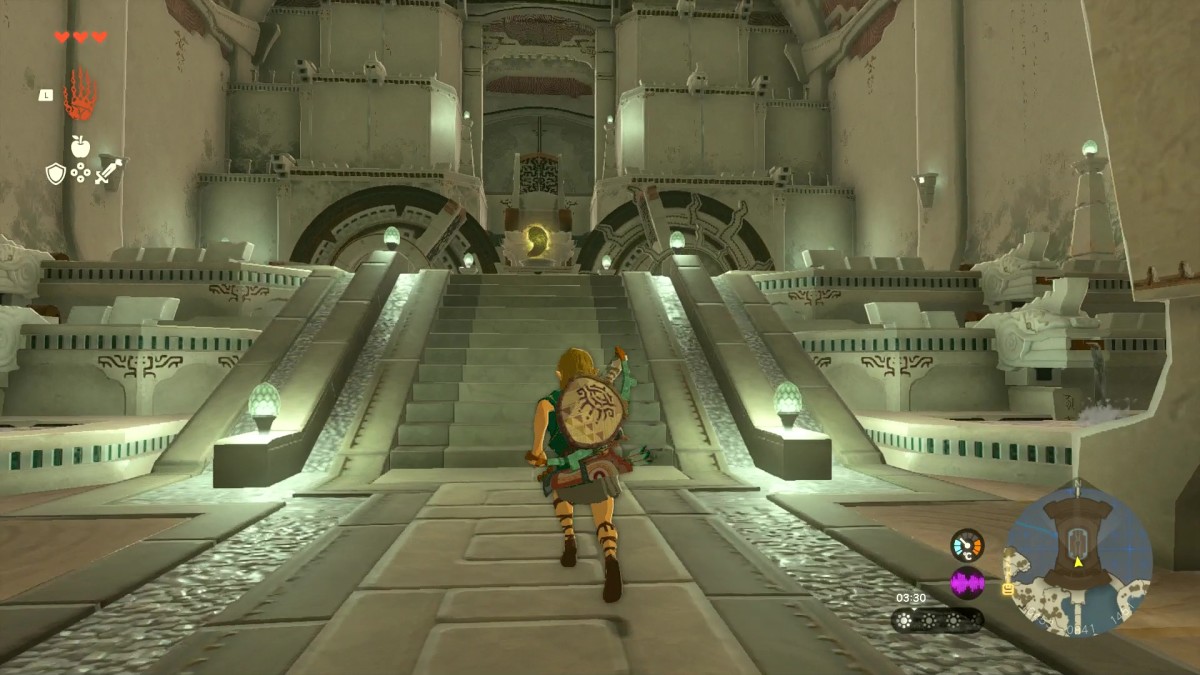
Approach the Sacred Stone inside and you’ll get a short cutscene where you’re gifted with the Recall ability. Link can use Recall on the spinning wheels at the back of the temple to climb and cross them to reach the upper chamber. You won’t be able to open the door here – it requires you to have four hearts.
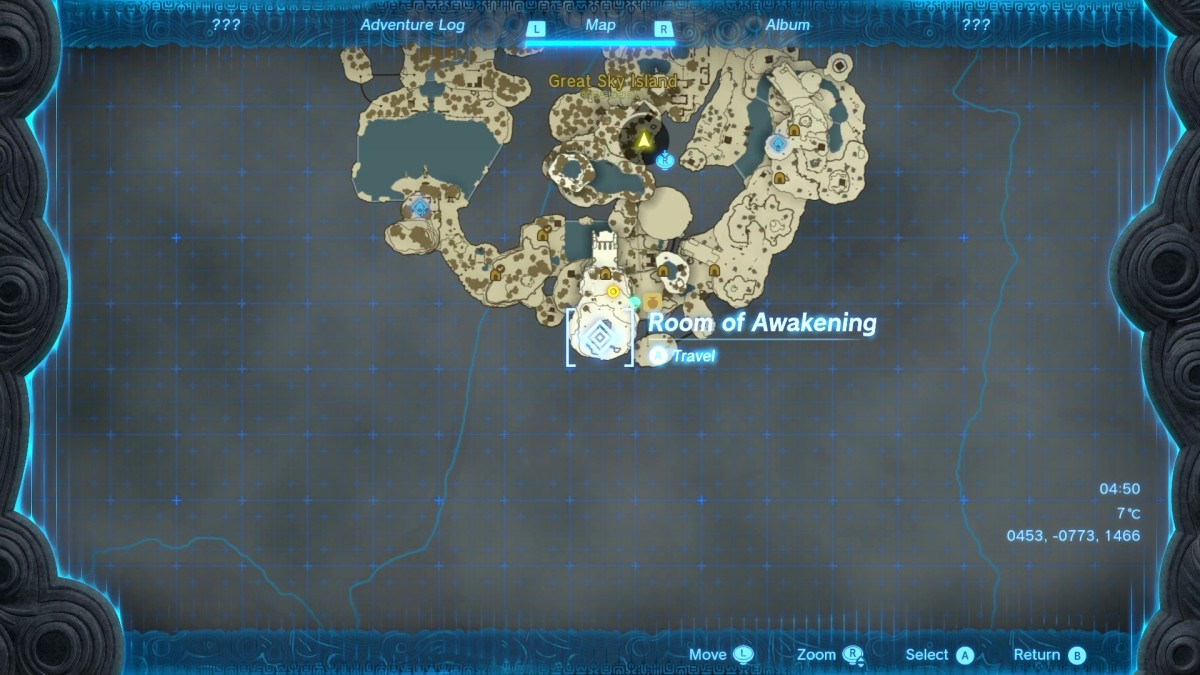
Use your map to Fast Travel back to the Room of Awakening where you started, and use the Recall ability in here to turn the wheels at the back again, once again, make a bridge for Link to cross. In a cave at the top, you’ll find Nachoyah Shrine. For everything you need here, check our Nachoyah Shrine guide and our Recall ability guide.
Descending to Hyrule – Zelda TOTK
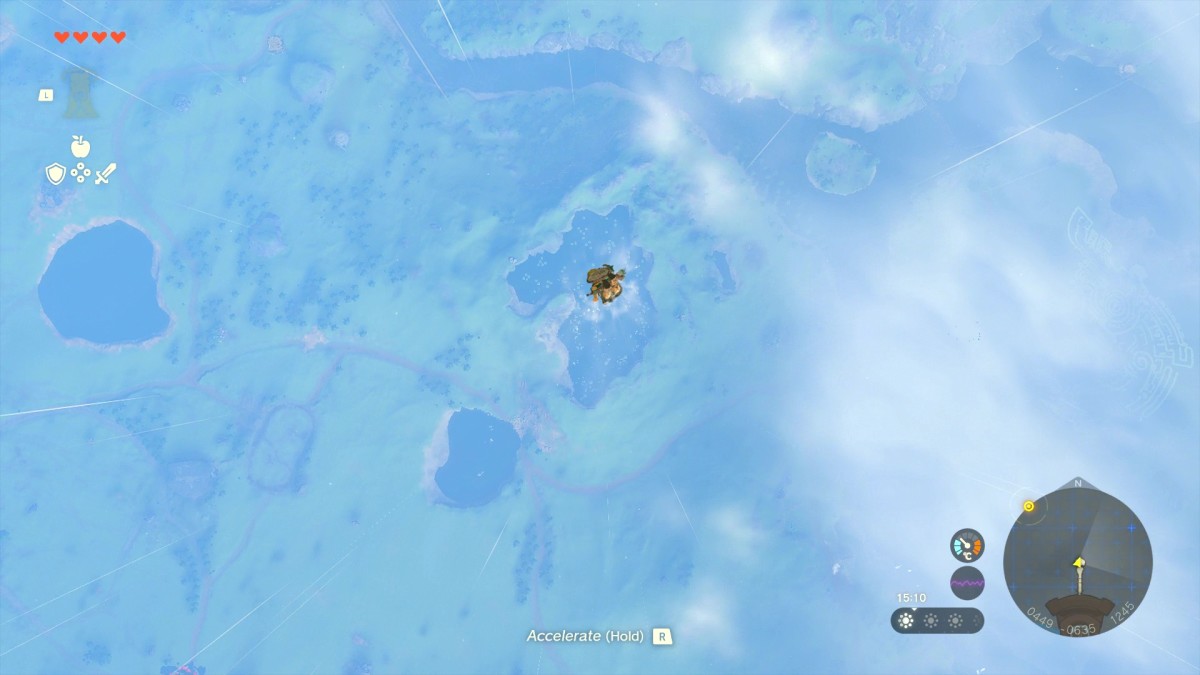
Return to the Temple of Time, and this time use the Hylia Statue to get an extra Heart Container. With four hearts, you’ll be able to open the large door at the back. Head through for a cutscene. At the end of the ruin, you’ll see a waterfall trickling down the world below. You know what to do. Jump down, and do your best to hit the water at the bottom. In order to get your adventure properly underway now, head to Lookout Landing to get your Paraglider and find out what to do next. Make sure to read our Paraglider guide for help getting that.
