Zelda Tears of the Kingdom: Full Lightning Temple walkthrough

Contents
The only dungeon that you will find on the ground level in The Legend of Zelda: Tears of the Kingdom is the Lightning Temple, found deep within Gerudo Desert once you progress the Riju of the Gerudo quest.
Once you’ve managed to find and fix the three Red Pillars in Gerudo Desert, you will see the Lightning Temple rise from the sand, and the chaos will start pretty much instantly. In this guide we’re going to walk you through how to get inside the Lightning Temple, and everything you need to do to complete this tricky dungeon.
For more Zelda guides and tips, like how to find and activate all Skyview Towers, or an explanation of all Zonai Devices, make sure to read our full Zelda: Tears of the Kingdom walkthrough.
Queen Gibdo first fight – Zelda TOTK
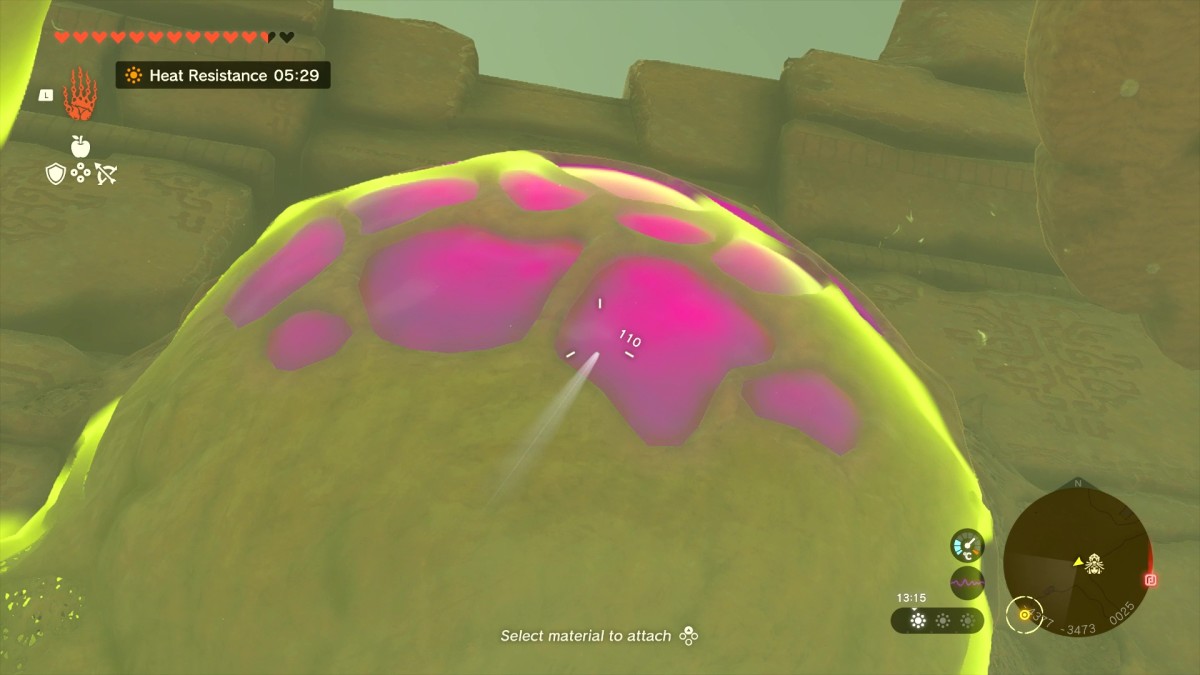
Things kick off outside the Lightning Temple with Riju. There are several pillars that spawn enemies outside, and as in the Kaka Kaka Bazaar and Gerudo Town assault sections, you can use Riju’s ability to get rid of them. Make sure Riju’s range reaches to the large one at the entrance, and then shoot it down.
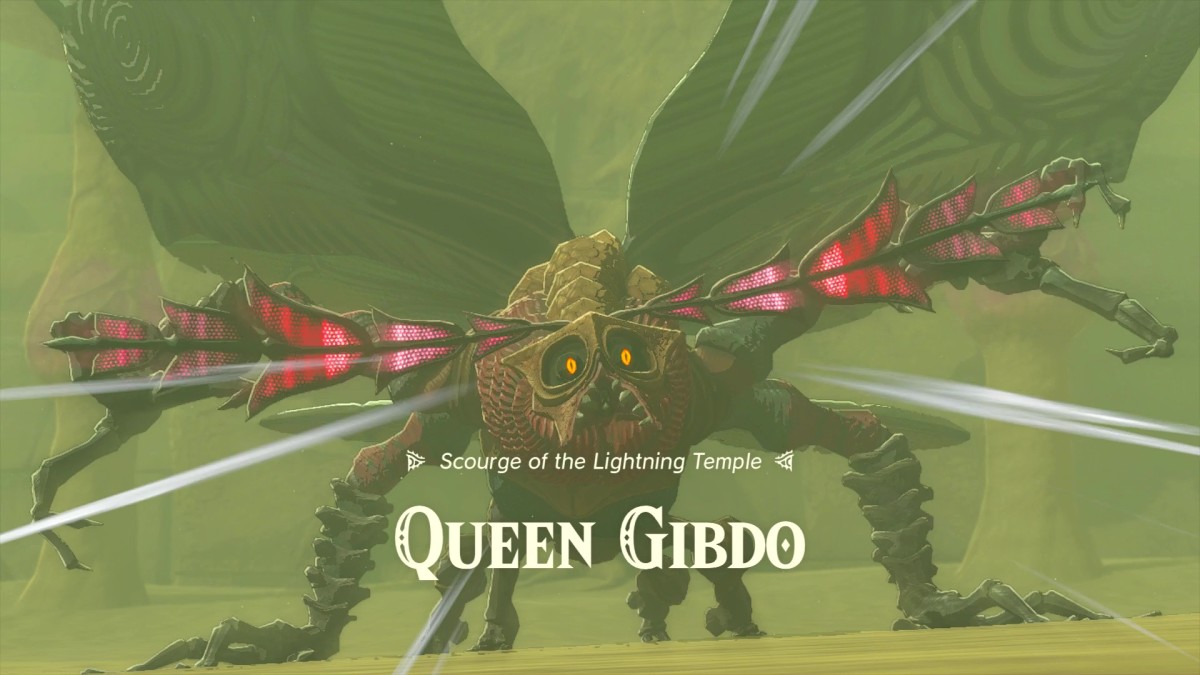
Once you shoot it, Queen Gibdo will appear – her wings are what are causing the Sand Shroud which is plaguing Gerudo Town. You won’t need to kill her – not yet anyway – but she will need to be defeated until she retreats and you can enter the Lightning Temple.
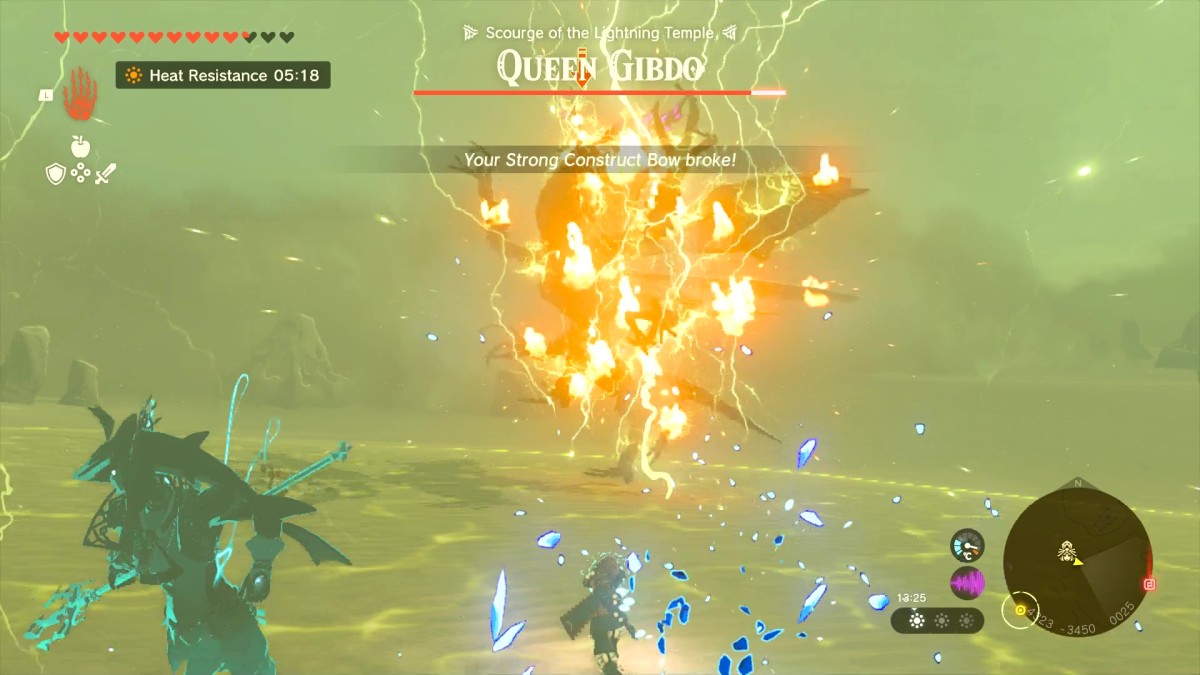
Queen Gibdo has a kind of exterior shell which protects her from damage. Elemental attacks – like Riju’s lightning – can take the shell off, allowing you to start doing proper damage with your other weapons. When Queen Gibdo’s body is dark, she won’t take normal damage, but when it is light, you can start letting loose with normal attacks.
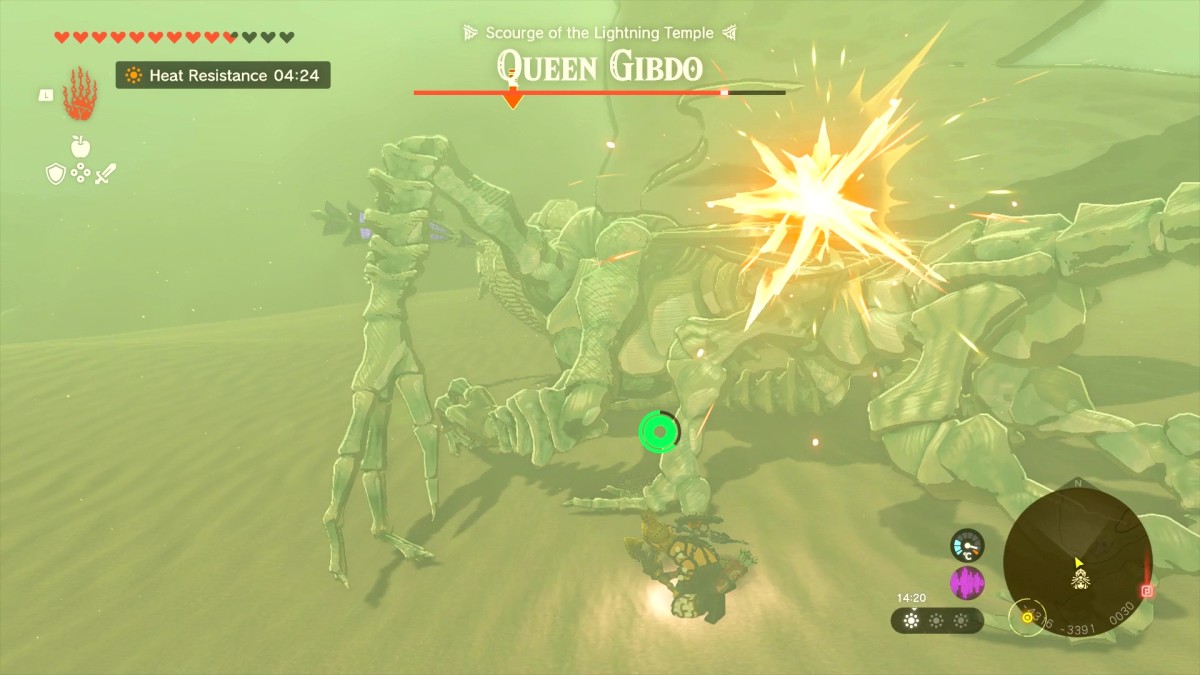
Once you take her health down a bit, she’ll retreat inside of the Lightning Temple. Time to follow her. Use Riju’s ability to clear the door and head inside.
Getting inside the Lightning Temple – Zelda TOTK
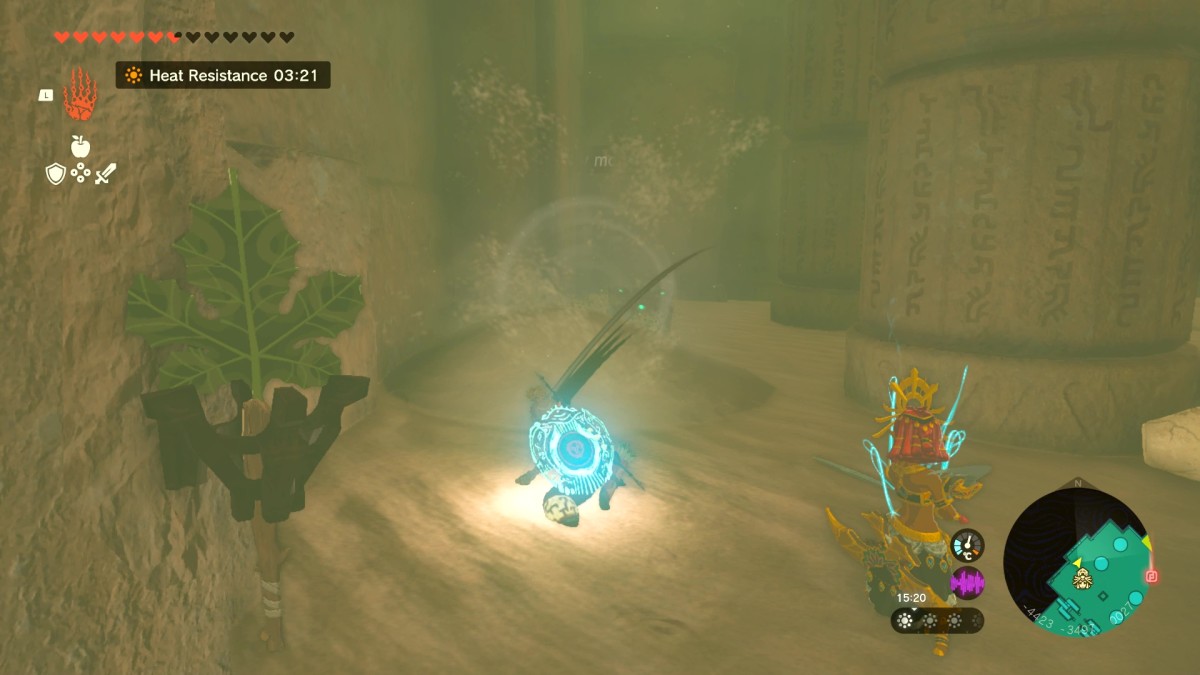
As you enter the temple you can stand on the switch on the floor to open up the main door. There are also a bunch of Korok Frongs and Fans around the place – you can use gusts of wind to get rid of the piles of sand.
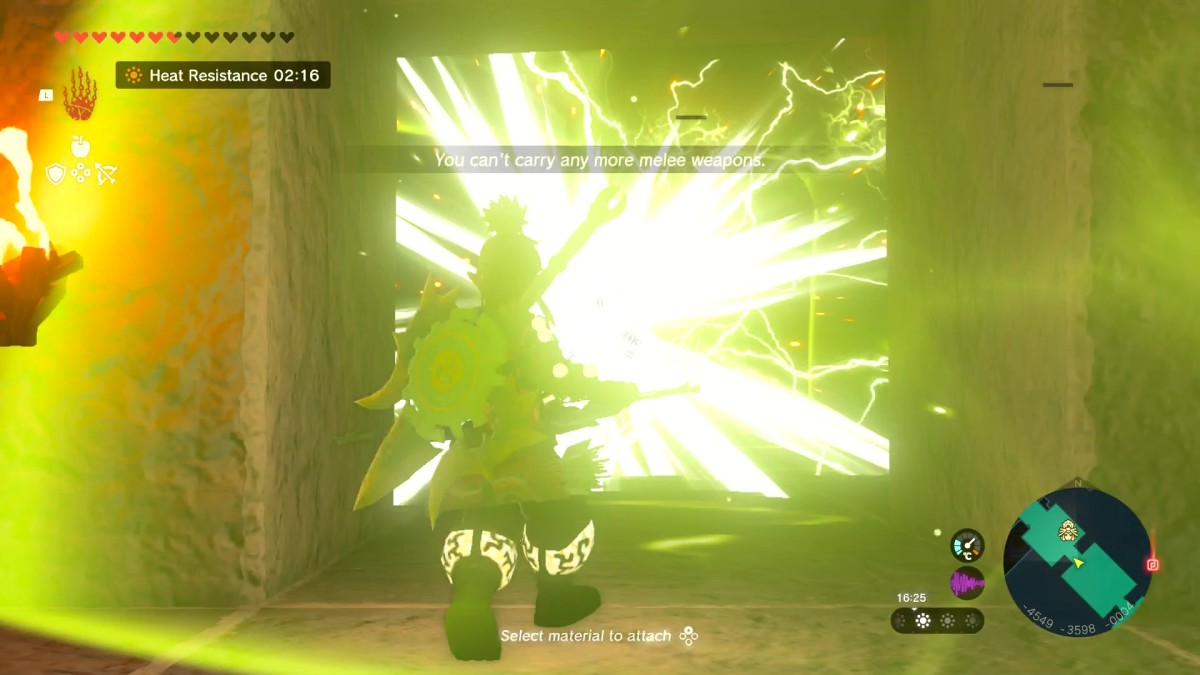
Head down the long staircase to enter B1. Head over the bridges and turn right at the end. There are Gibdos in here – you probably already know this, but much like Queen Gibdo, they can only be damaged after being hit with an elemental attack first. Make it past the Flame Emitters and stand on the switch to open the door to the next section.
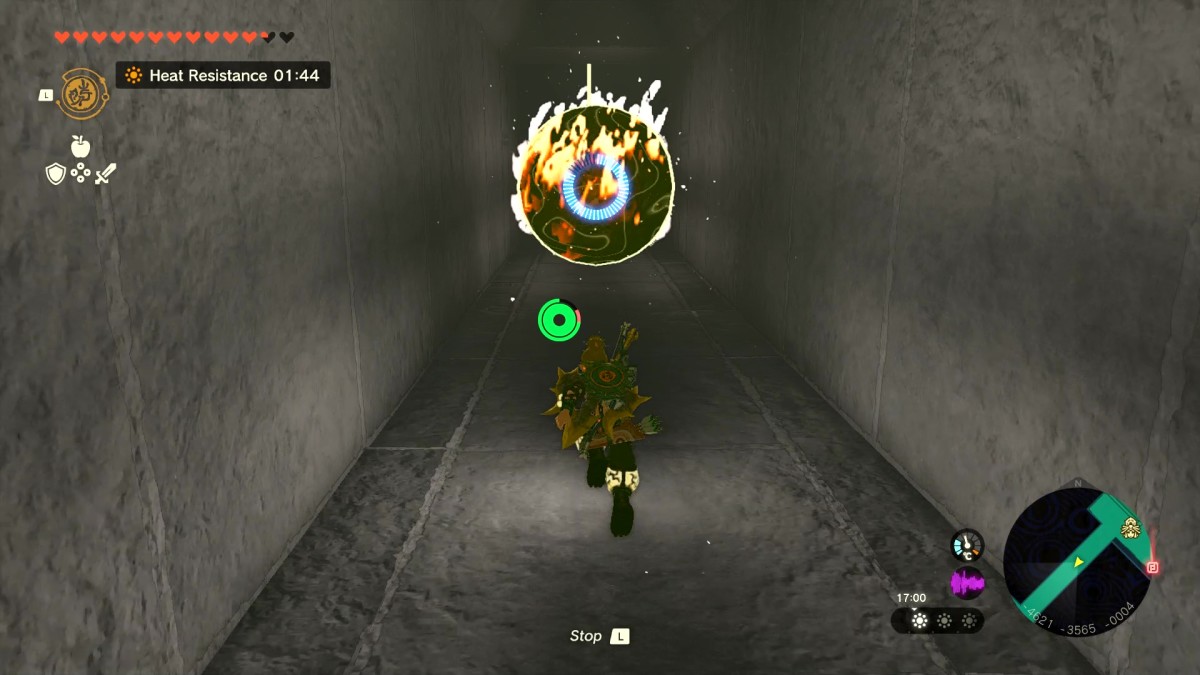
There are some flaming balls rolling down the hill here – use Recall to reverse them up the hill, and then follow them up, turning right at the end. Another switch to stand on here, and the next door will open up. Continue through the corridor, and through the next room, up the ramp to find the Room of Hopeful Light.
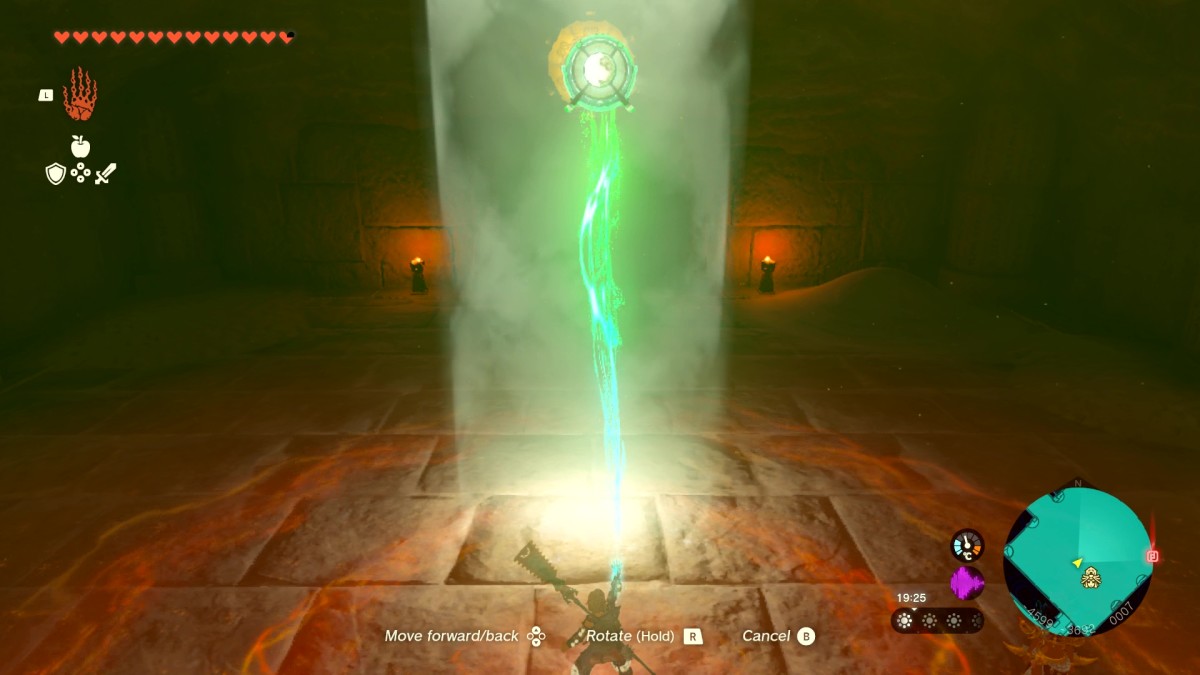
This room acts as a tutorial for the Mirror device. Yes, it’s a mirror, and it reflects light. Pull a Mirror out from one of the sand piles, and use Ultrahand to hold it in the beam of light, pointing at the switch above the door. Continue through the door to find the Room of Ascension – this is the main room of the Lightning Temple.
First Lightning Temple battery – Zelda TOTK
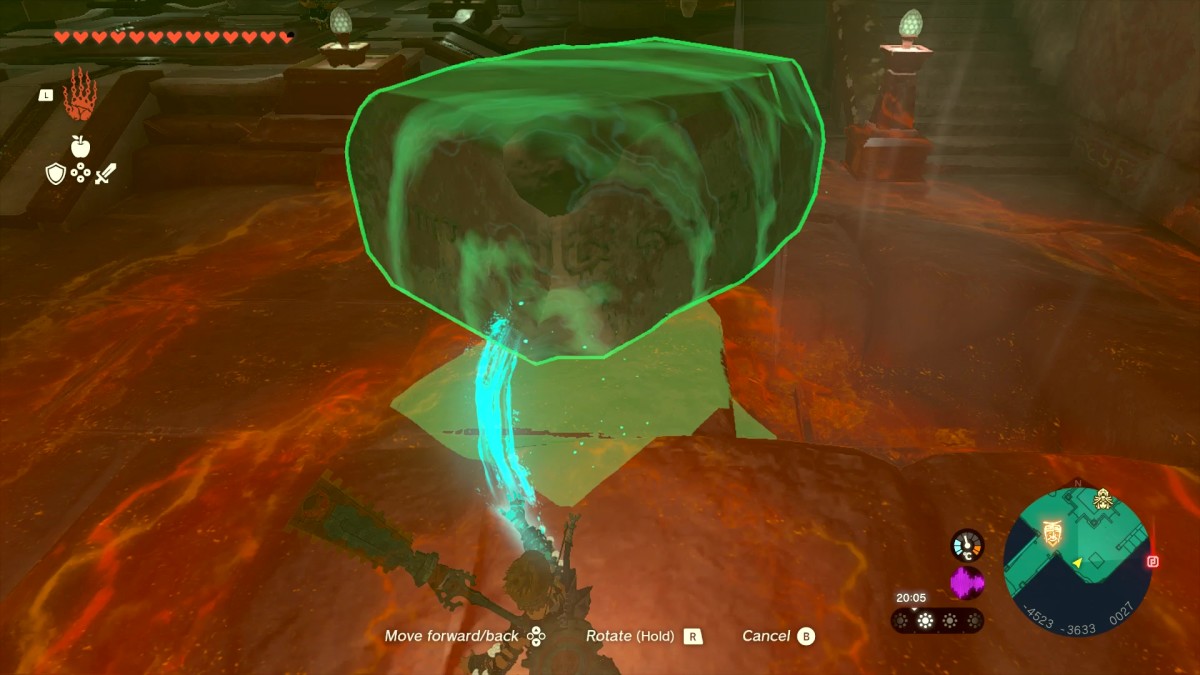
You can use the terminal in this room once Riju has reached it. After the scene, move the stone on the first floor – 1F – and it’ll shoot a gust of wind into the air, which you can use to Paraglide to the top.
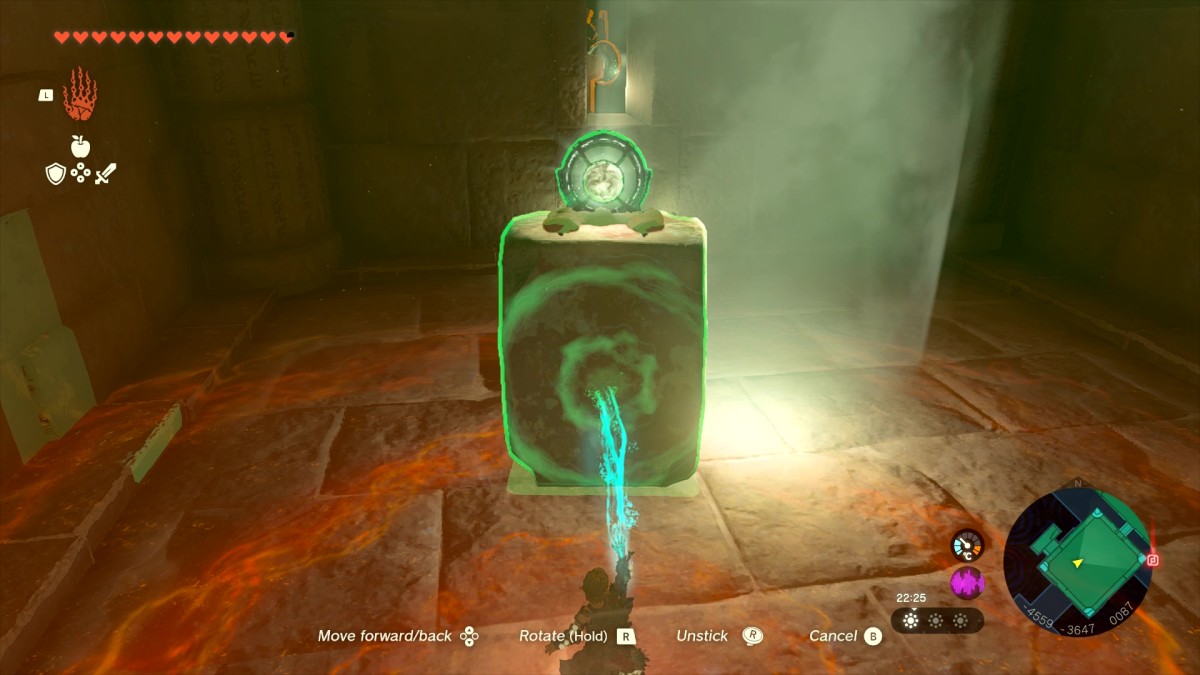
Through a passage on the Southwest side of the top floor you’ll find the Room of Natural Light. Stand the stone in the room up and attach a mirror to the top, shooting a beam of light into the main room.
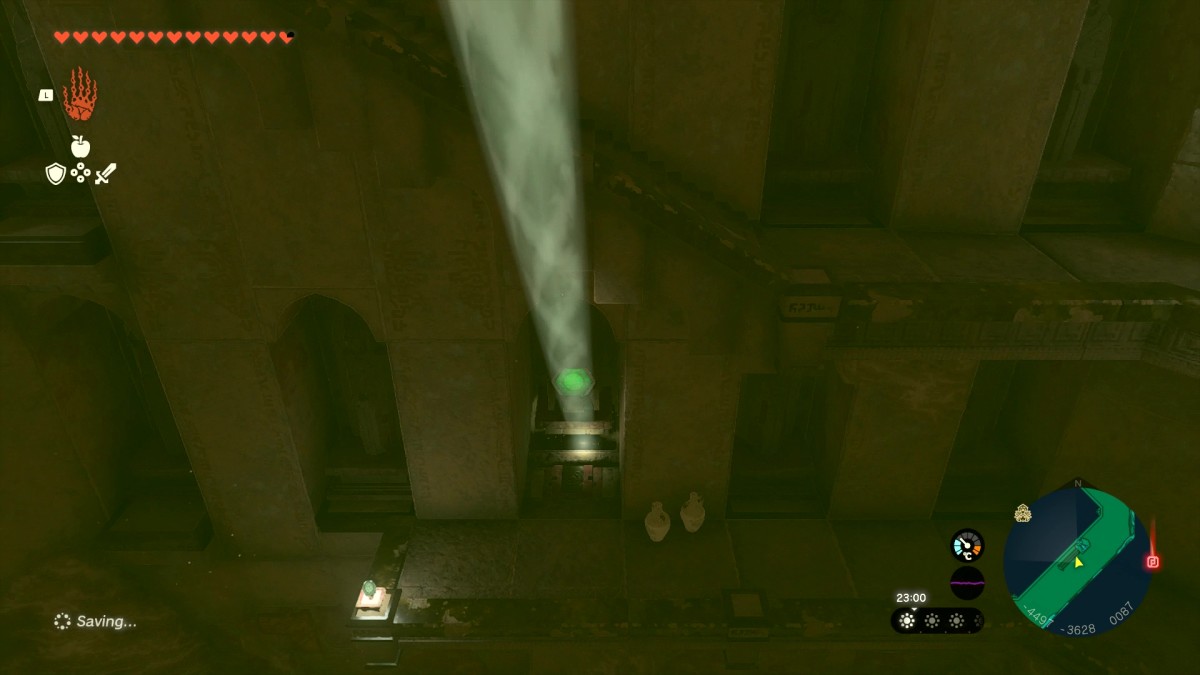
Back on the top floor of the main room, you’ll notice each side of the room has a mirror on a rail. Move the mirror closest to the Room of Natural Light into the light beam. It will shine the beam onto the Southeast side of the room. Move that mirror into the light beam, aiming the beam down at a light panel on a statue below.
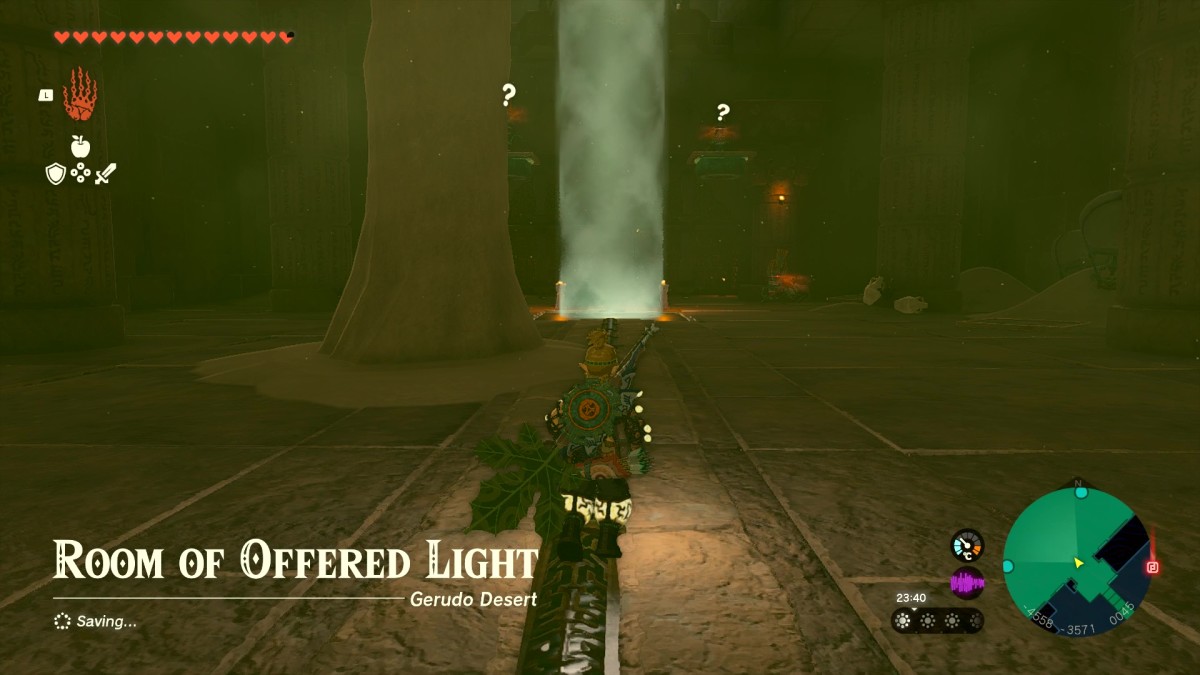
Once the statue has moved, follow the light into the space it opened up on 2F. Stand on the switch in front of the statue to move it and find the Room of Offered Light. There will be a lot of enemies in here, so make sure to take out their spawns. There are two Floating Platforms in here too, which will help a lot. The main light beam is shining down in the middle of the room, and it needs to directed into the room above the one with the altar. It’s quite high up.
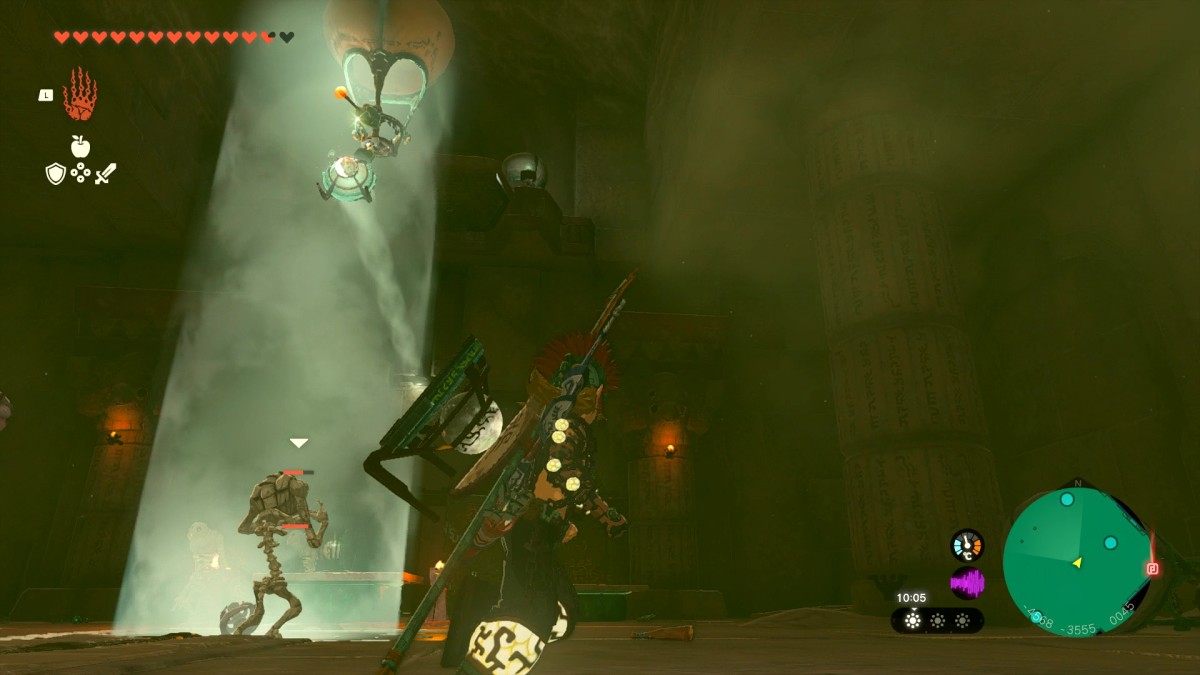
The best way to complete this is to attach a Mirror to the bottom of a Balloon and then place both of those in the light beam. As long as you’ve aimed the Mirror properly, this should open up the altar.
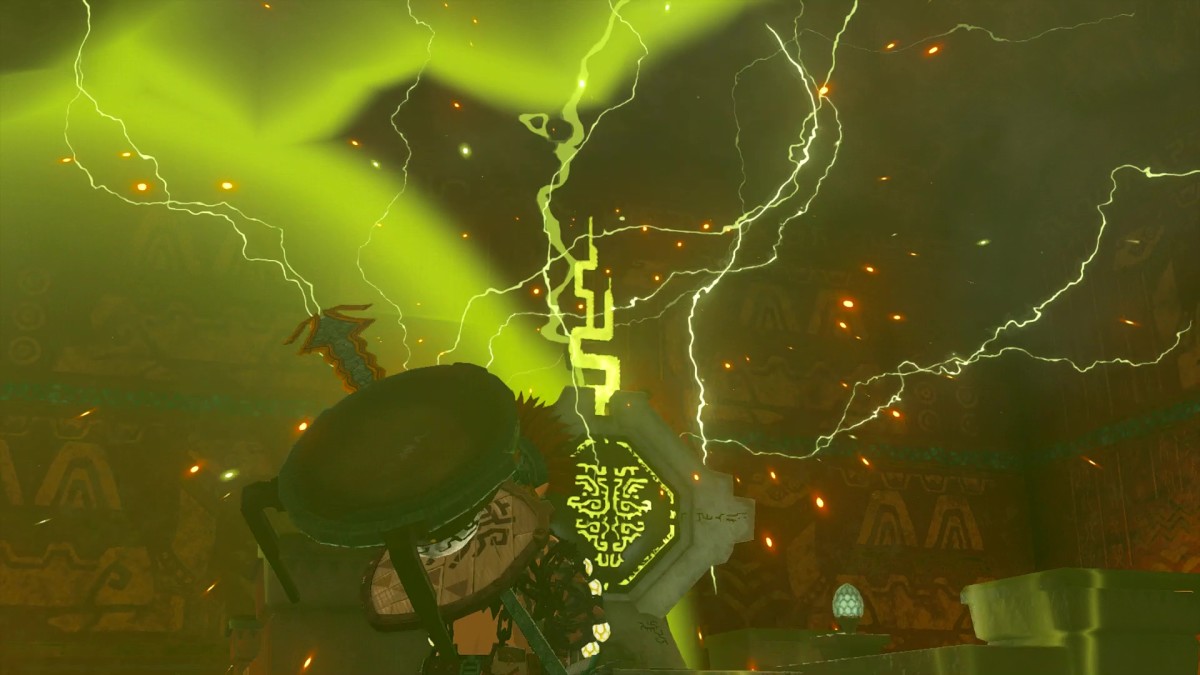
Once the door is open, use Riju’s lightning power to activate the altar battery.
Second Lightning Temple battery – Zelda TOTK
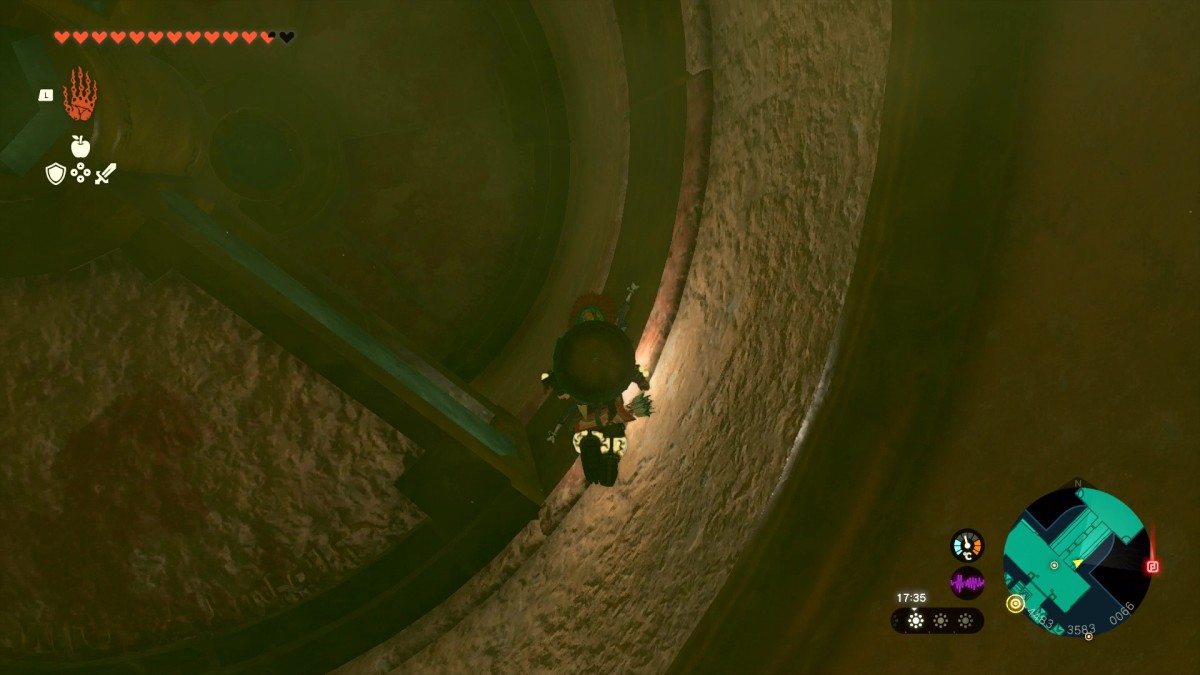
If you look to the Northwest wall on 4F, you’ll notice that there’s actually a passage inside of a statue in the corner. Paraglide over and climb inside. There are two spinning “doors” inside here that have gaps for you to pass through, but they don’t match.
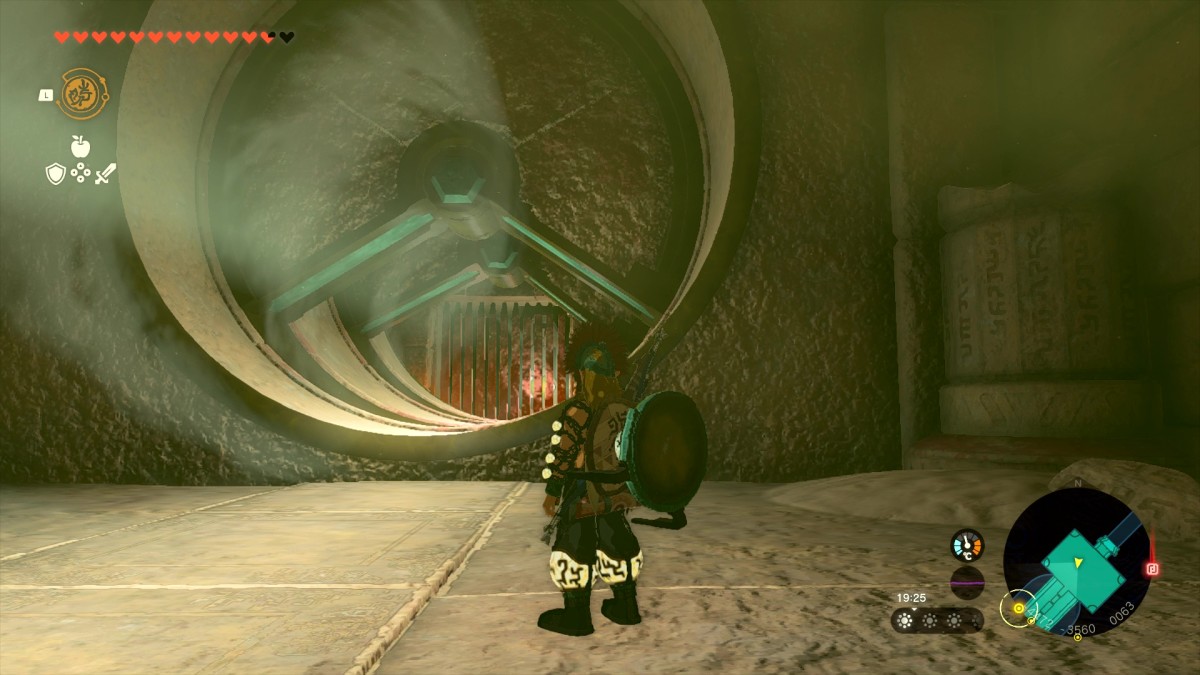
Get through and remove the stones from the wall to uncover a light beam, and then use Recall on the spinning doors to the gaps match, allowing the light to shine through into the main room.
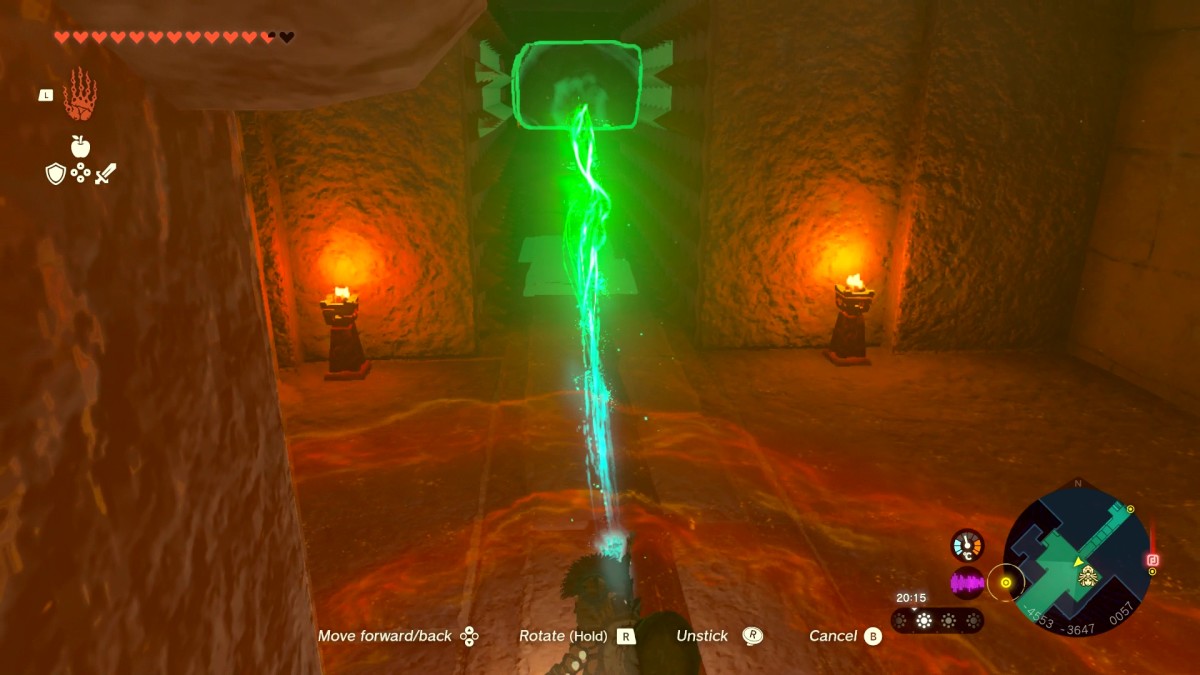
This will unlock another passageway through a statue. Again, follow the light beam, go past the statue, and inside you’ll find a spike wall. Grab one of the nearby stones to stop the spike walls from crushing you, and then head on through. Hit the switch on the other side to disable the spike wall.
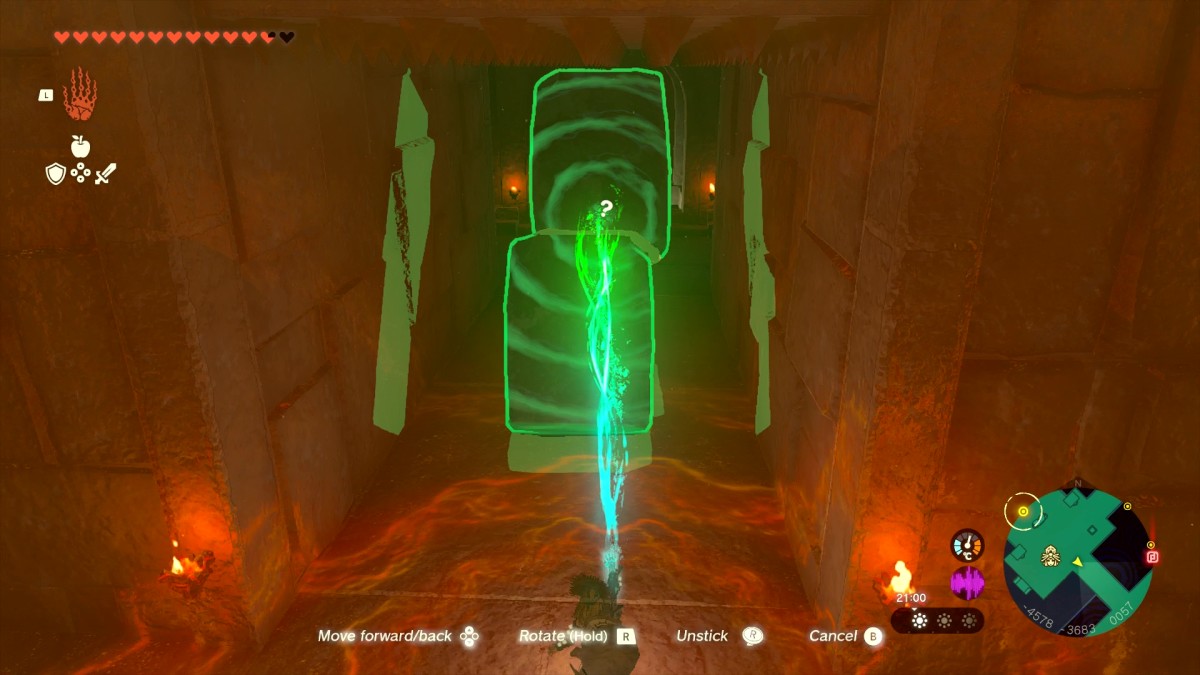
Another set of spikes in the next area, this time it’s a spiky ceiling. Use more rocks to hold the path open.
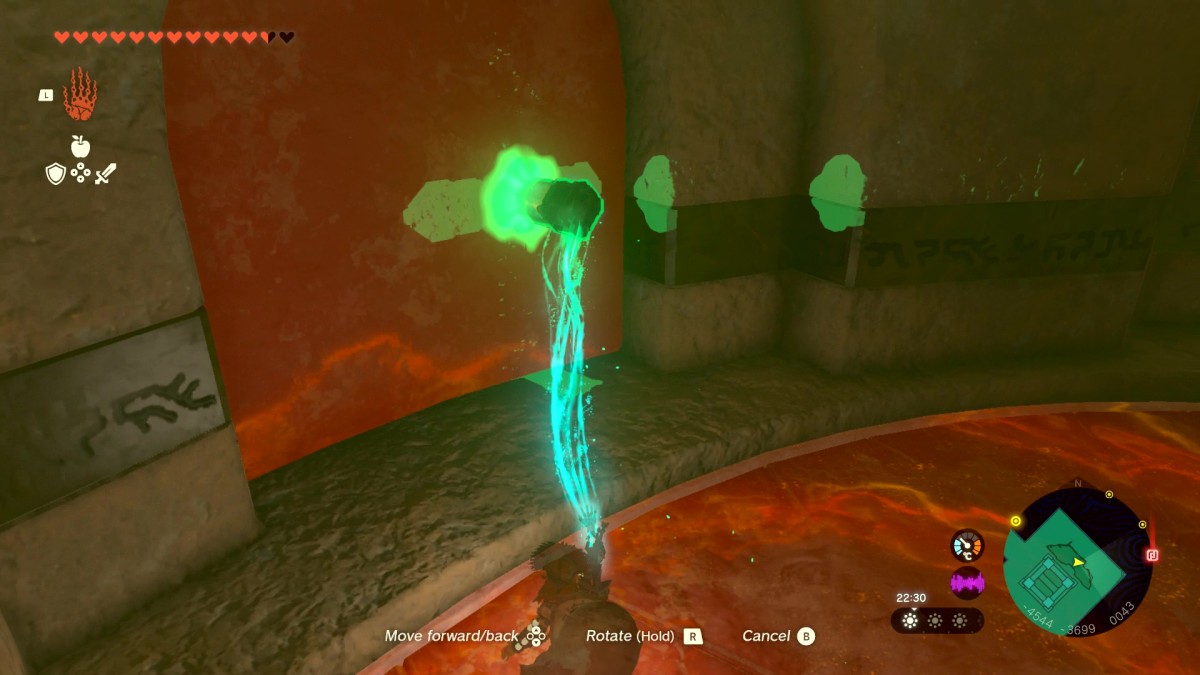
You’ll find yourself in the Room of Light and Shape. Drop down the hole in the floor to get inside the room. The room is constantly spinning – use a Stake device to jam into the outer wall, stopping the rotation of the room. Make sure to leave the light pad visible. Then simply aim a mirror at it.
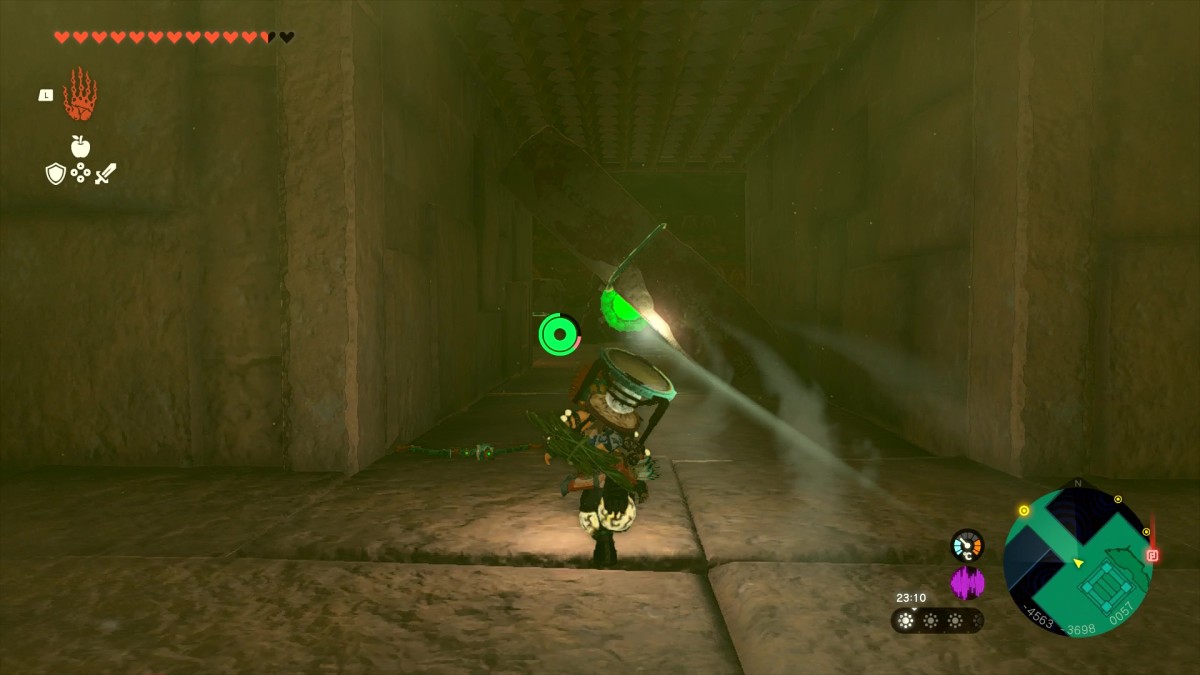
That will send light into the room above. Ascend back up there, and aim a light beam through the spike ceiling corridor at the light pad in the previous room. This will open the way to the second lightning altar battery.
Third Lightning Temple battery – Zelda TOTK
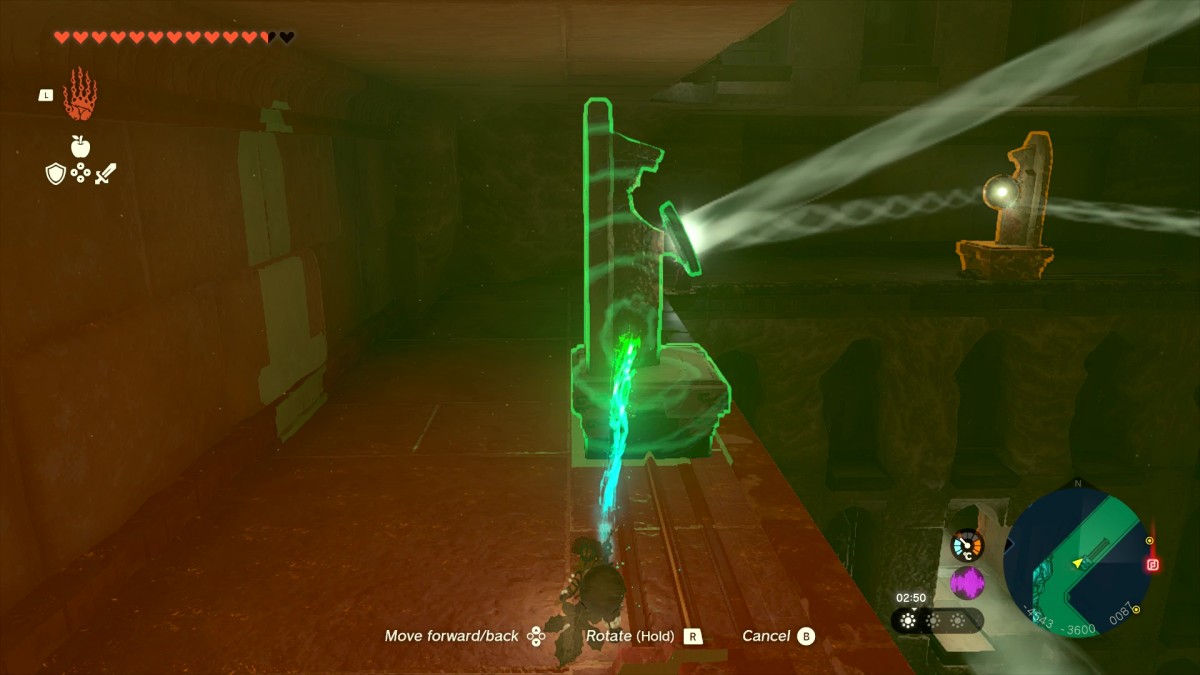
Go back to 5F with the mirrors on rails. Move the mirror closest to the source of the light beam out of the way, and instead shine the light on the mirror on the opposite side of the room. It will shine its light to the Southeast side of the room – move the mirror there to open up a passage high up on the wall, on 6F.
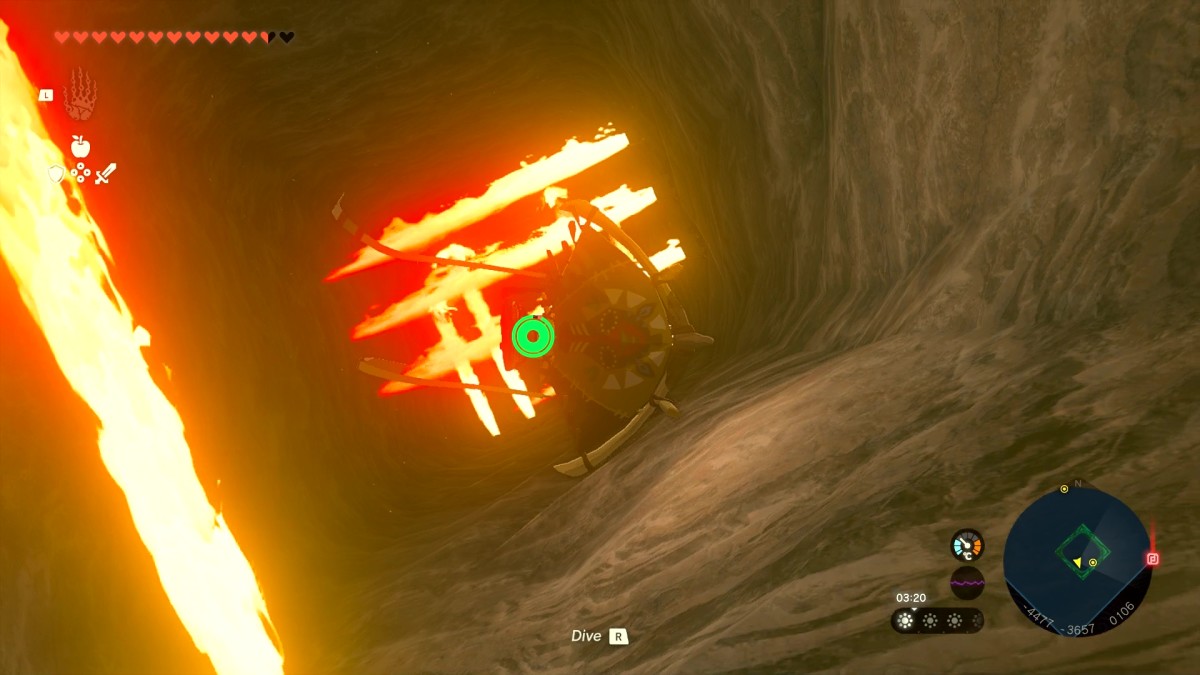
Through here is a vertical corridor of flames. Get through them and you’ll find yourself on 2F – the Room of Light and Flame – right next to the lightning altar battery you need.
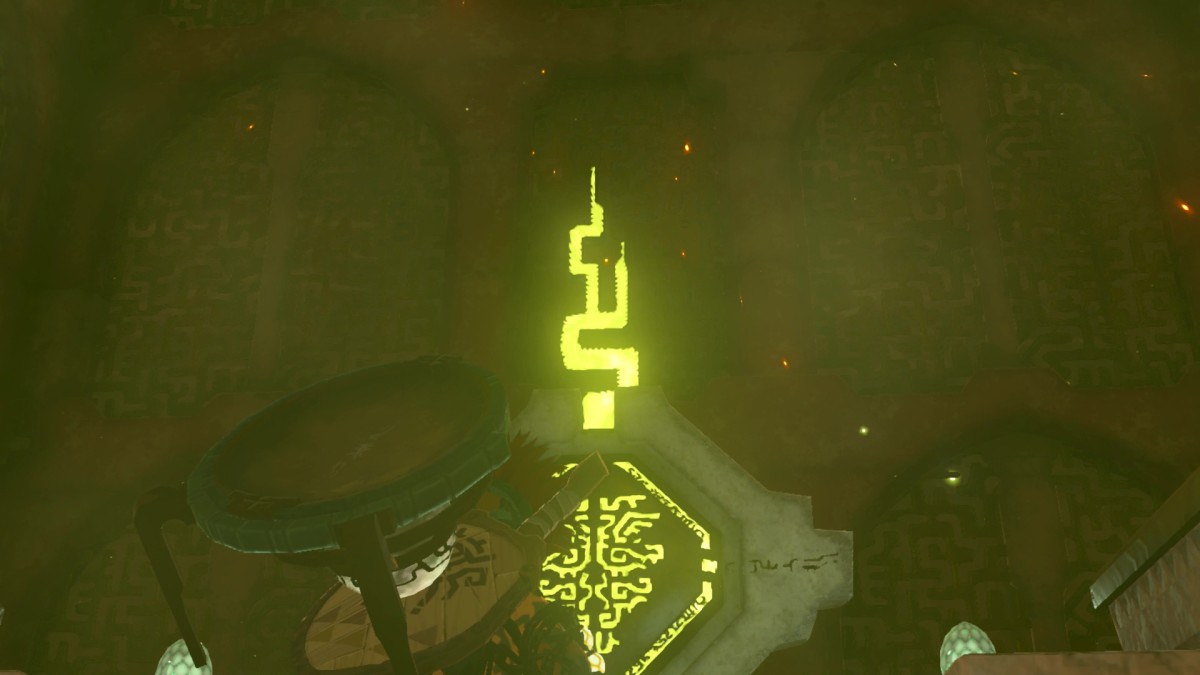
Easy, but one of them had to be.
Fourth Lightning Temple battery – Zelda TOTK
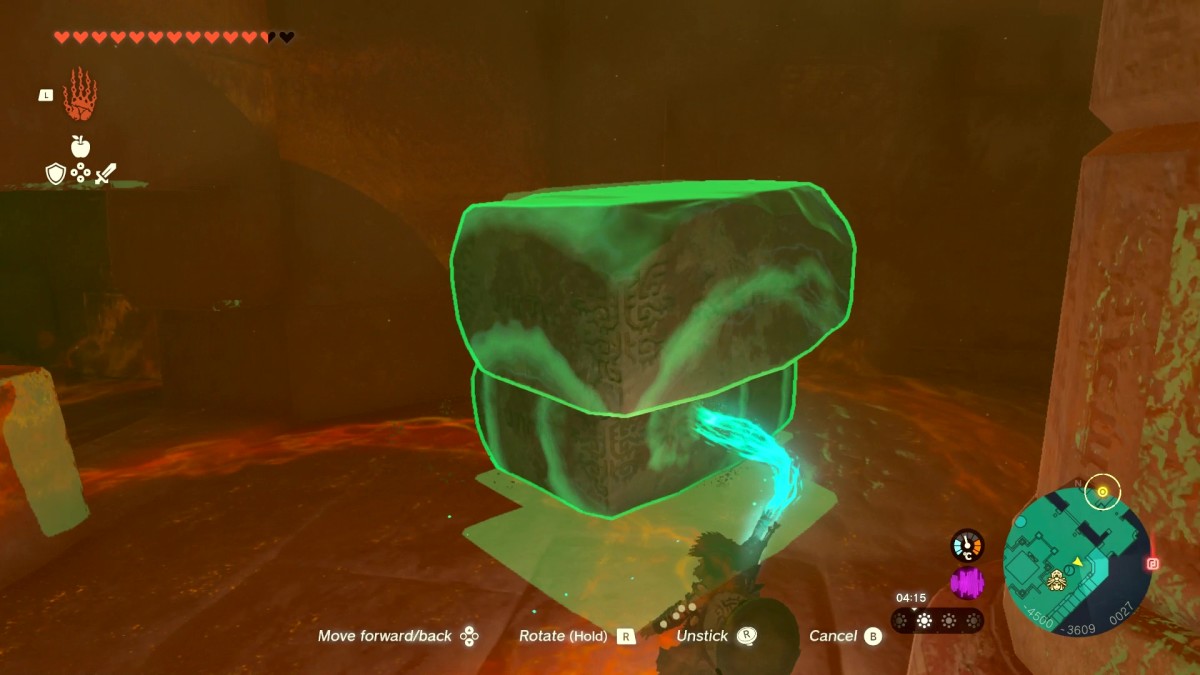
This is the final battery, and it might be the easiest. On 1F, next to the terminal, you can see a lightning altar through the door. Move the stones on the right side of the door away from the wall to reveal a hole in the wall. Walk right in and activate the altar.
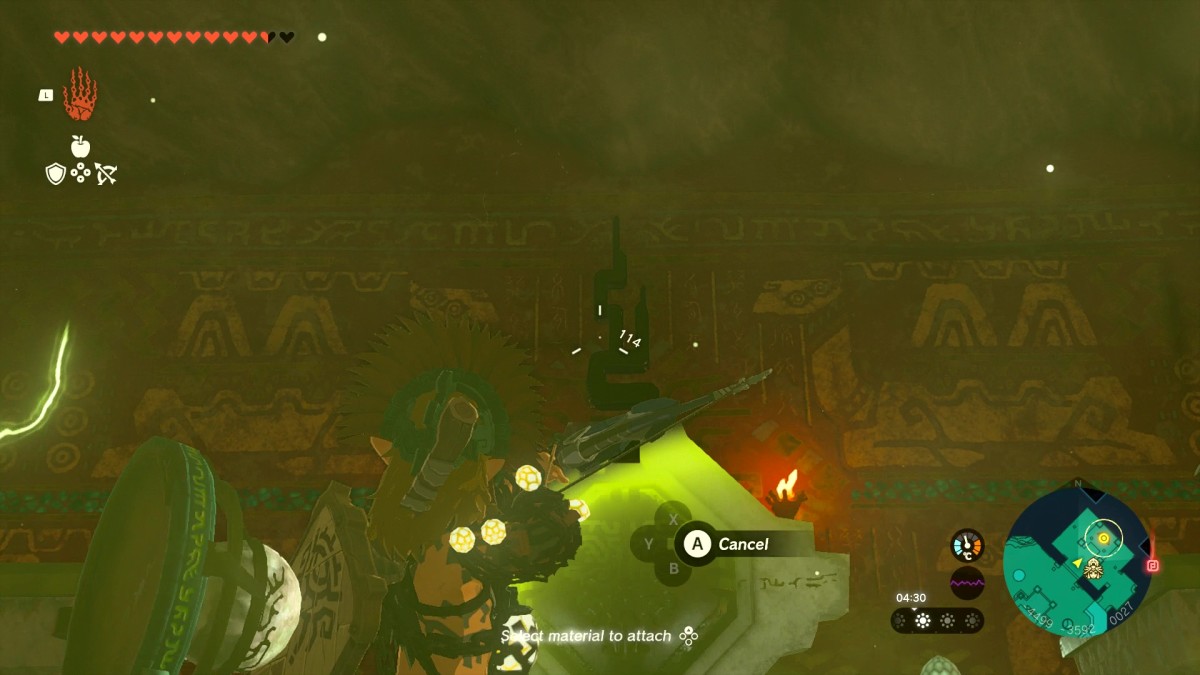
Now the four batteries are all activated, you can once again use the terminal in the center of 1F. This will activate an elevator all the way up to 7F.
Queen Gibdo boss fight – Zelda TOTK
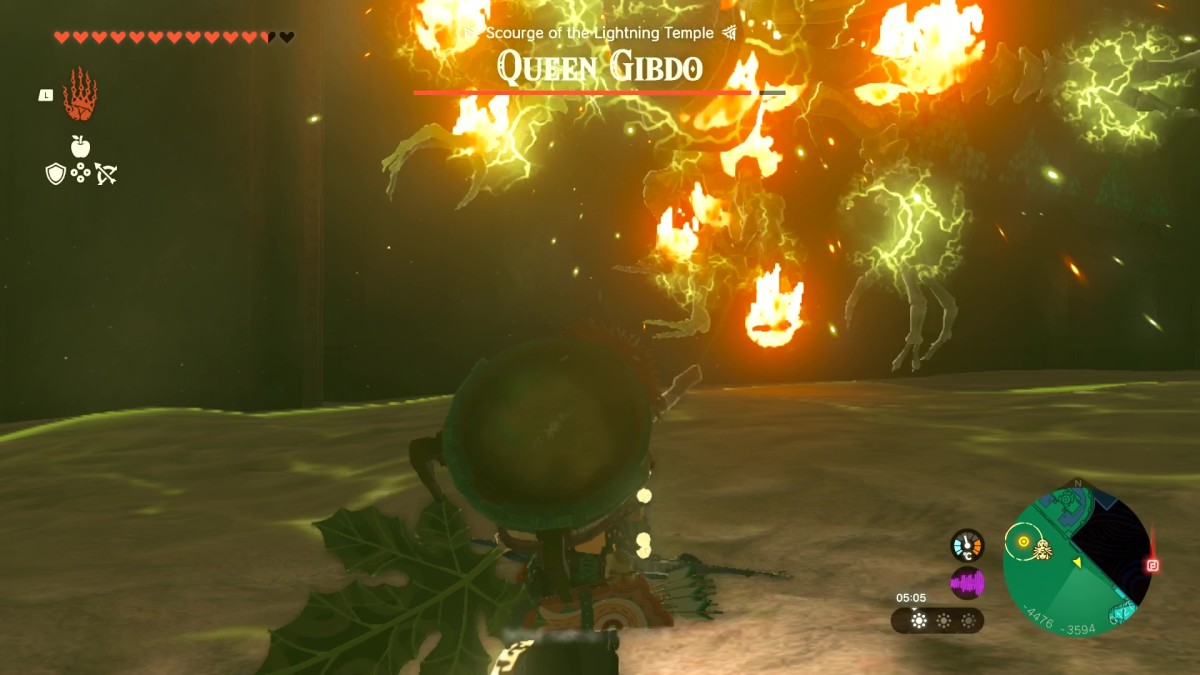
On 7F, use Riju’s lightning ability on the ceiling to reveal Queen Gibdo. We need to take her down. The strategy is the same as before – elemental attacks will take down her defenses. Other than that, you just need to focus on outputting as much damage as possible with the most powerful weapons possible.
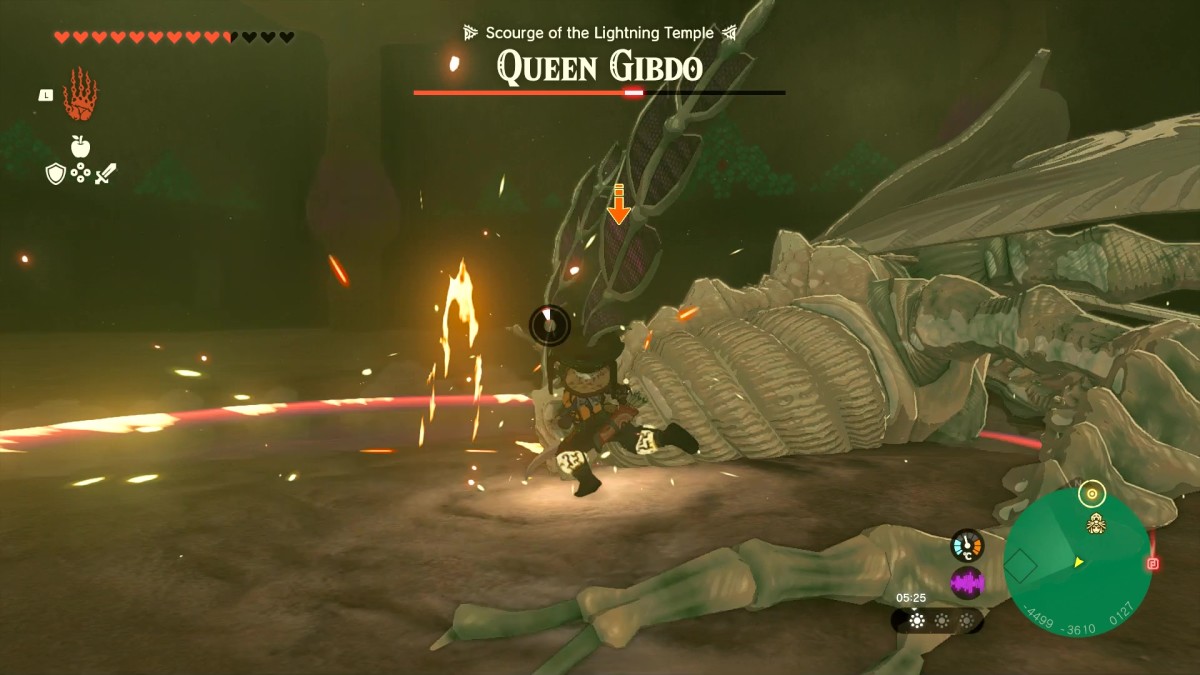
Once you take half of Queen Gibdo’s health away she will summon pillars to spawn enemies – like more Gibdos. There will also be beams of light emitted into the room though, which you can use with Mirrors – or perhaps even a Mirror Shield fusion – to weaken Gibdos and Queen Gibdo herself.
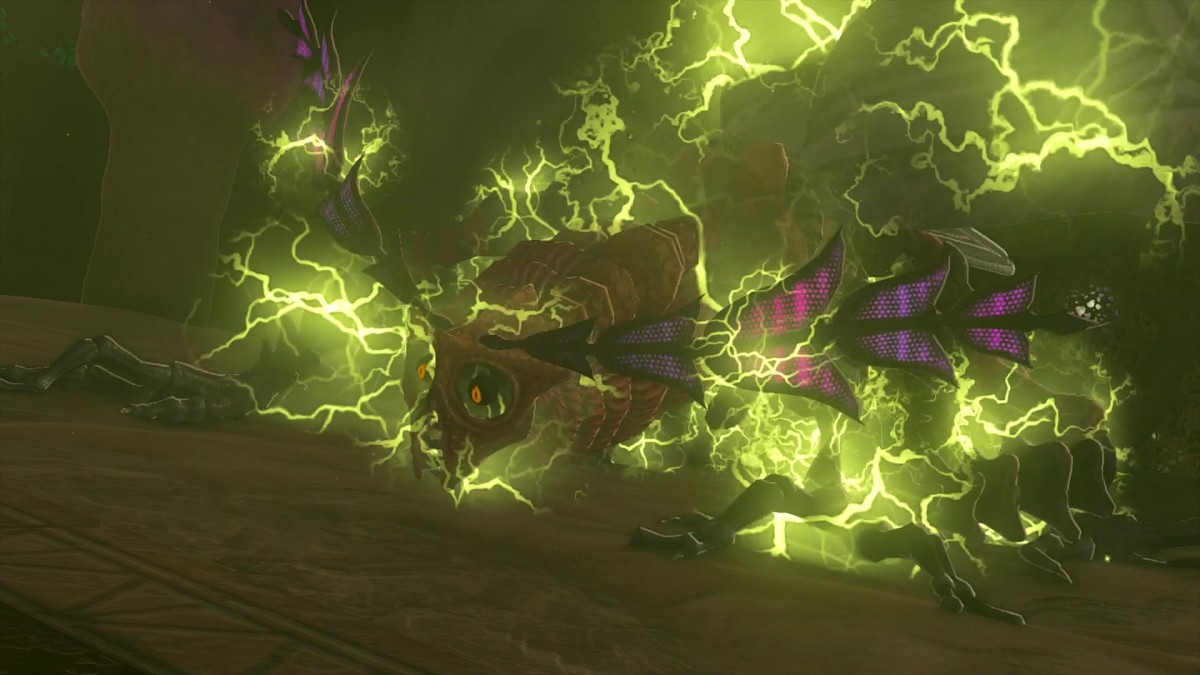
After all of Queen Gibdo’s health has been taken away, you will have completed the Lightning Temple, and the Riju of Gerudo Town quest.
