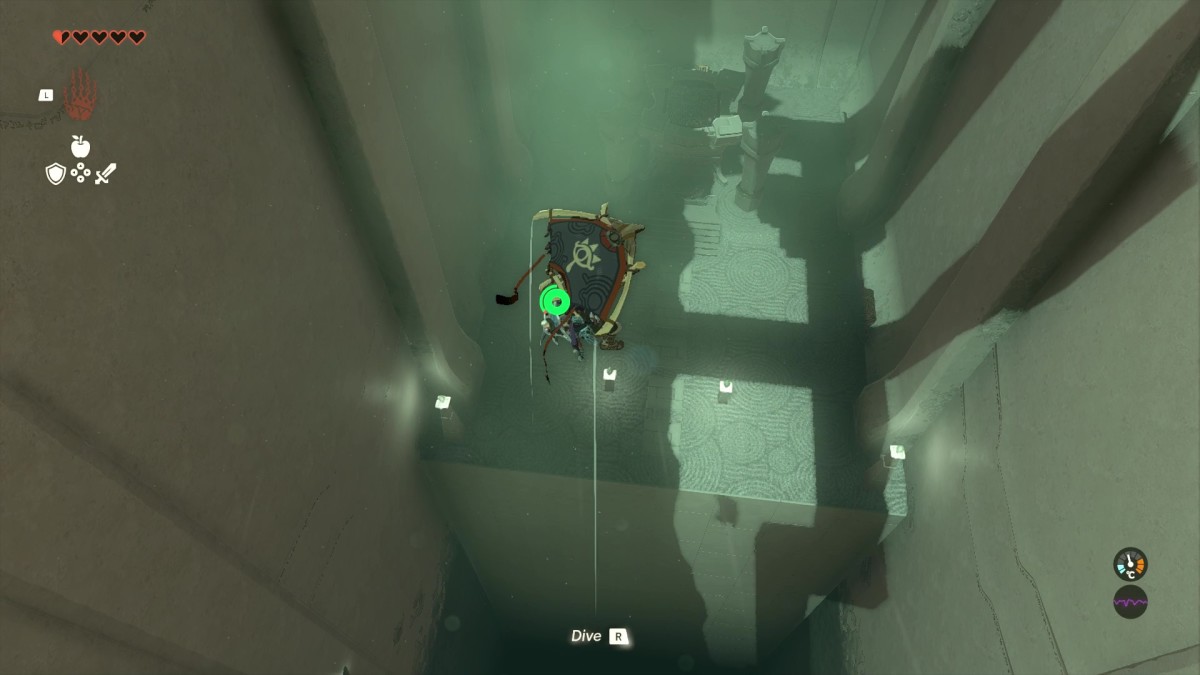
Zelda Tears of the Kingdom: Makasura Shrine guide

The Legend of Zelda: Tears of the Kingdom has well over 100 shrines, and while not all of them are necessary, you’ll probably want to do as many as you can so you can increase your HP and stamina wheels. Makasura Shrine is located in a place that you’re likely to visit on your journey, and is one that you’ll definitely want to pick up.
You’ll find Makasura Shrine right next to Kakariko Village, with it acting as the primary fast travel point for visitors to the village. It’s a shrine that uses Ultrahand, Ascend, and Zonai devices, and it can be a little bit tricky to wrap your head around it, since it also utilizes some of The Legend of Zelda: Tears of the Kingdom’s robust physics toolset. This guide will give you a step-by-step walkthrough of Makasura Shrine.
For more Zelda guides and tips, like how to find and activate all Skyview Towers, or an explanation of all Zonai Devices, make sure to read our full Zelda: Tears of the Kingdom walkthrough.
Makasura Shrine solution - Zelda TOTK
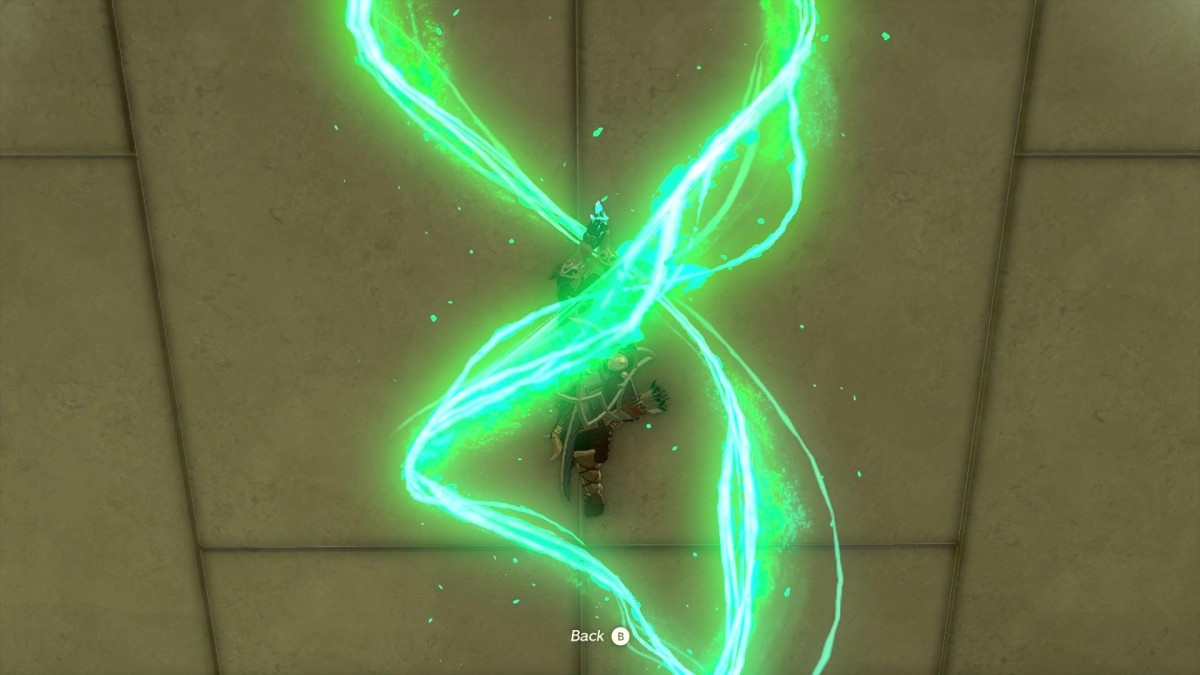
Upon entering the shrine, you’ll see a bare wall with a small ledge at the top of it. Simply use Ascend while standing underneath the ledge to warp through it.
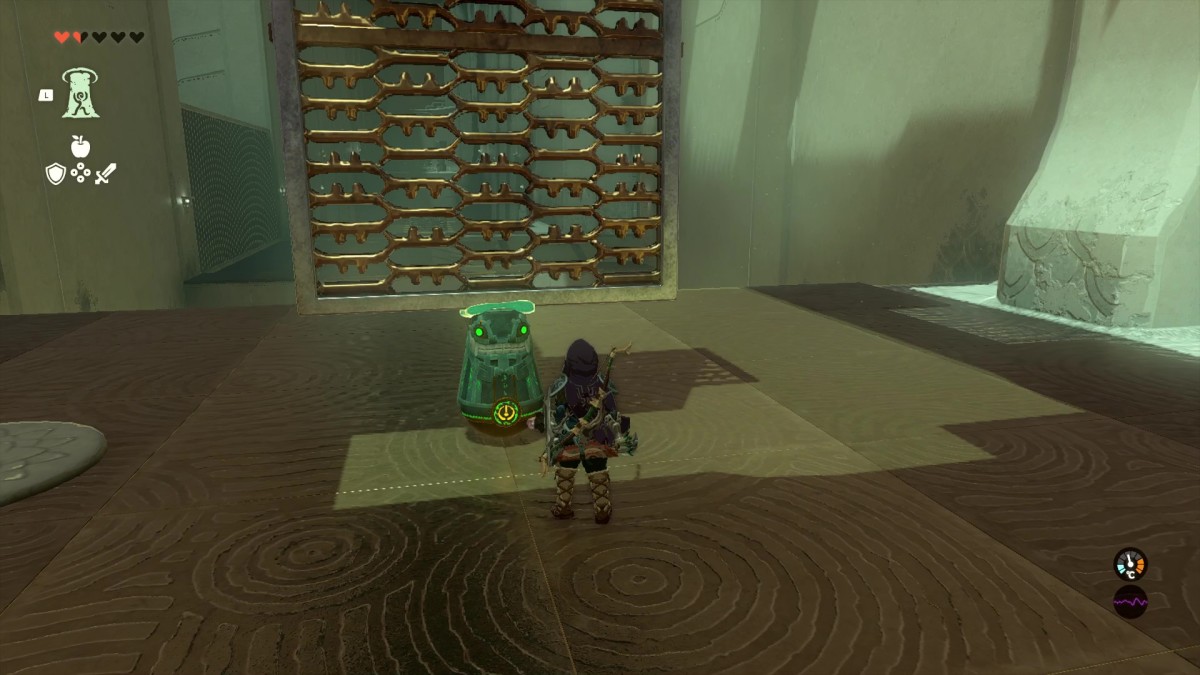
Turn the corner into the main room in the shrine, and you’ll see a Zonai stabilizer attached to an L-shaped grate. Hit the bottom of the stabilizer, and it will lift the grate up, allowing you to Ascend through the ledge.
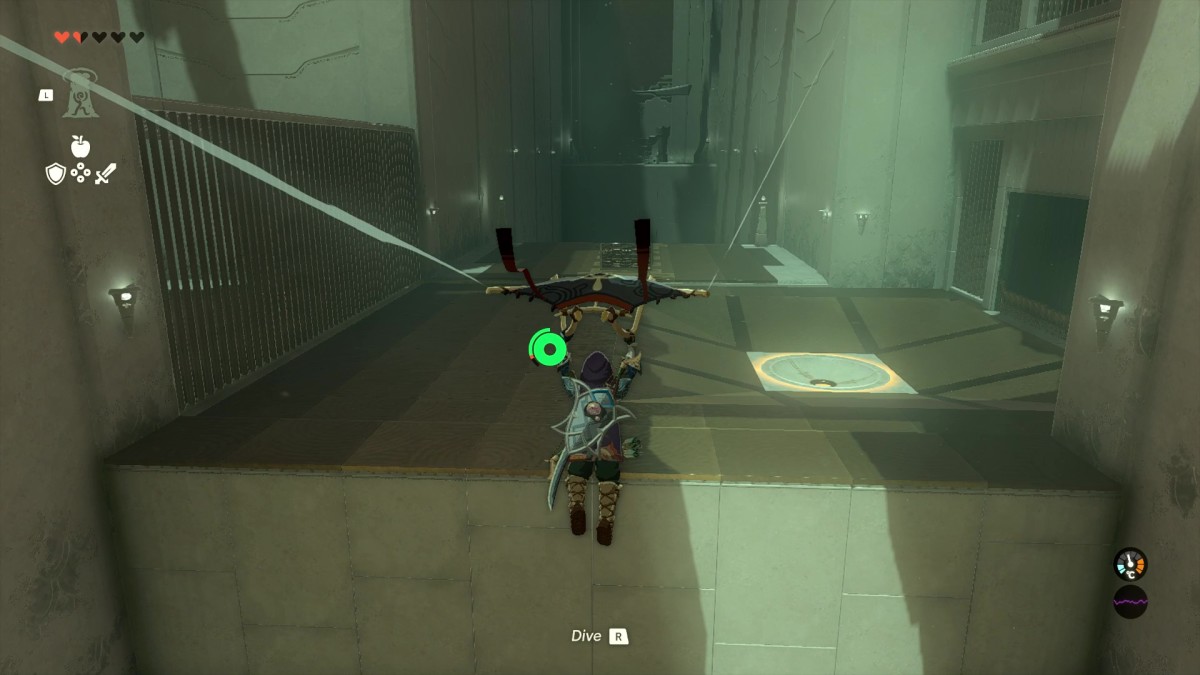
After that, simply glide to the other side of the chasm, where you’ll be met with a gate, a recess. and a few more devices.
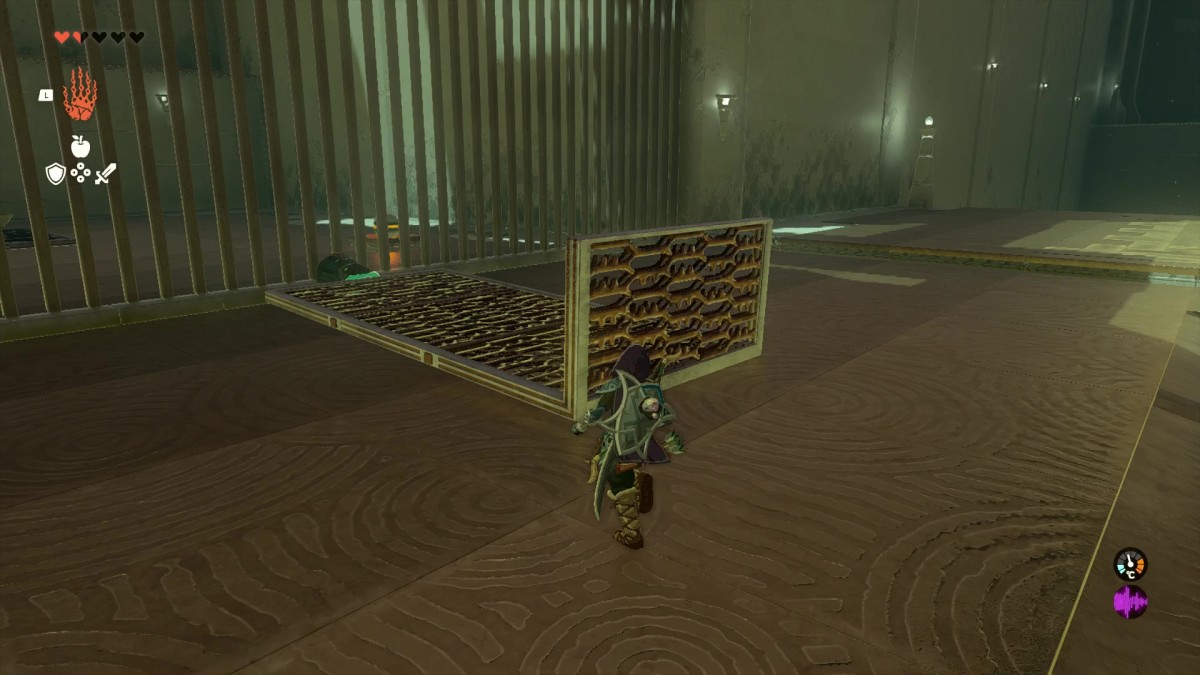
Across the way, you’ll see yet another L-shaped grate attached to a stabilizer. Pick it up using Ultrahand, then move it over to the bars on the left side of the room, with the stabilizer facing the bars.
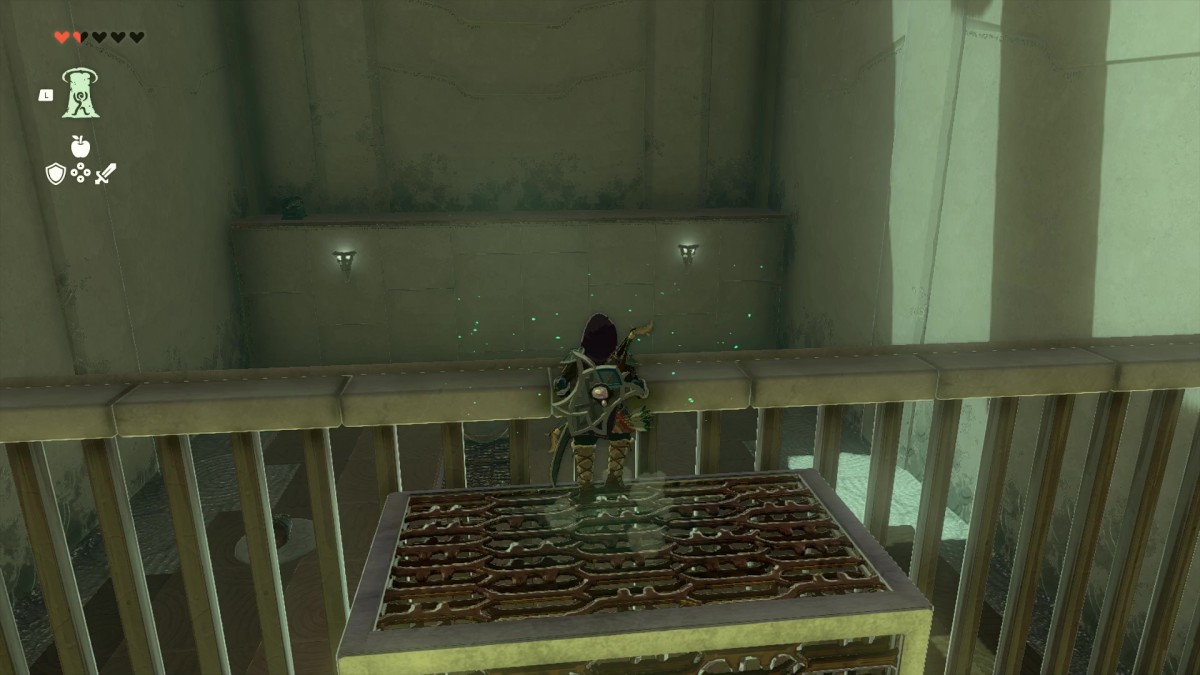
Hit the grate attached to the stabilizer to lift it up, then use Ascend once more to, well, ascend and jump over the bars.
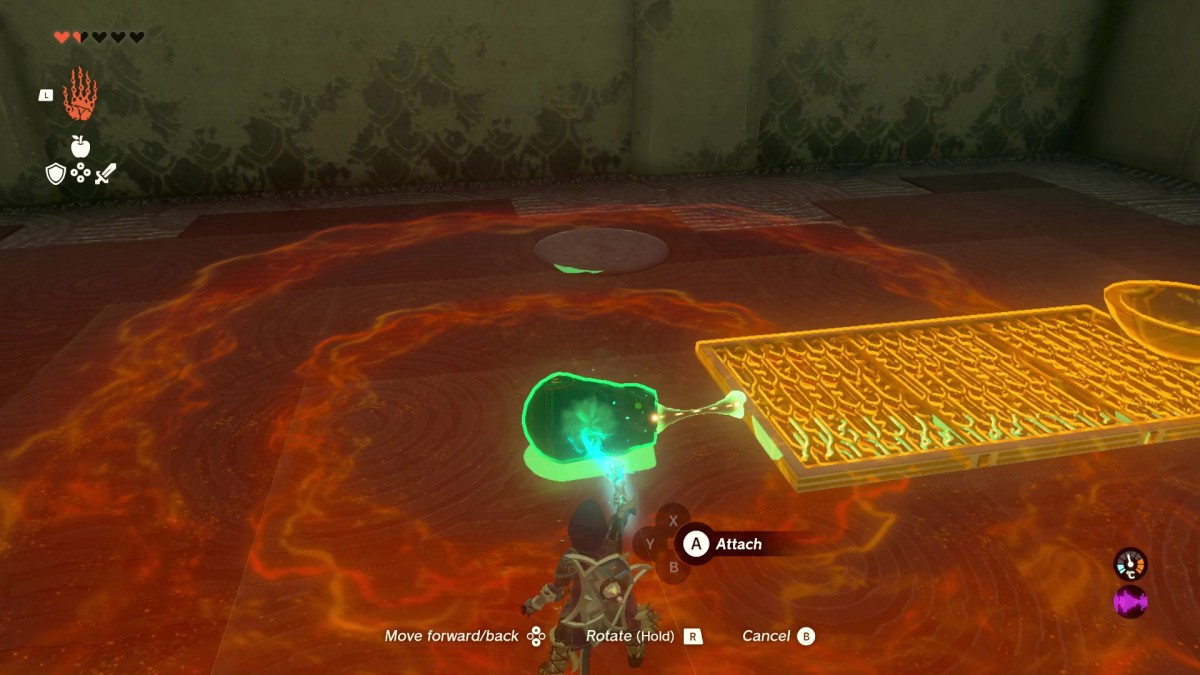
Here, you’ll need to pick up the stabilizer with Ultrahand, then stick it to the bottom of the grate with the cup on it.
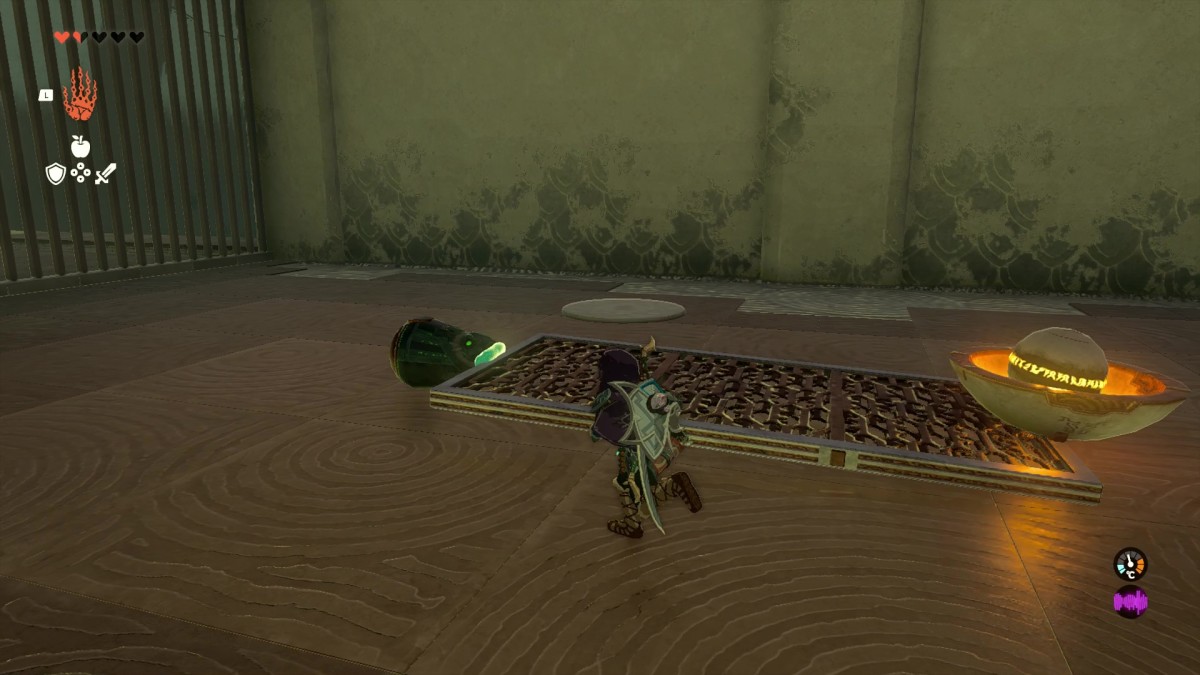
Place the ball into the cup, making sure you don’t stick it to the cup, then hit the structure you’ve built to fling the ball over the bars.
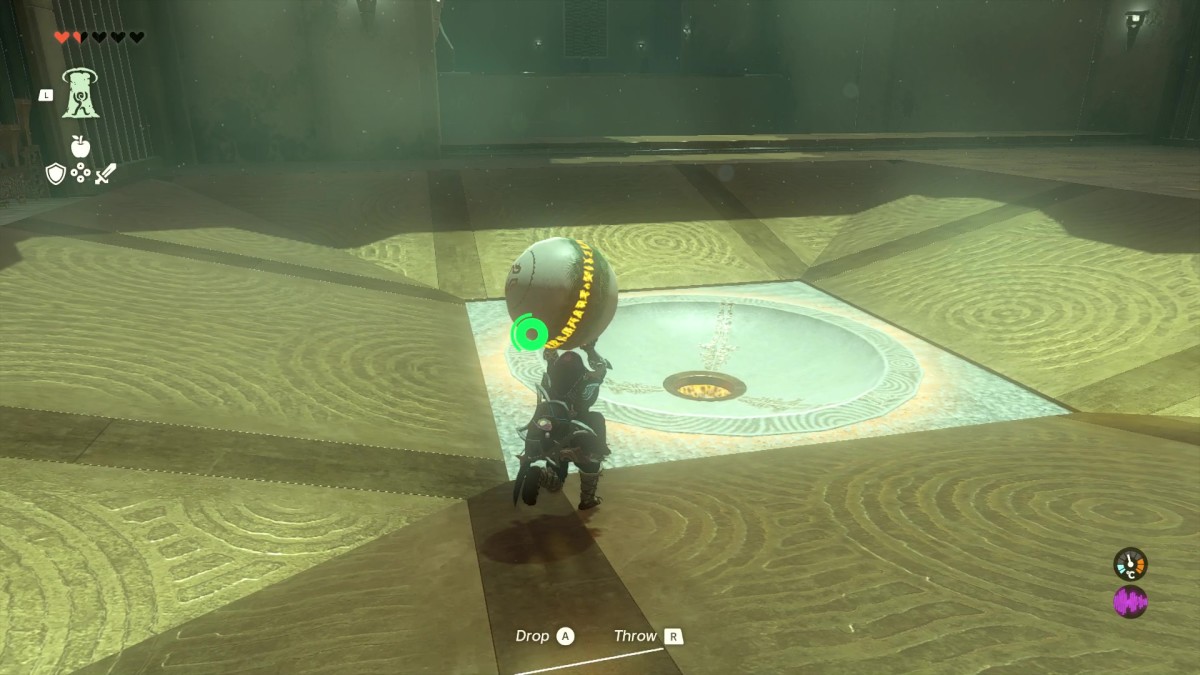
Use Ascend by the bars to climb back over, then place the ball into the recess to unlock the gate and get yet another grate with a cup attached.
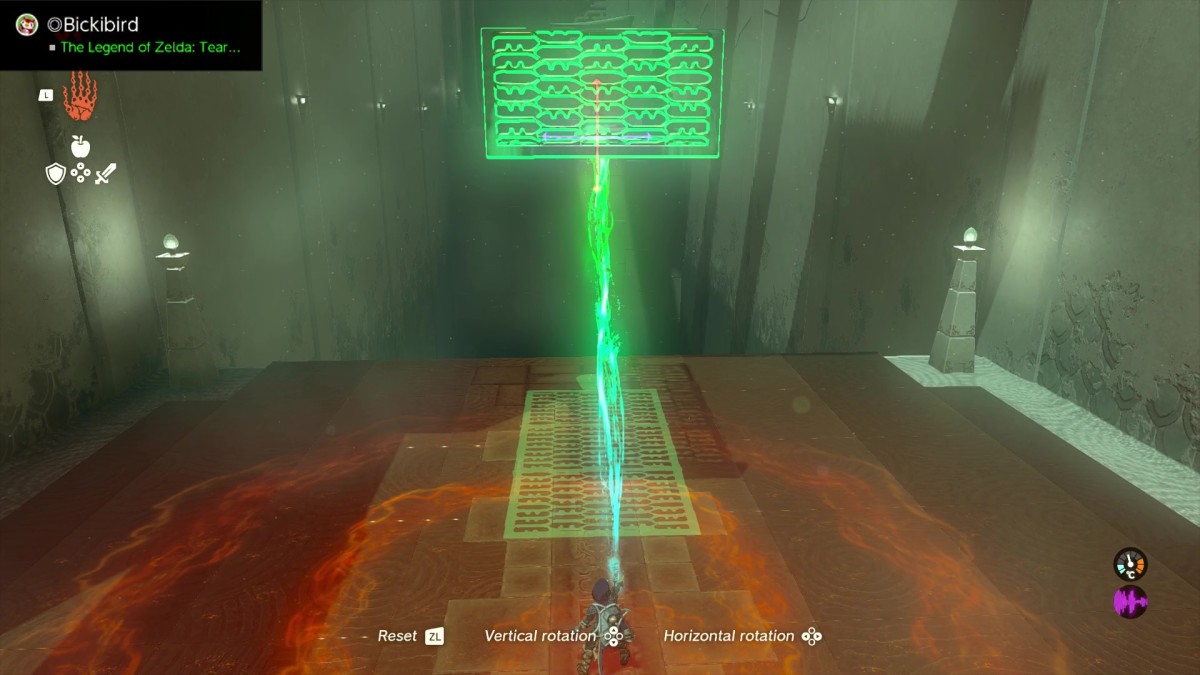
Hit the stabilizer on the L-shaped grate you used to climb the bars to deactivate it, then use Ultrahand to lay it down by the chasm, with the stabilizer facing towards the goal.
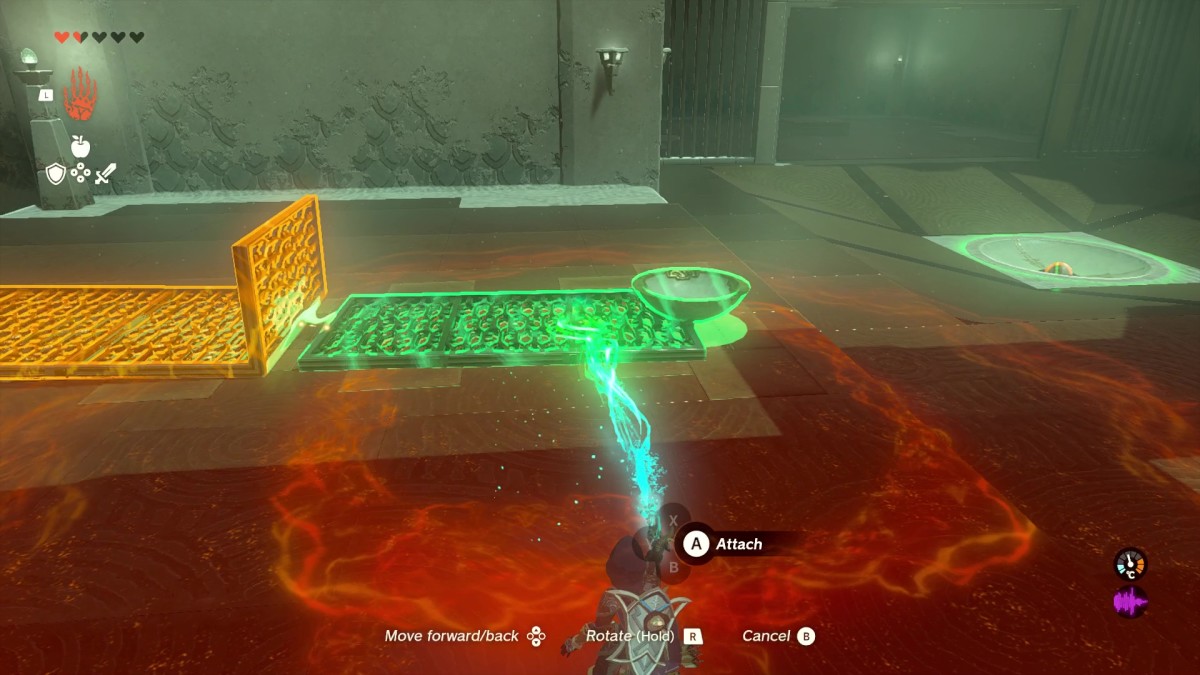
Attach the cup grate to the top of the L-shaped grate, then hop into the cup to become the ball, hitting the structure with your weapon to activate the stabilizer and send yourself flying over the chasm, thus clearing the gap.
