Zelda Tears of the Kingdom: Mayausiy Shrine guide

The Legend of Zelda: Tears of the Kingdom is home to over 150 shrines, and you’re free to do as many or as few as you like. While none of them are strictly necessary to complete, it’s usually worth doing as many as you can so you can increase your HP and stamina.
Mayausiy Shrine is located in the far north of Hyrule, in between the Hebra Mountains and the Great Hyrule Forest, and is a challenging little puzzle shrine that is sure to be a head scratcher. This guide will take you through everything you need to know to clear Mayausiy Shrine.
For more Zelda guides and tips, like how to find all the shrine locations, or an explanation of all Zonai Devices, make sure to read our full Zelda: Tears of the Kingdom walkthrough.
Mayausiy Shrine solution – Zelda TOTK
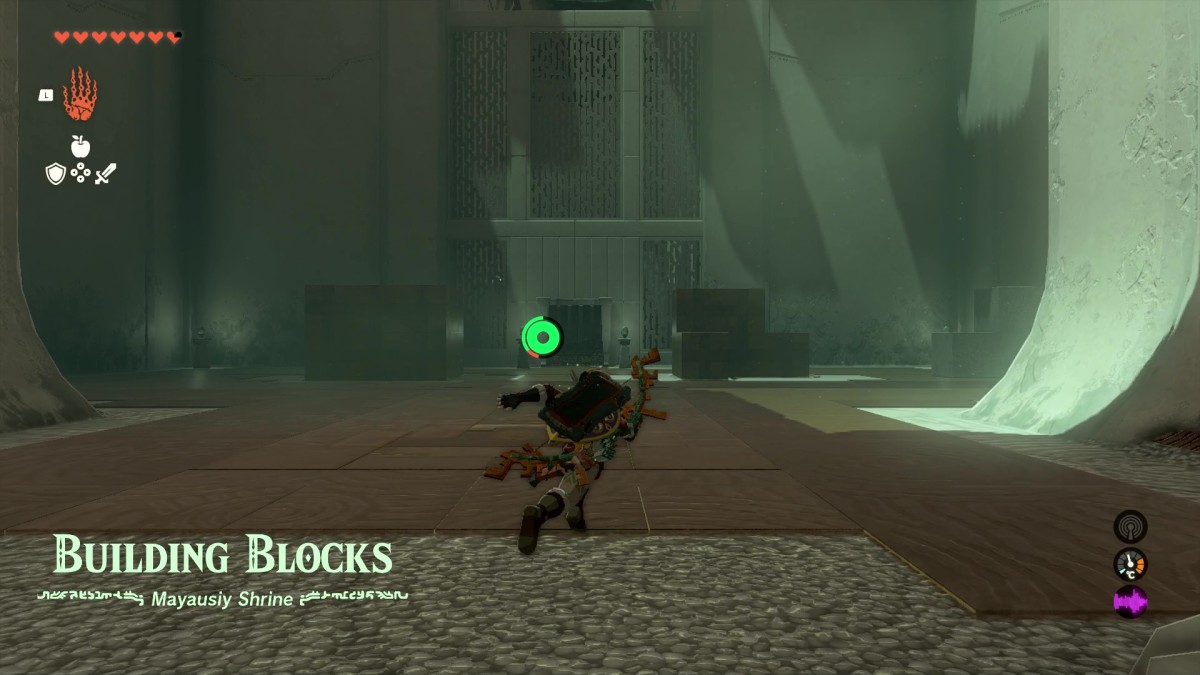
Upon entering the shrine and running forwards, you’ll see two structures in front of you — a completed shape on the left, and an incomplete block shape on the right.
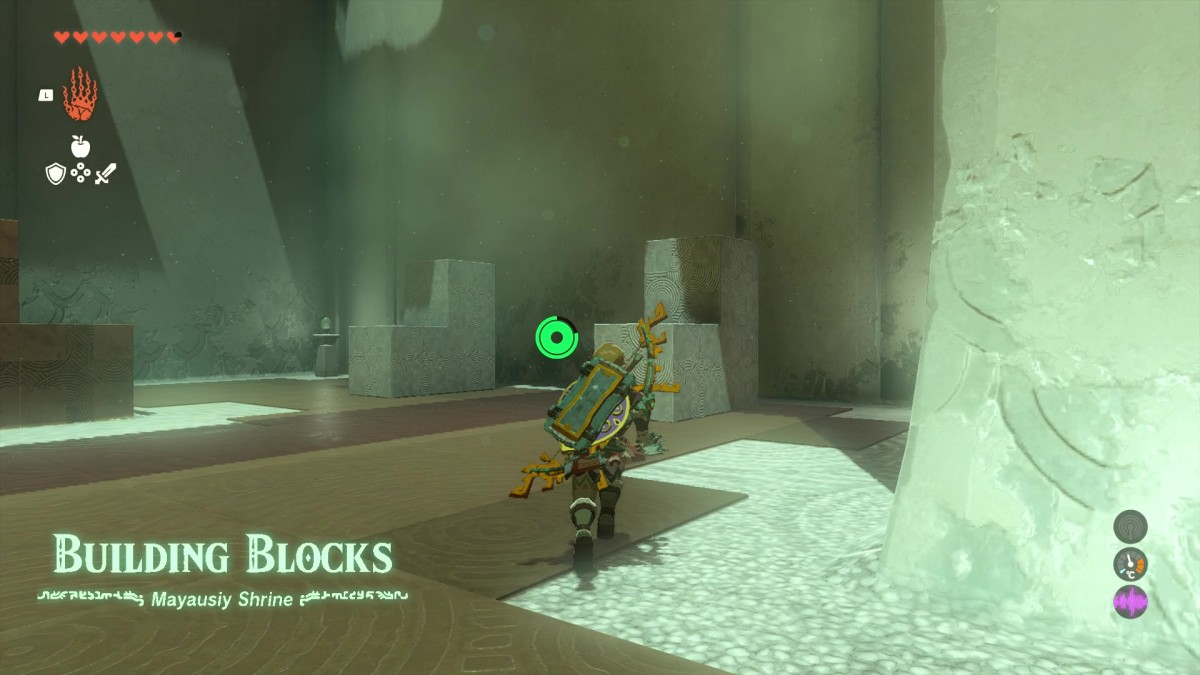
On the right-hand side of the chamber will be some blocks, and you’ll need to pick them up using Ultrahand and slot them into the right place to make the right shape match the left.
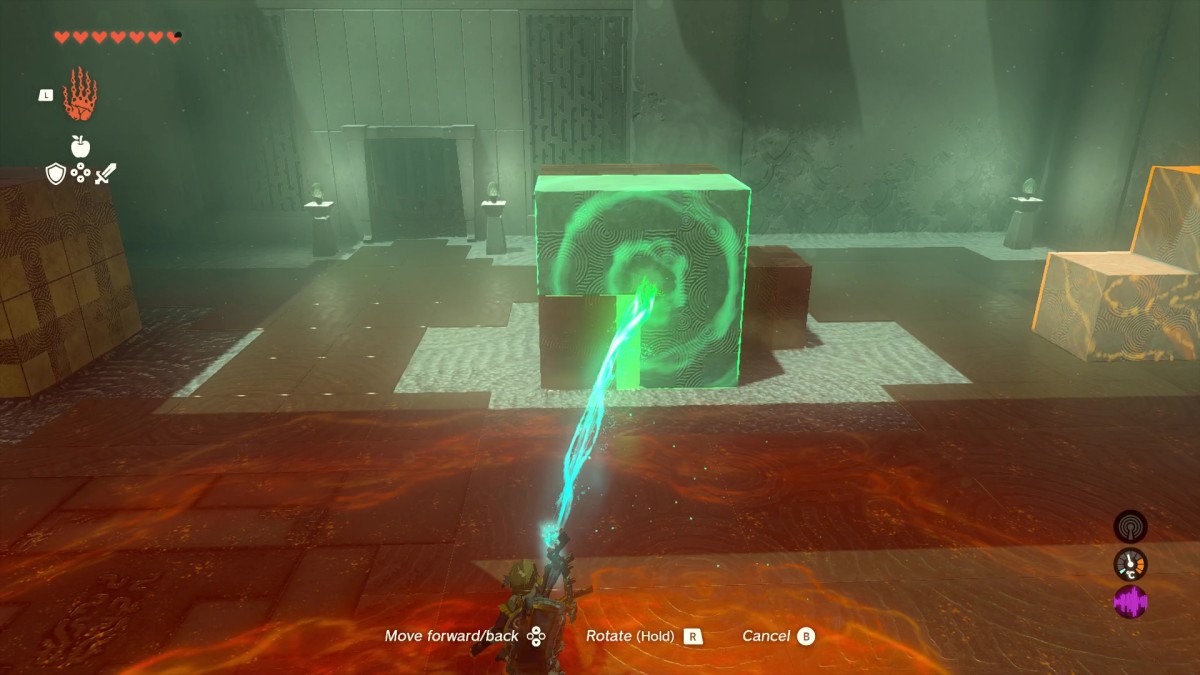
The first puzzle is easy, simply pick up one of the L-shaped blocks, then rotate it until it’s an upside-down L, like Waluigi’s hat. Place it over one of the nubs jutting out of the incomplete block structure.
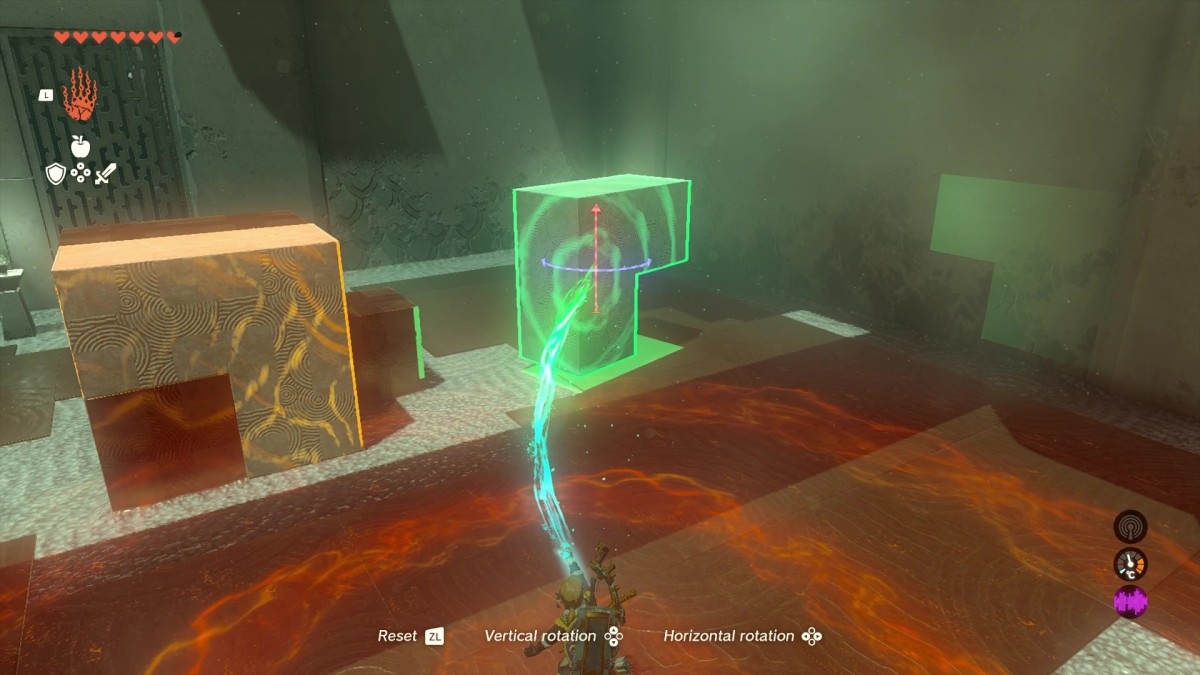
Grab the second L-shaped block, and rotate it to be an upside-down L, but this time facing the opposite direction.
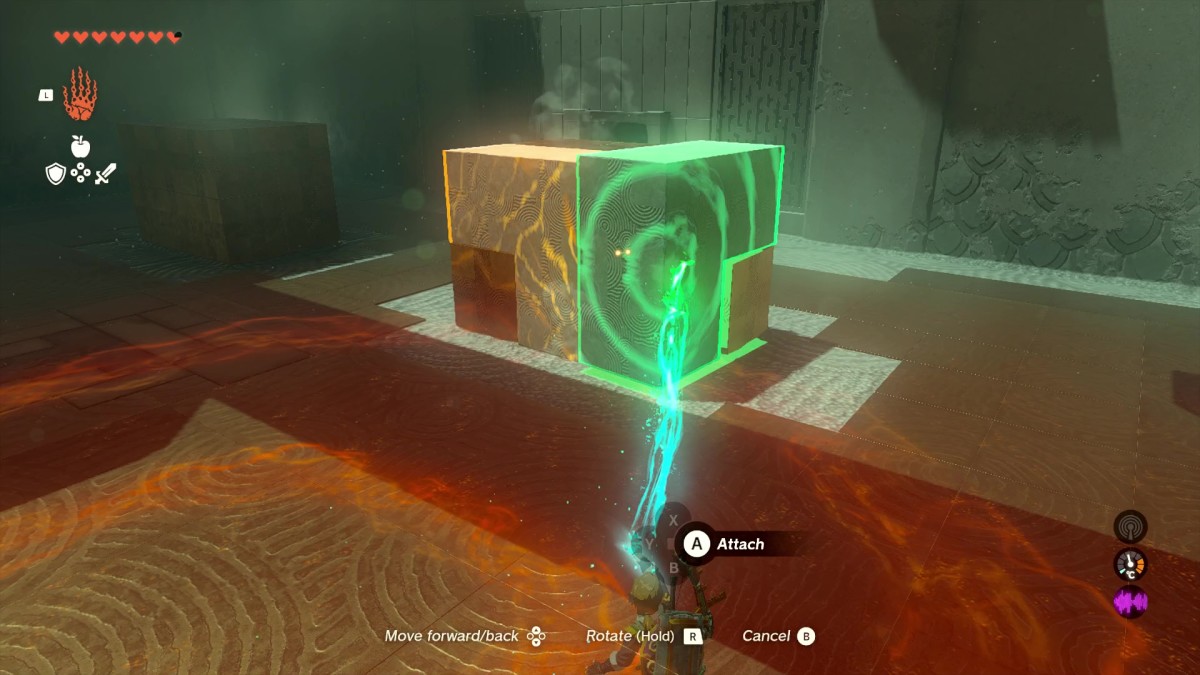
Place it over the other nub, where it will snap into place, completing the block puzzle and opening the gate at the front of the room.
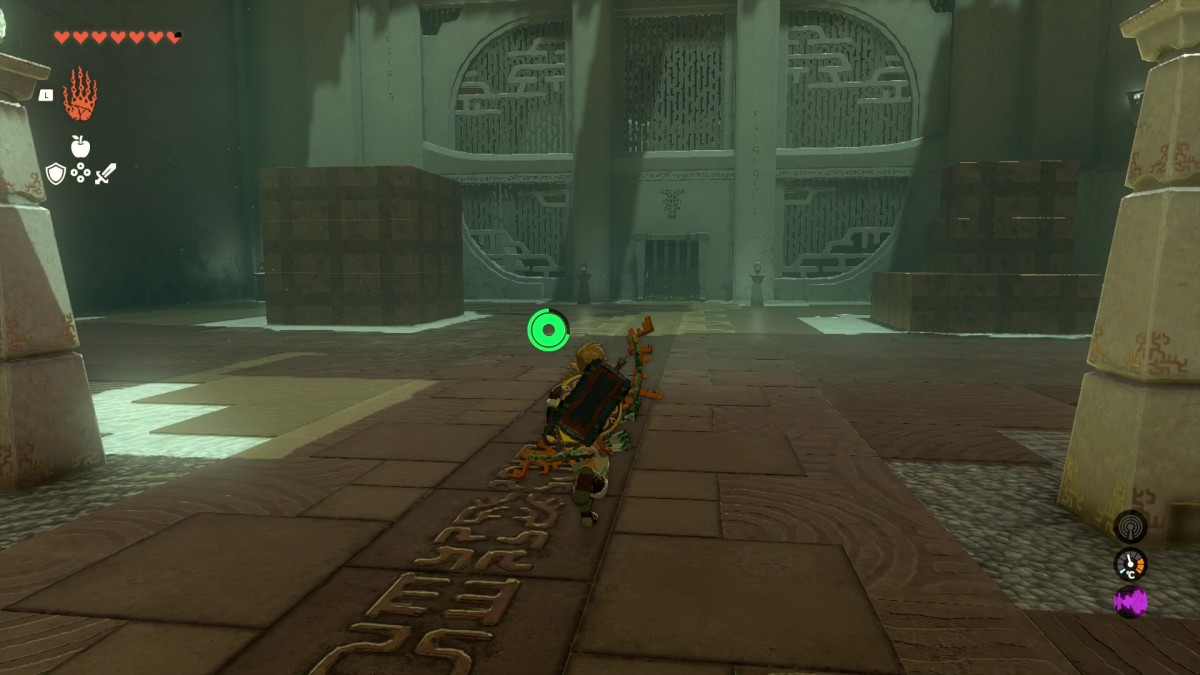
Head through the gate, where you’ll likely see a Zonai construct — take it out, then move into the next room, where you’ll see yet another puzzle to complete.
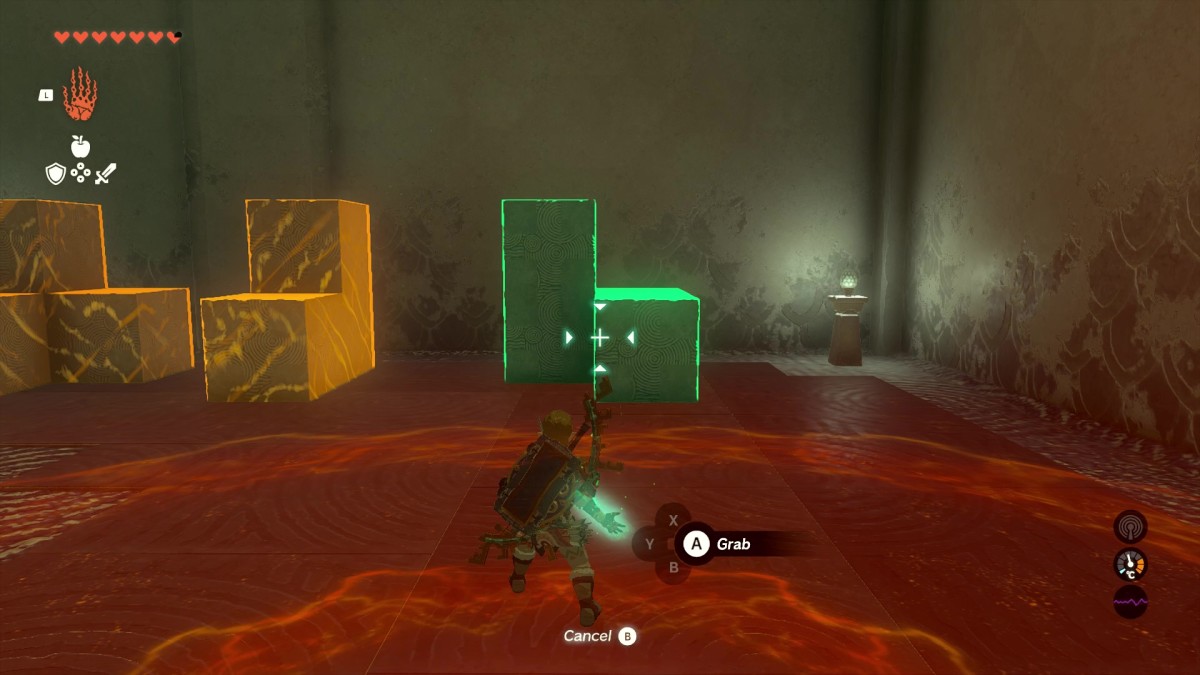
This one is much more complicated, but if you take it step-by-step you should be on your way in no time. The first piece you’ll want to pick up is the angular Z-shaped piece.
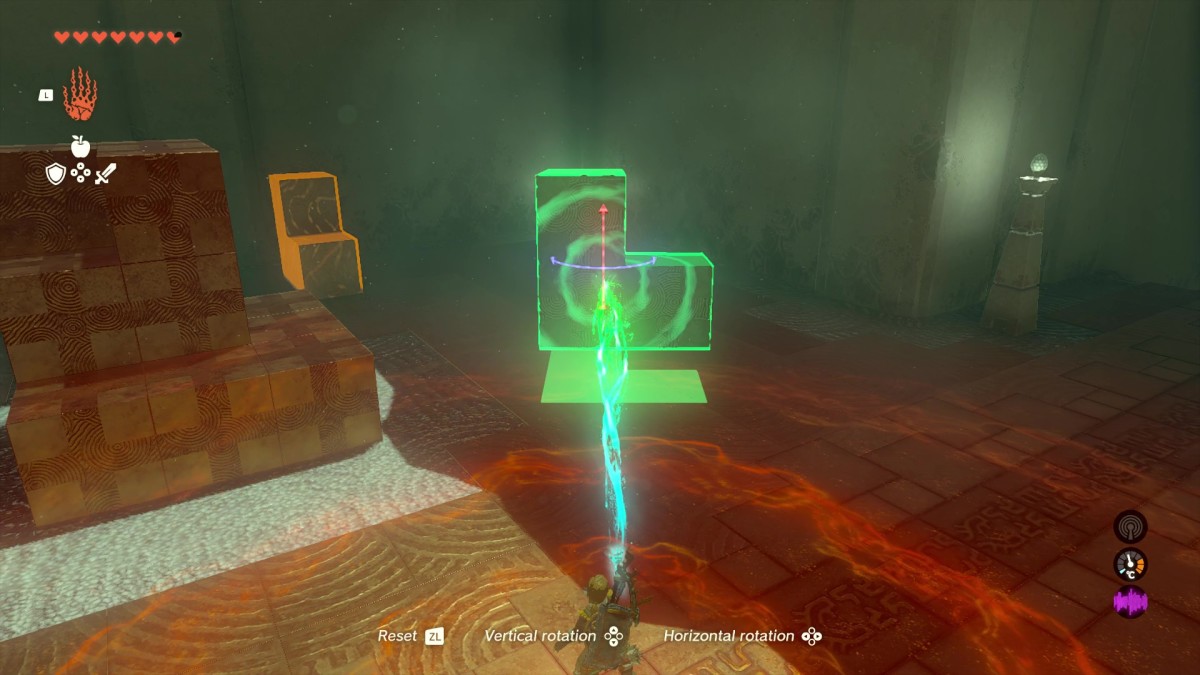
Describing how you should manipulate it is a bit tricky, but the gist of it is that you want an L-shape facing towards you, with a block on the top of the piece facing away, like in the screenshot above.
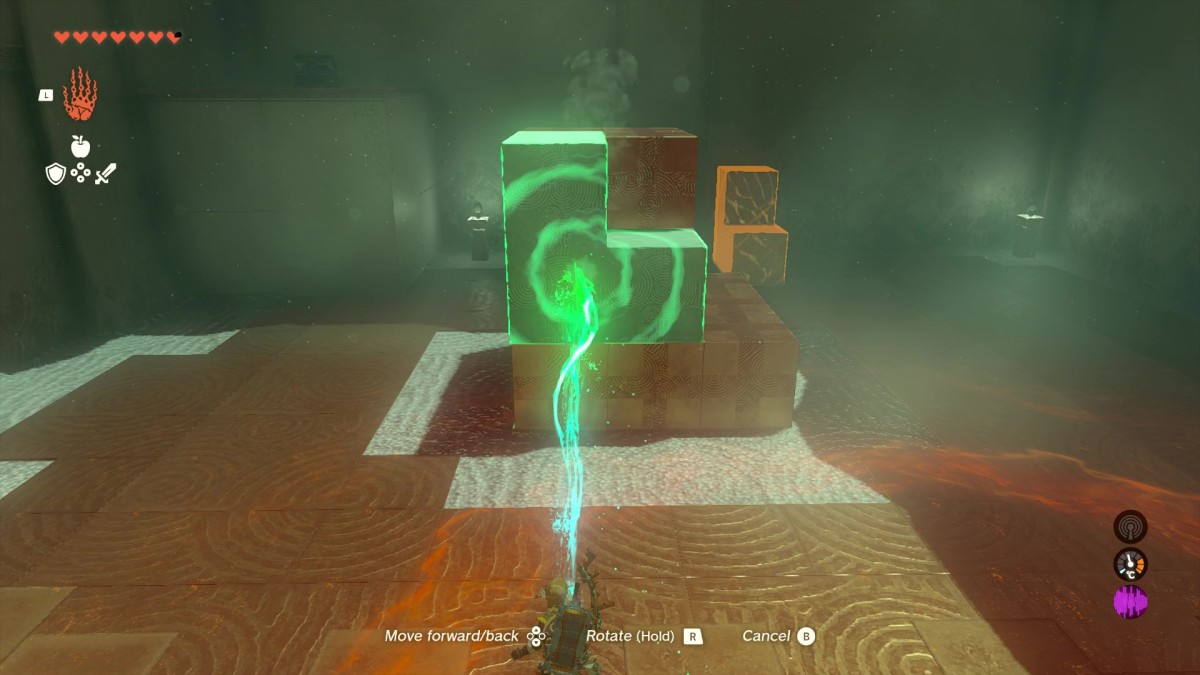
Place the block on the side of the puzzle block closest to the gate, with the forward-facing block resting on the top of the three-level structure.
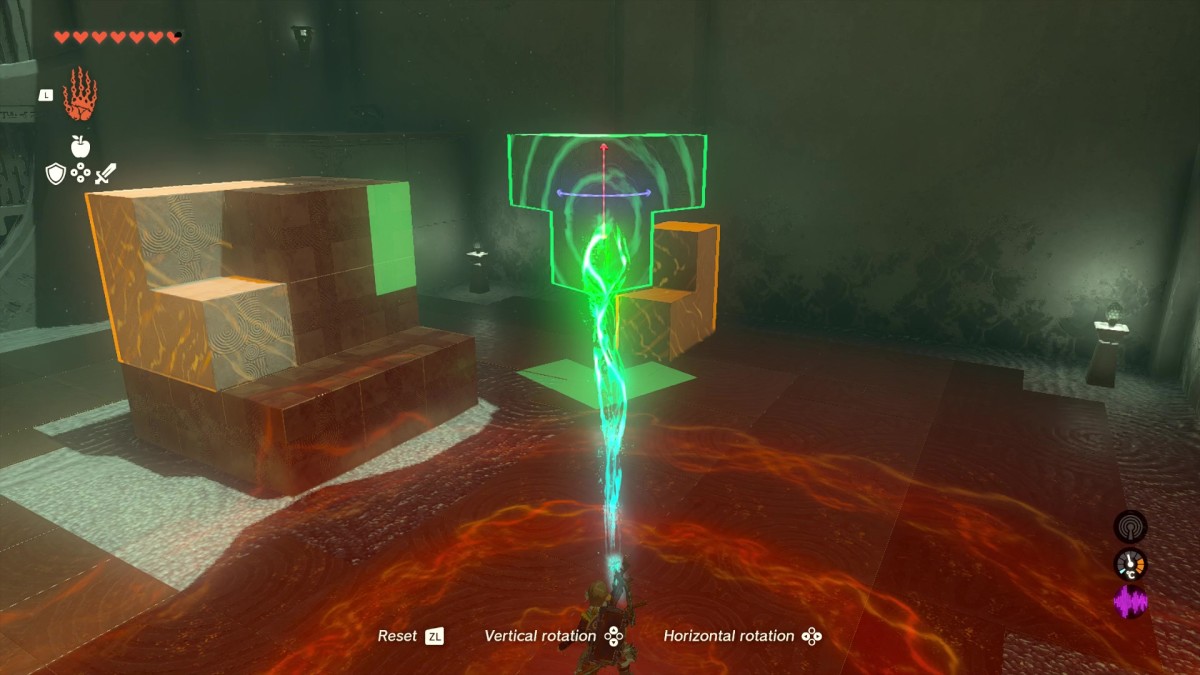
Next, grab the triple-pronged block, and rotate it so one of the protrusions is facing downwards, as seen in the screenshot above.
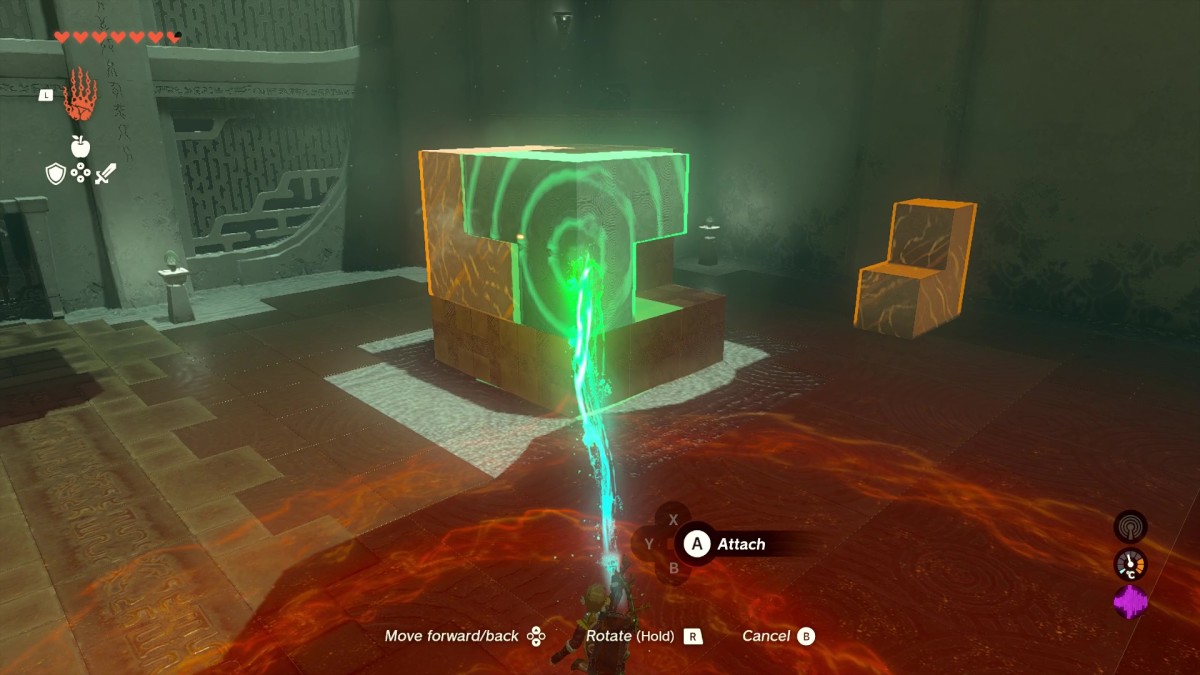
Place the block with the left-side nub overlapping the nub left by the last block, in the corner of the puzzle block.
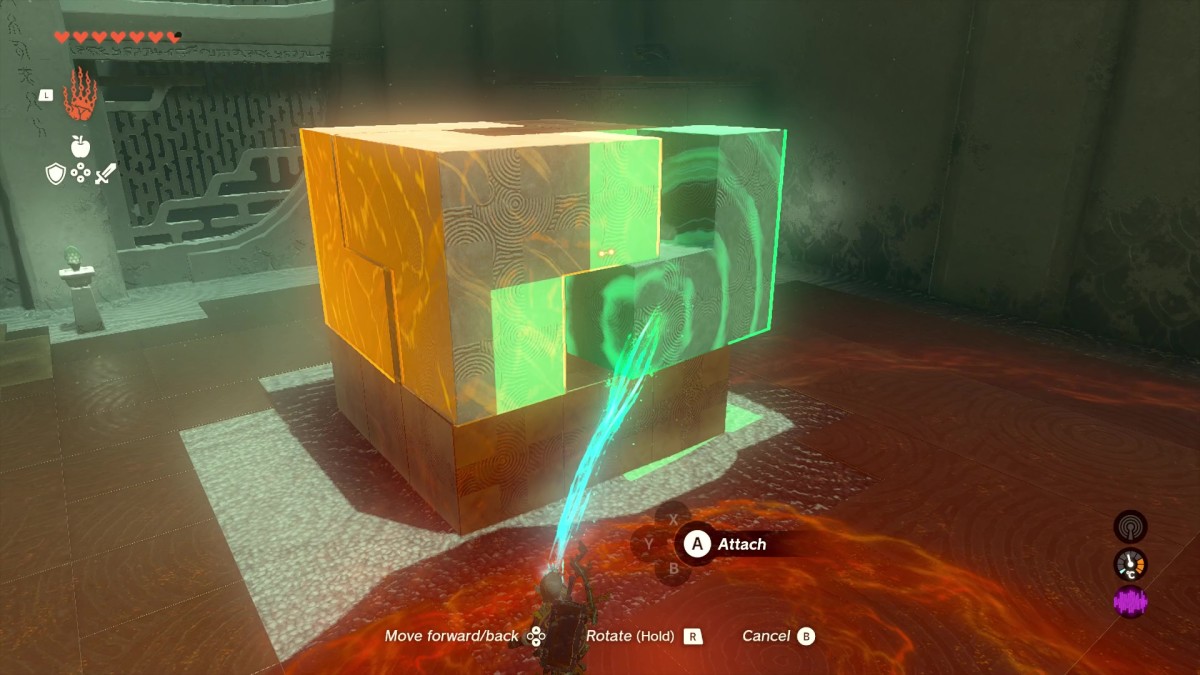
Pick up the last block, which shouldn’t need any rotation at all, and place it into the recess left, where it will click into place and complete the puzzle.
