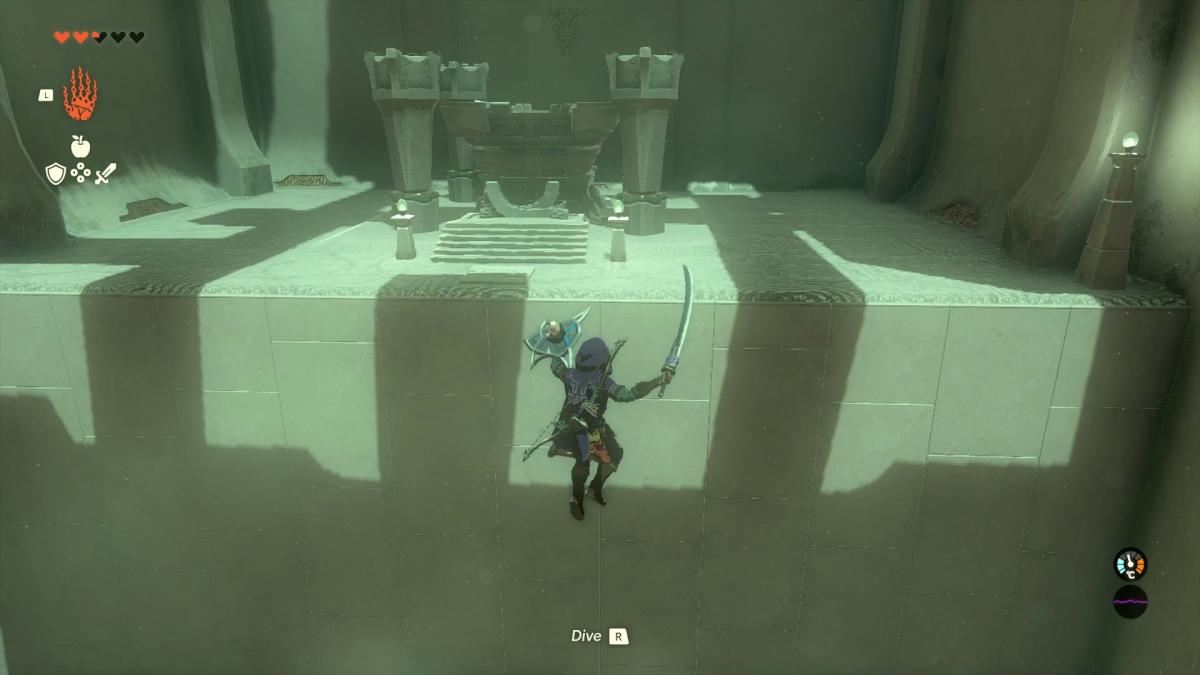
Zelda Tears of the Kingdom: Morok Shrine guide

Shrines in The Legend of Zelda: Tears of the Kingdom come in many forms, from combat tasks and brutal survival challenges to ridiculous physics-based challenges. All of these shrines are worth doing, as they increase your health or stamina if you do enough of them, but some are easier to figure out than others.
Morok Shrine is a shrine that’s located a little to the south-east of your overworld starting point, Lookout Landing, and is one of the shrines you’re sure to bump into on your way to Kakariko Village. This guide will take you through everything you need to know to clear Morok Shrine.
For more Zelda guides and tips, like how to find and activate all Skyview Towers, or an explanation of all Zonai Devices, make sure to read our full Zelda: Tears of the Kingdom walkthrough.
Morok Shrine solution – Zelda TOTK
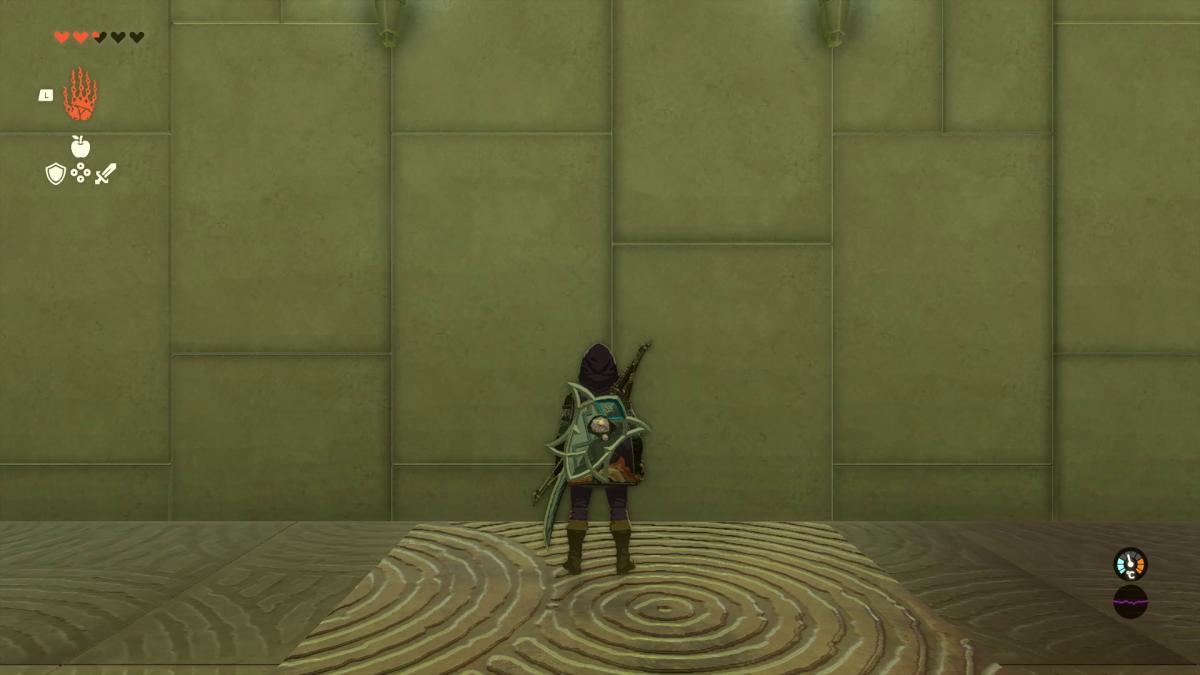
Morok Shrine is fairly straightforward in its execution, but it’s important to make sure you’re doing everything in the correct order. Upon entering the shrine and heading down the stairs, you’ll see a platform that thrusts up and down.
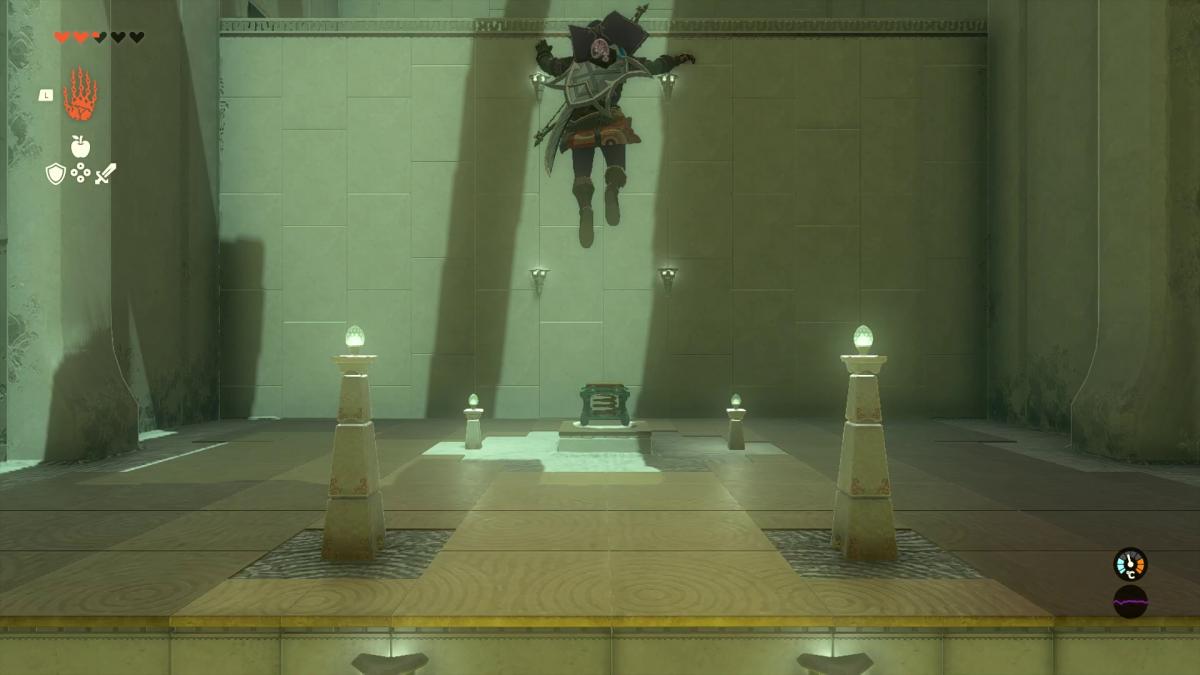
Simply stand on the platform and you’ll be thrust upwards to the ledge above — make sure you glide down to the ground, even if it’s a small distance, as we’ve found that it’s easy to take fall damage with so much momentum involved.
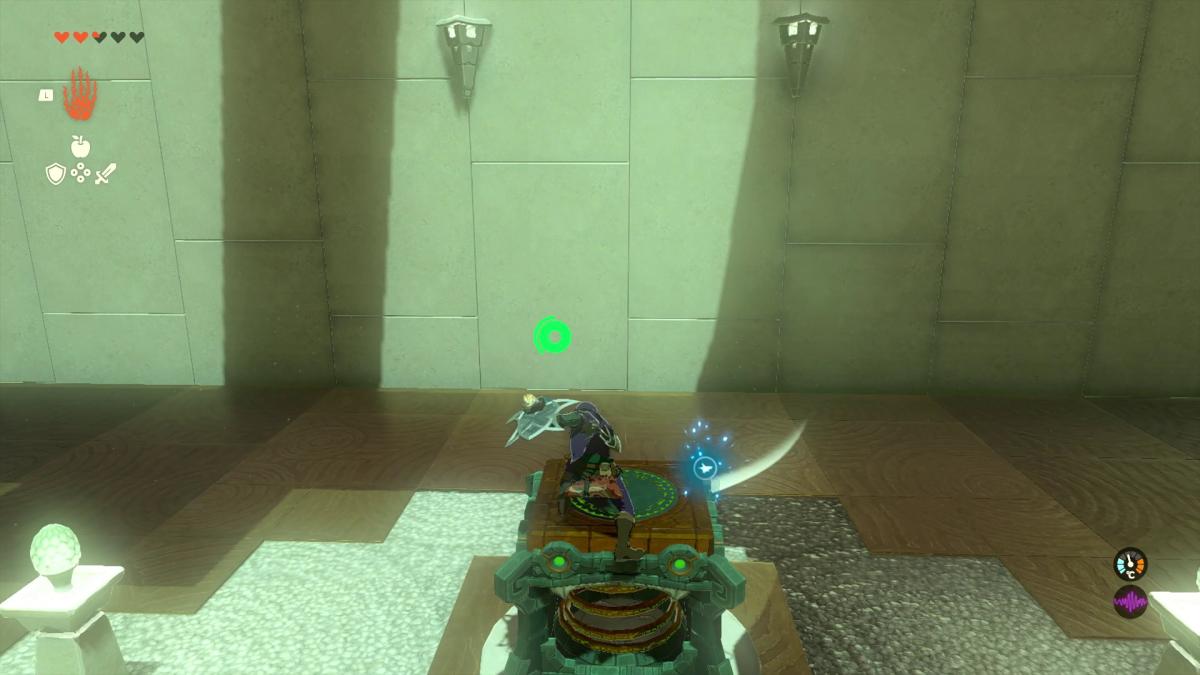
Once on the platform, you’ll see a small device with a wound spring in it, which is the main mechanic of this shrine. Stand on top of it and hit it with your weapon to activate it, which will once again launch you into the air to the next platform.
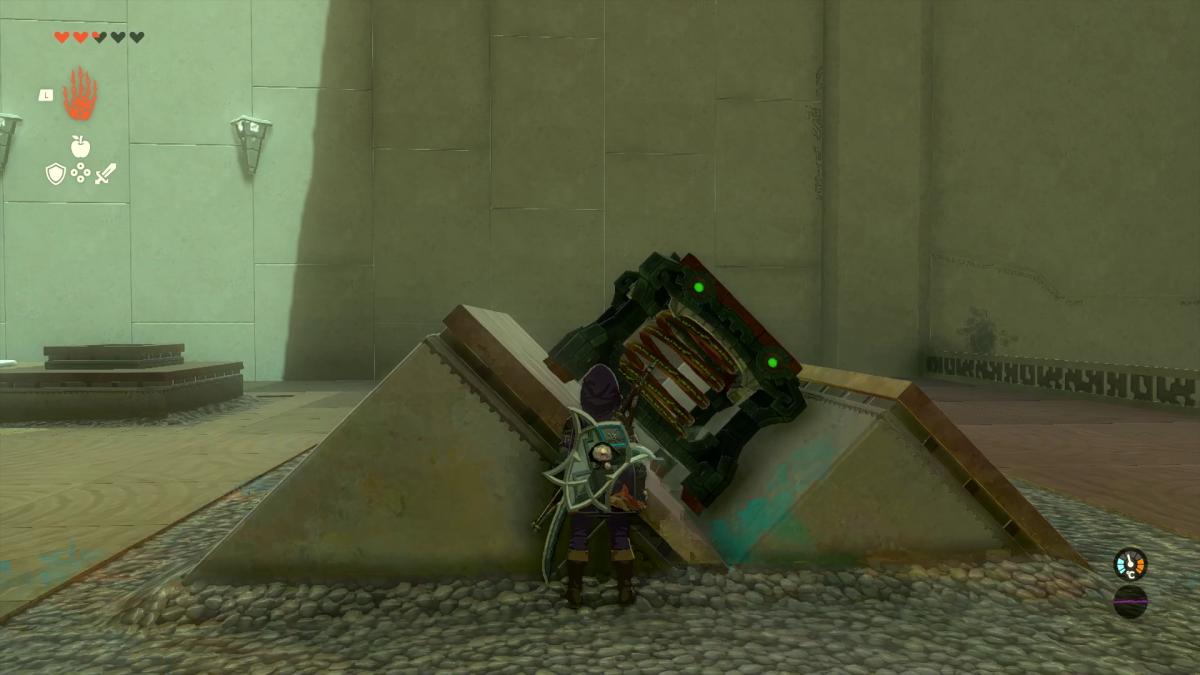
Ahead of you, you’ll see another spring, which you’ll need to pick up with Ultrahand and take it over to the slanted, step-like structure to your right. Place the spring in the groove between the two steps, with the top pointing towards the bottomless pit.
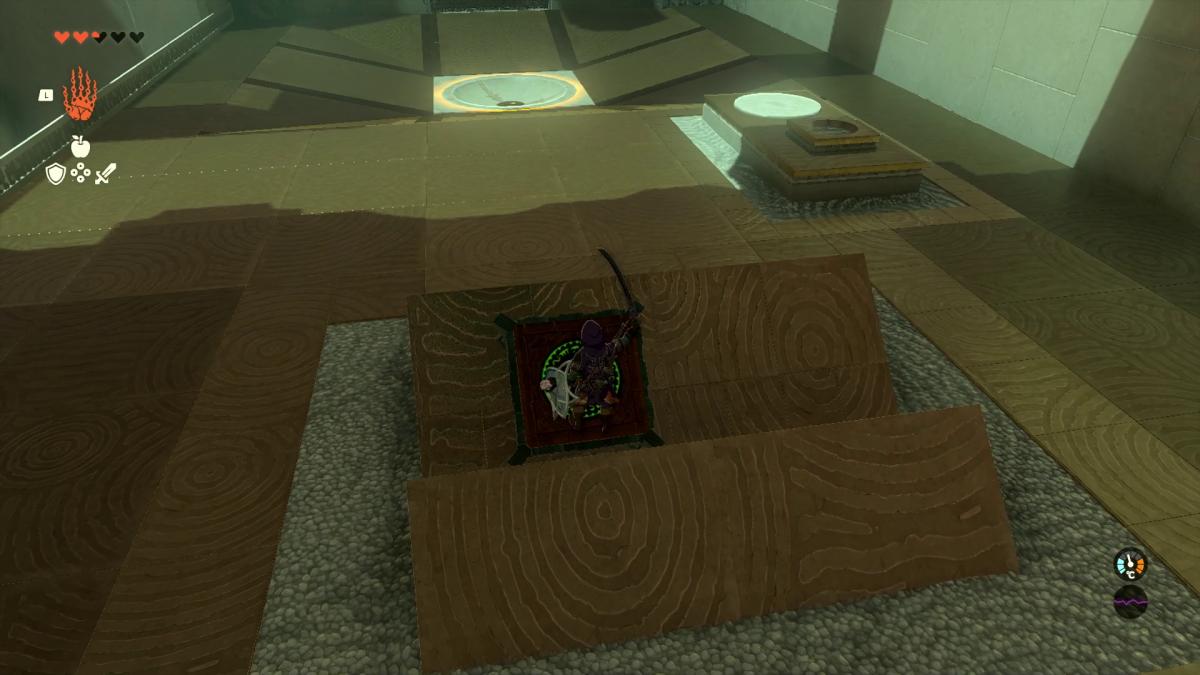
Stand in front of the top part of the spring, then hit it with your sword, sending you flying over the chasm towards yet another platform. Remember to glide before hitting the ground.
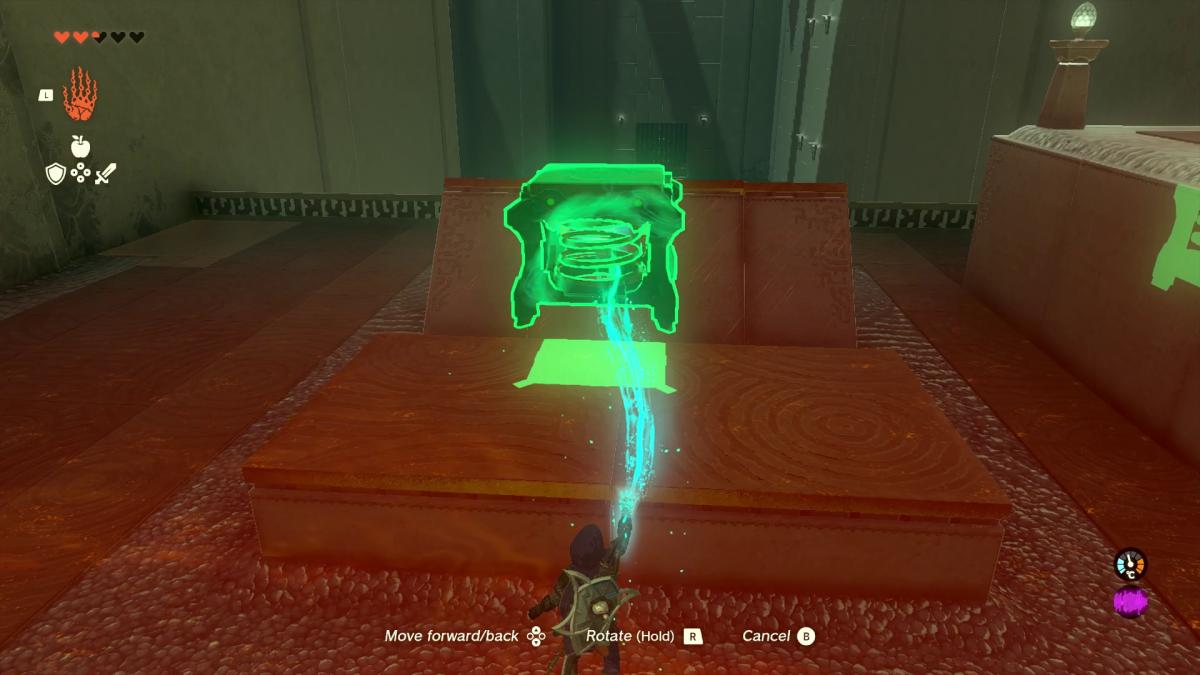
After landing, there’ll be another spring to your right, which you’ll once again need to place on the slanted steps facing towards the chasm you just crossed.
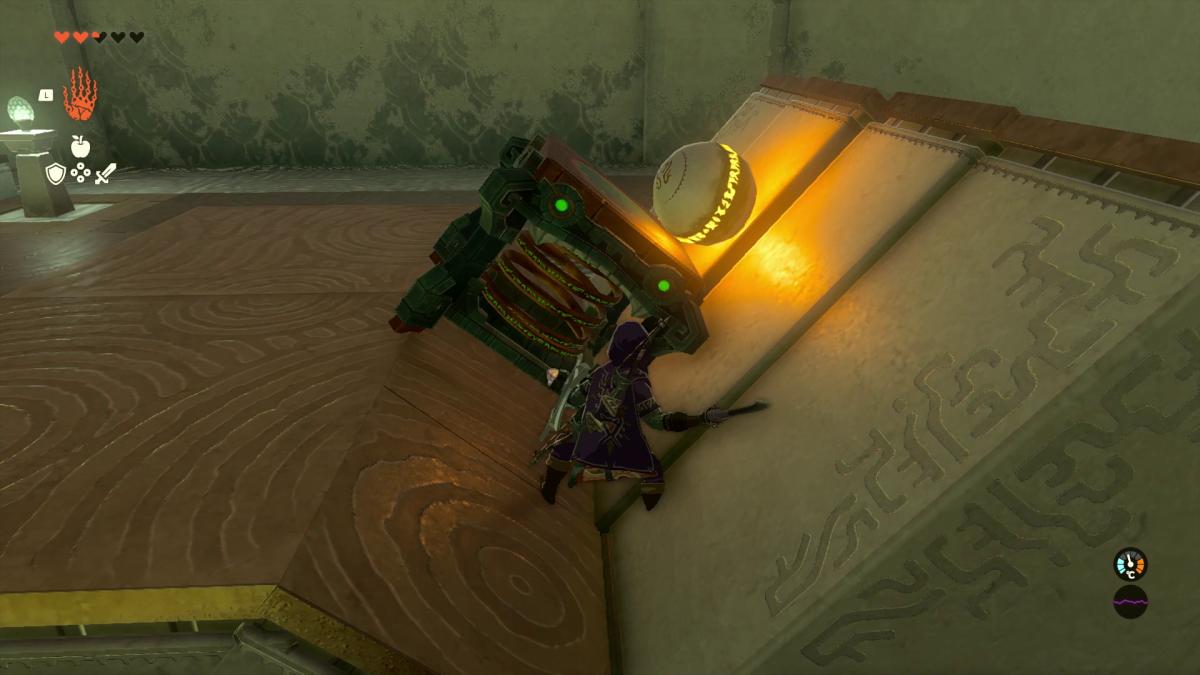
On the right-hand side of the room, you’ll see a ball, which you’ll need to balance on the top of the spring, then activate the spring to send it back across the pit, followed by yourself — you can hit the spring once activated to reset it.
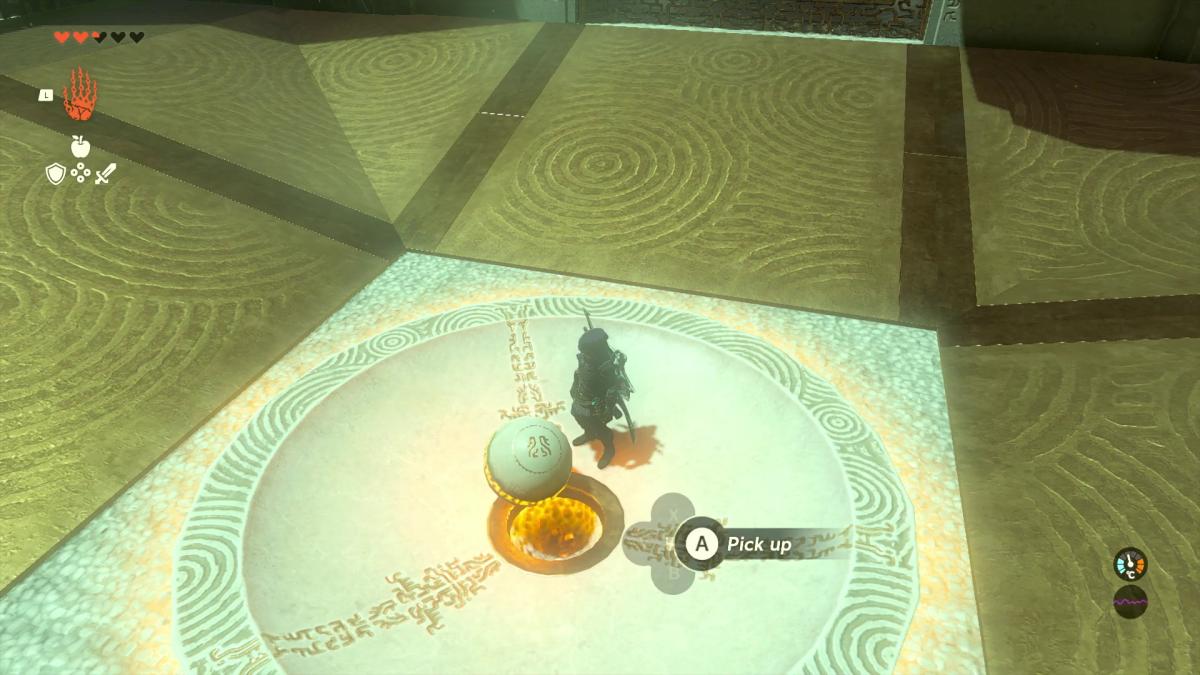
Placing the ball in the recess will open up a gate, behind which you’ll be able to grab a spring stuck to another spring. Pick it up, and bring it back to the circle where you found your first spring.
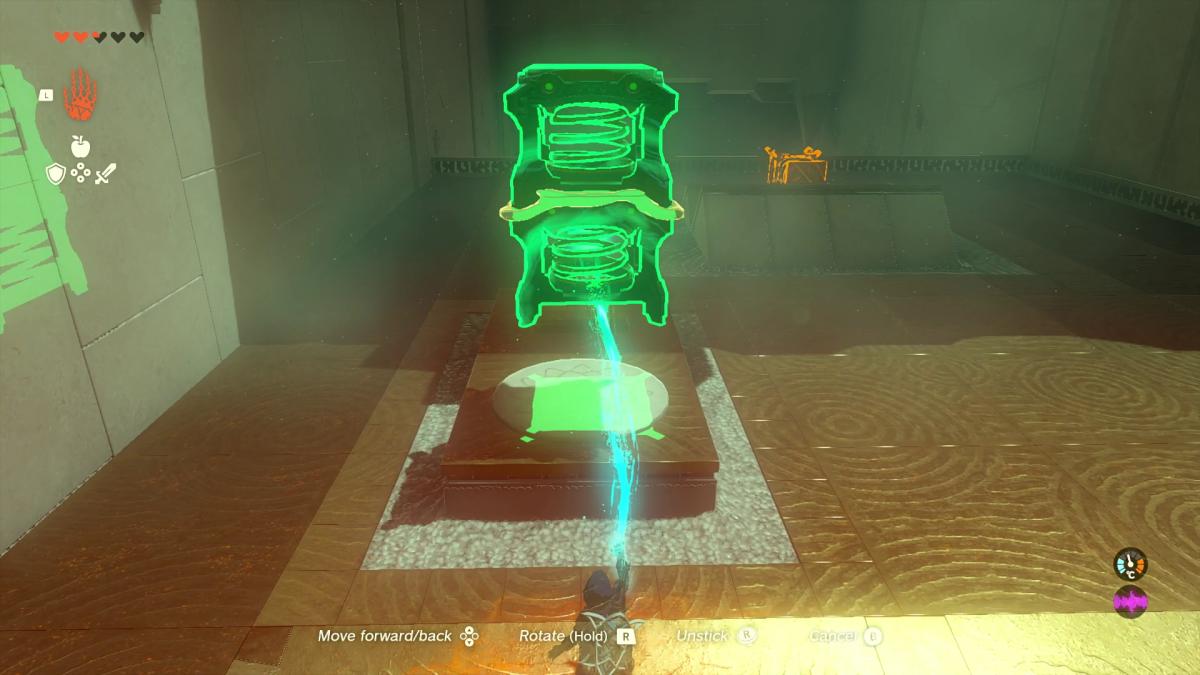
Now, go grab the spring you used to cross the chasm the first time, and use Ultrahand to stick it to the top of the double spring stack, creating the almighty triple spring.
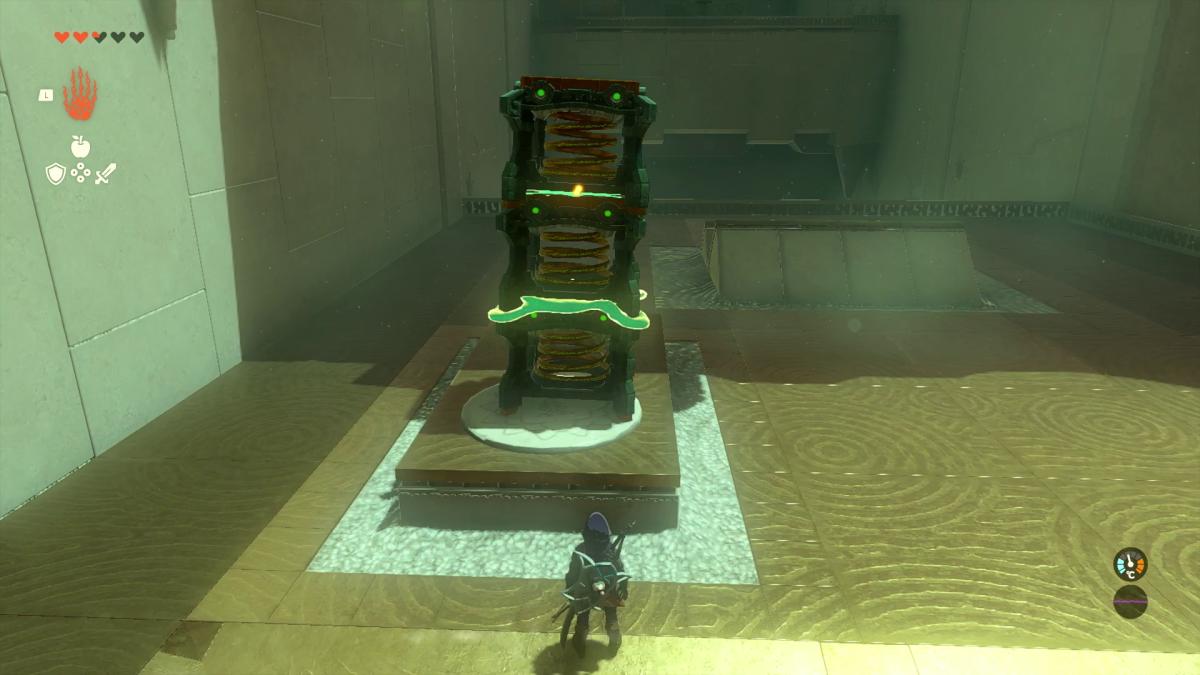
Climb up the spring stack, then hit the top spring with your weapon to be thrust upwards, where you’ll see both the optional shrine chest and the goal.
