Zelda Tears of the Kingdom: Runakit Shrine guide

As you make your way northwest towards Rito Village and the Wind Temple, you’ll likely come across the Runakit Shrine, one of over a hundred in The Legend of Zelda: Tears of the Kingdom. This one really shows off how far physics puzzles have come since Half-Life 2, as you’ll need to guide a ball over an increasingly inconvenient series of rails to the goal.
We’ll take you through this shrine step by step so you can complete the Runakit Shrine, Built to Carry.
For more Zelda guides and tips, like how to find and activate all Skyview Towers, or an explanation of all Zonai Devices, make sure to read our full Zelda: Tears of the Kingdom walkthrough.
Runakit Shrine solution – Built to Carry – Zelda TOTK
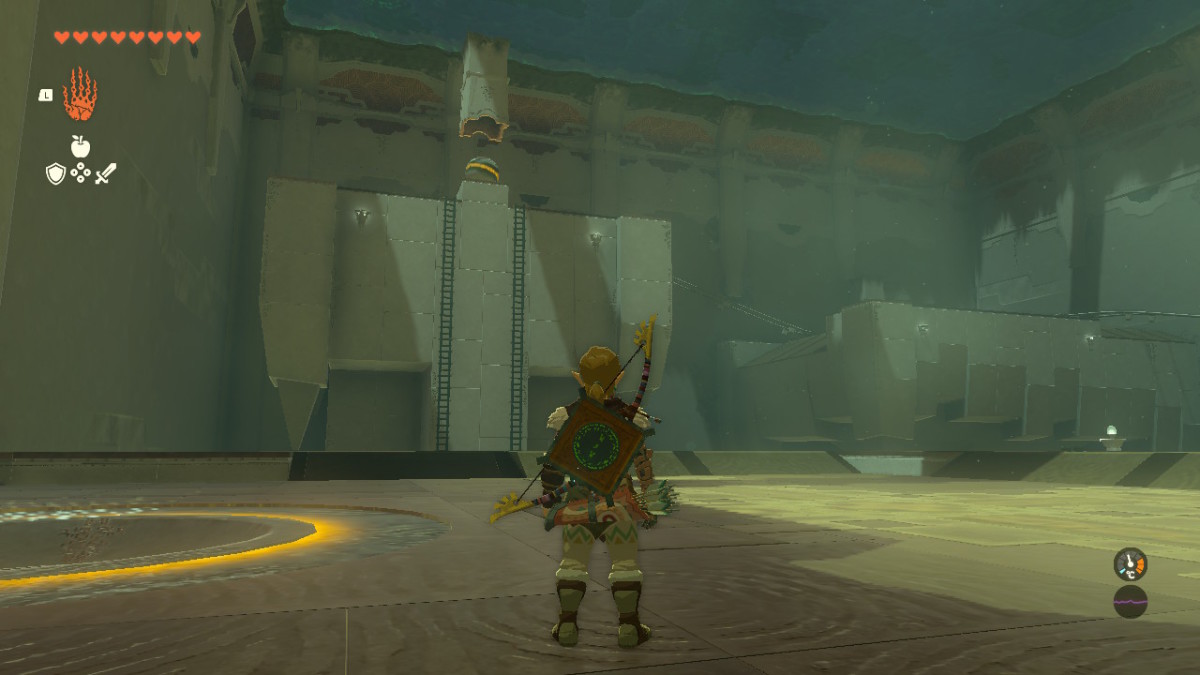
You’ll see the tall platform with the ball as soon as you enter the room, hop over there, and climb the ladder.
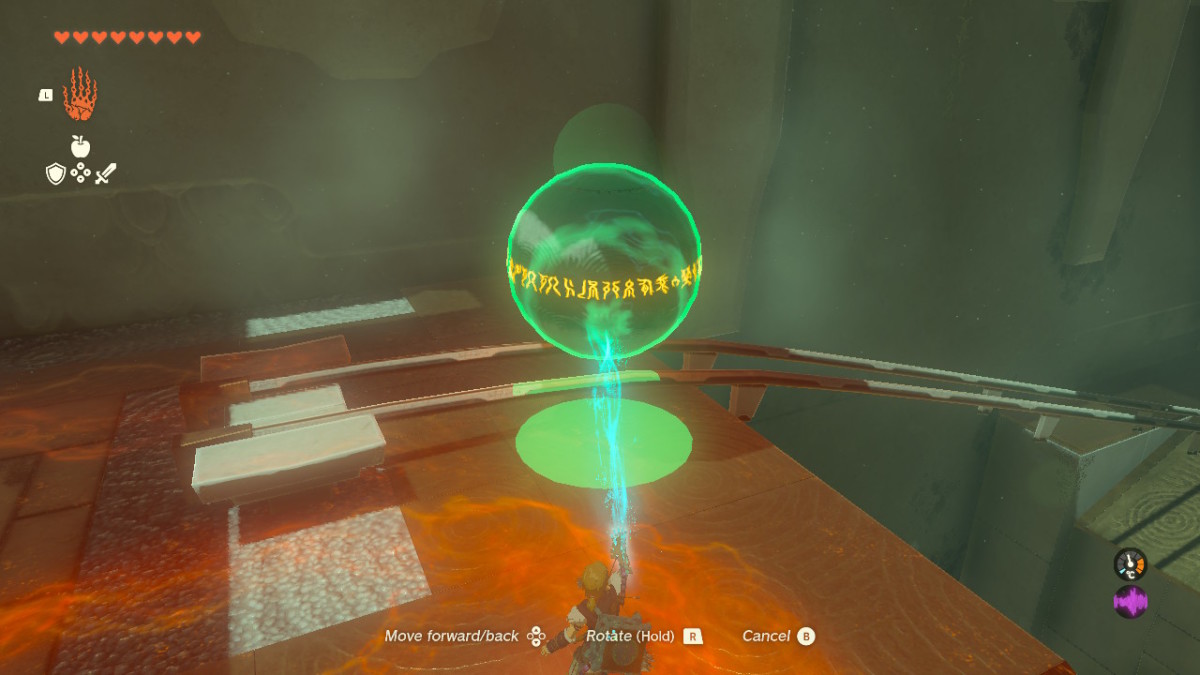
While the cool kids among you will probably have a way to throw the ball straight onto the final platform if you want the chest, you’ll need to do it the intended way, so start by placing the ball on the rail and letting it slide to the next platform.
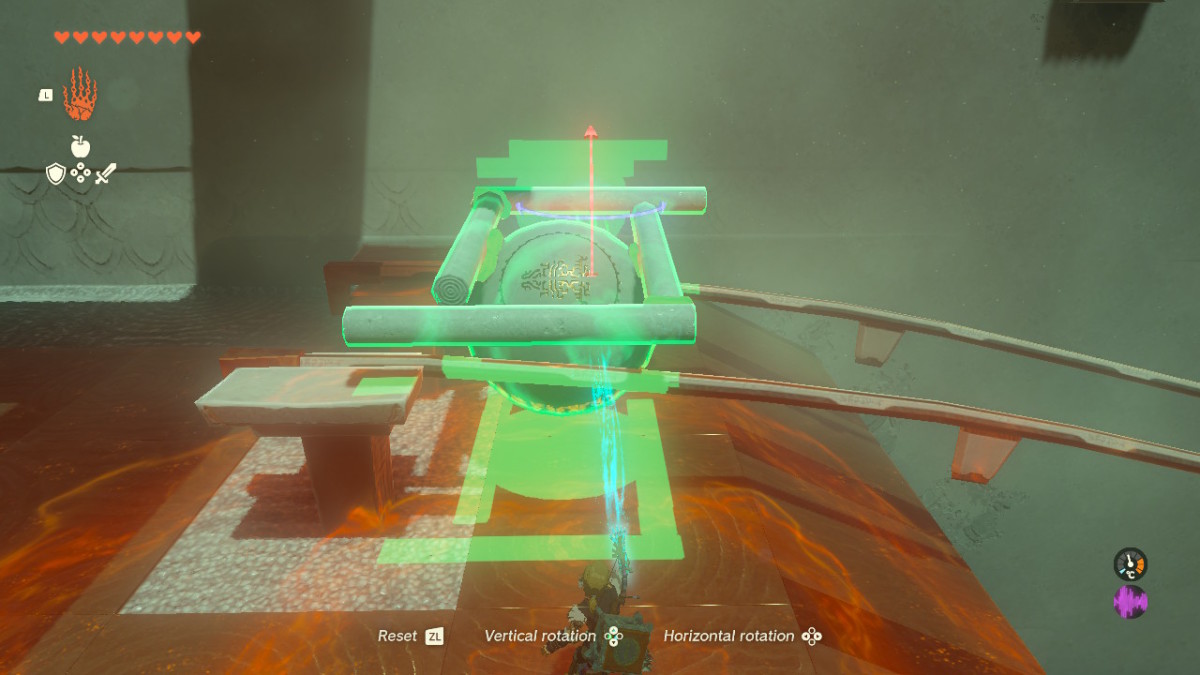
Follow with your glider and now use the four sticks to create a box around the top of the ball, then place it on the wider rail and slide down once more.
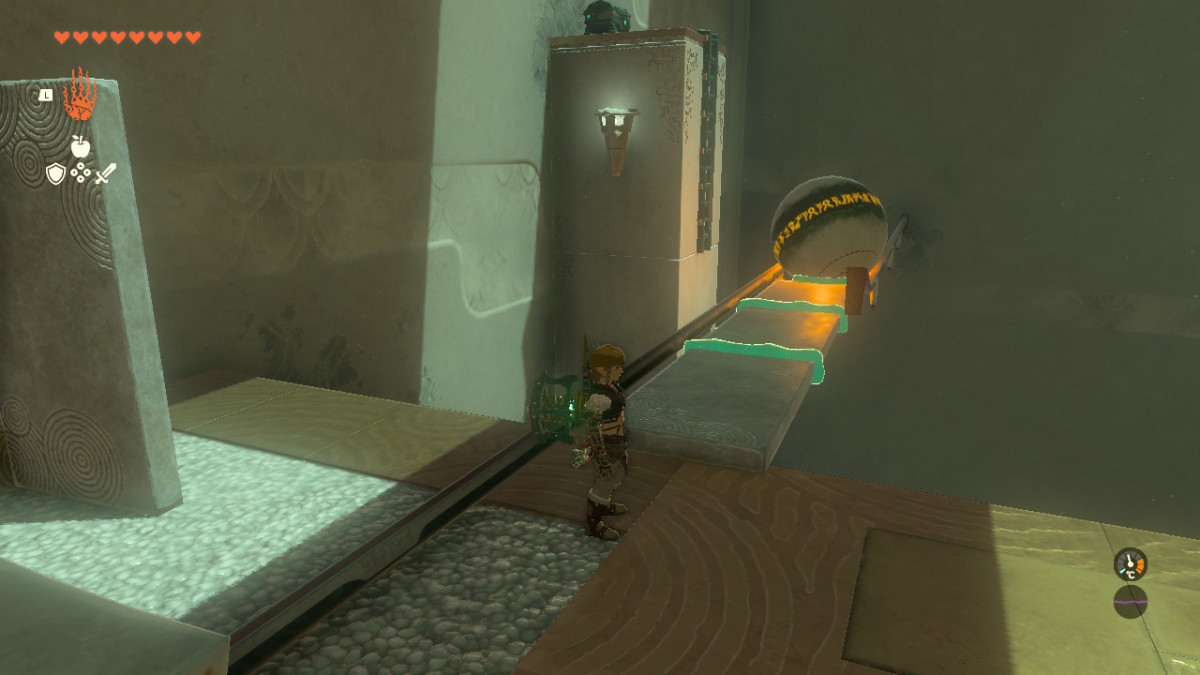
Now, if you want the chest, attach three of the flat stone slabs in a line onto the ball using Ultra Hand and climb over to the ladder.
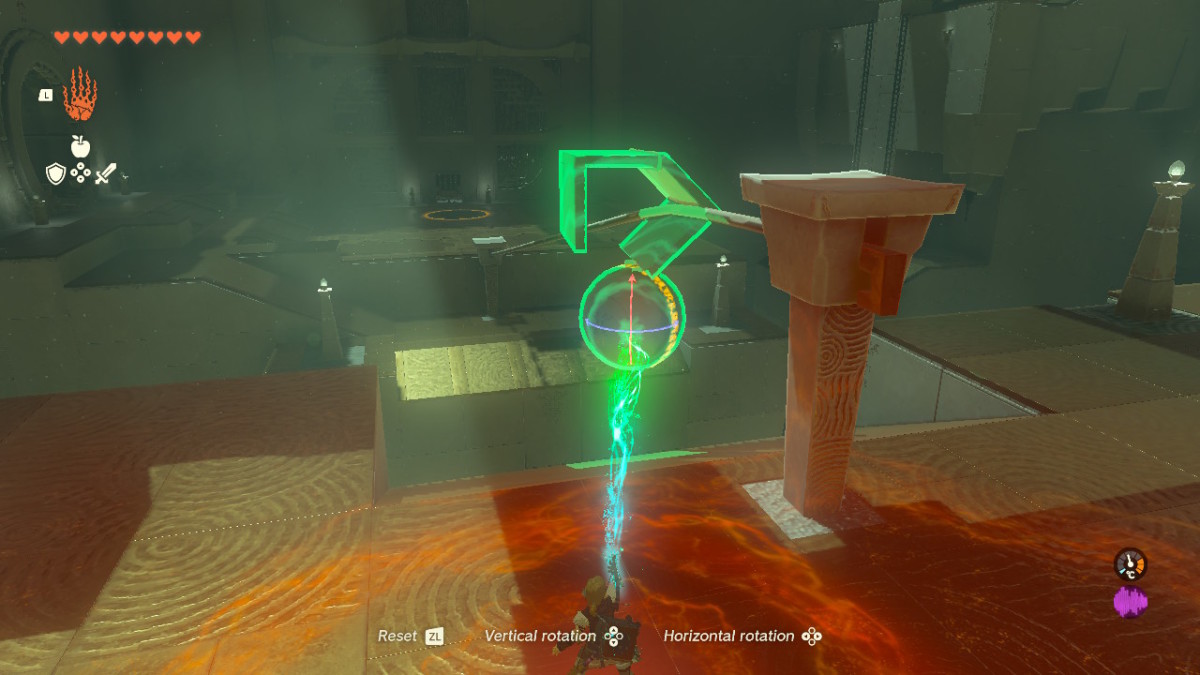
Then, shake the ball free and use a couple of the cornerstone slabs to assemble a makeshift hook, which you can use to get the ball down the final rail.
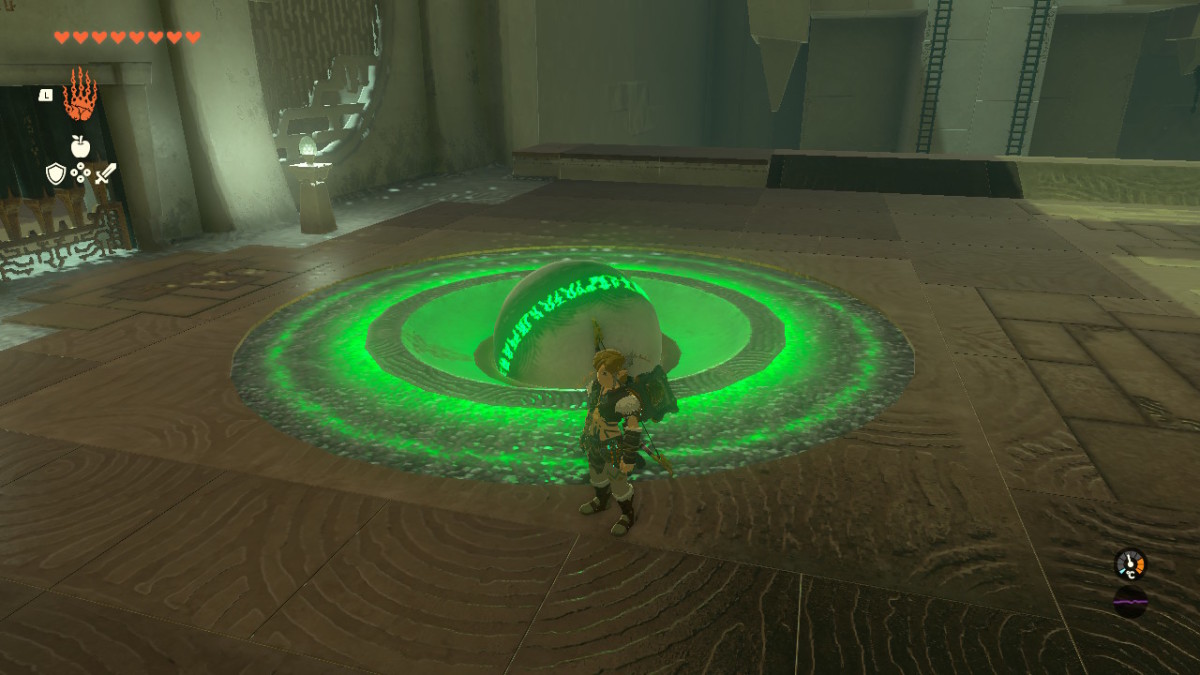
All you have to do now is place take the ball over to the hole and you’re done.
